
There’s something about bringing a bit of the yard indoors when the weather turns sharp. I’ve always tucked cedar and juniper into porch pots and around candleholders in winter, but this little project lets the greenery become part of the candle itself, and it’s about as satisfying as anything I’ve made with almost no expense at all.
If you like simple, old-fashioned decorating with a natural touch, this is the sort of afternoon craft that feels special without being fussy. The method is easy once you get the feel for it, and the finished candles have that gathered-from-home look I’m forever drawn to, like something you’d spot on a holiday table in a farmhouse kitchen.
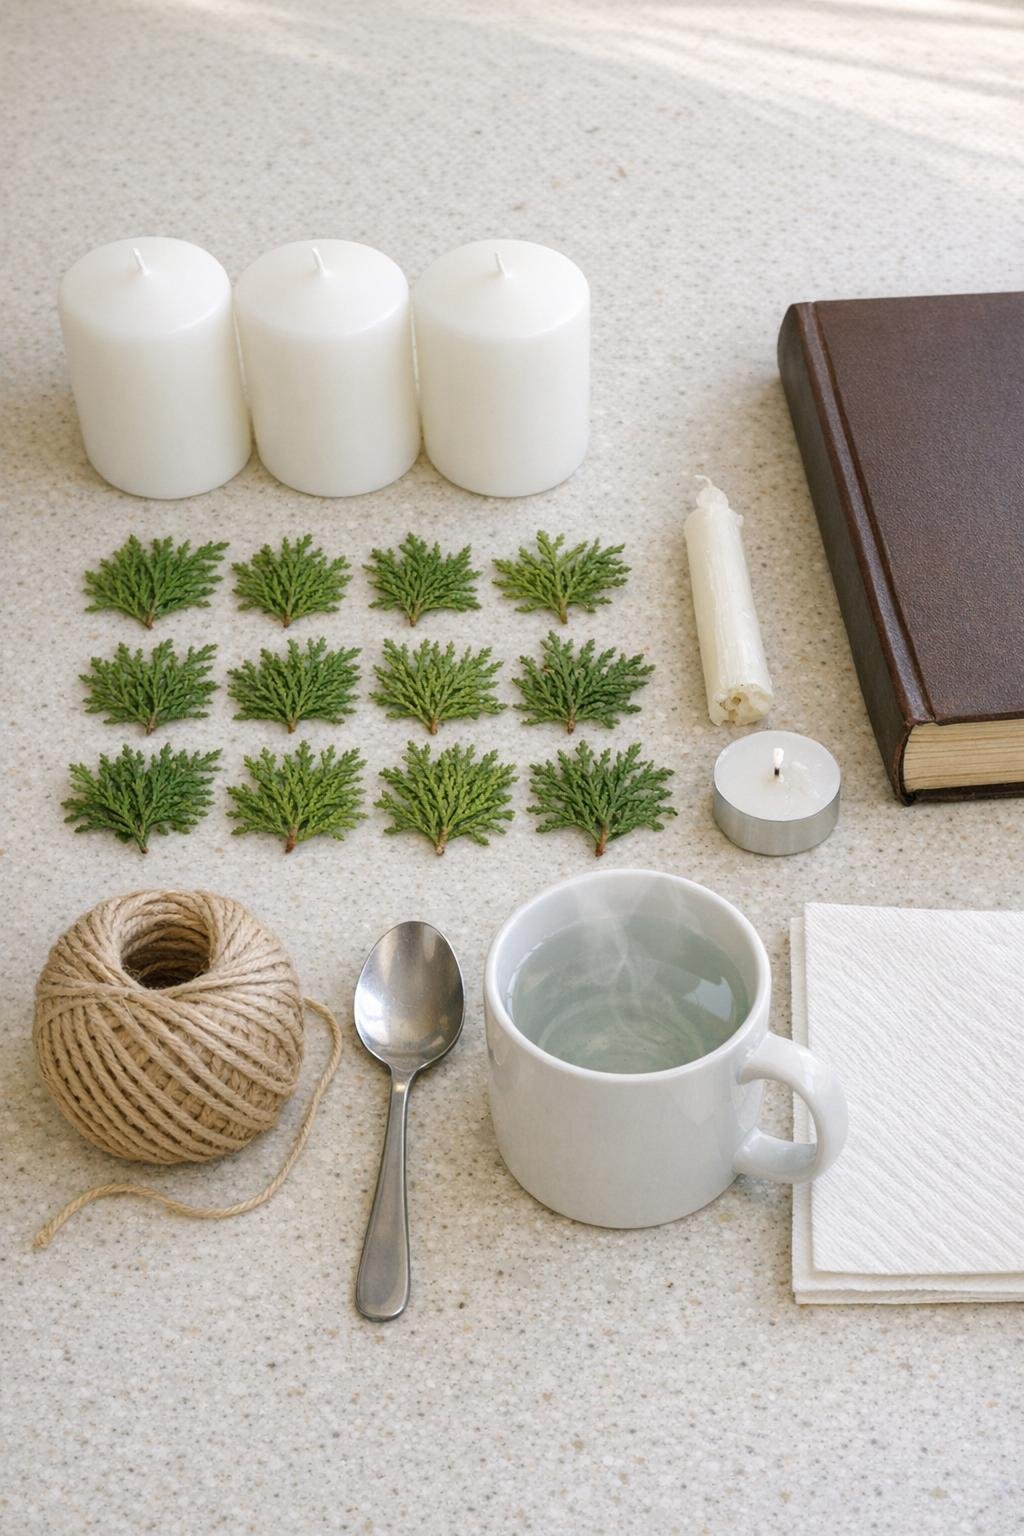
Materials
Instructions
1. Gather 12 small evergreen sprigs and choose the flattest pieces with tidy branching so they’ll sit nicely against the candle.
2. Place the sprigs between layers of paper towel inside a heavy book and press them for a full day so they dry flatter and behave better on the wax.
3. Wipe the pillar candles clean and dry, because any dust or moisture will keep the greenery from sealing smoothly.
4. Fill a mug with very hot water and place the metal spoon in it for a minute or two until the bowl of the spoon is fully warmed.
5. Hold one pressed sprig against a candle where you want it to sit, keeping the stem and tips flat with your fingertips.
6. Pat the back of the sprig gently with the warm spoon, using light pressure to melt just the candle’s outer surface so the greenery begins to sink into the wax.
7. Rewarm the spoon in the hot water as needed, wipe off any drips on the paper towel, and keep pressing until the whole sprig lies smooth and attached from stem to tip.
8. Repeat with 3 to 4 sprigs per candle, spacing them evenly around the sides and slightly varying the height so the arrangement looks full but still natural.
9. If any branch tips lift up or feel loose, rub a little wax from the old taper or tea light directly over those spots and smooth it with the hot spoon to seal them down.
10. Turn each candle in your hands and check for sharp edges, then soften any rough wax marks with one last pass of the warm spoon.
11. Let the candles rest undisturbed for 20 to 30 minutes so the wax fully firms back up before moving or styling them.
12. If you’d like a simple finishing touch, wrap a short piece of twine once around the base or middle of each candle and tie a small knot or bow without covering the greenery.

Variations & Tips
Use what your yard gives you: Cedar, arborvitae, and juniper all work nicely, but choose pieces that are small, flat, and feathery rather than thick or woody.
Keep the spoon warm, not scorching: I find this works best when the spoon is hot enough to soften wax but not so hot that it gouges the candle; if it leaves deep marks, let it cool for a few seconds before pressing again.
Work one sprig at a time: Don’t try to lay out a whole design first. Attach one piece fully, then turn the candle and place the next so everything stays neat.
For a fuller look: Overlap a few tiny side pieces near the base of a main sprig to make the candles look lush and generous without making them hard to finish.
Choose unscented candles if possible: Unscented white pillars usually give the cleanest look and won’t compete with supper or holiday baking on the table.
Display safely: These are prettiest as decor, and if you do burn them, keep the flame watched closely and trim away anything too near the wick; I often use them unlit on a tray because they’re too pretty to fuss with.
Make a matching set: I like to decorate all three candles with the same family of greenery, then vary the sprig placement a little so the grouping looks collected rather than too uniform.