
This little project turns one plain white dollar store cafeteria tray into a textured crochet wall hanging with a clean, modern shape and a lot more charm than you'd ever expect from plastic. By cutting evenly spaced slots around the tray and working cotton yarn right through them, you get the sturdy structure of the tray and the softness of fiber art all in one piece.
I love projects like this because they feel approachable even if you’re not an advanced crocheter. If you can make basic stitches and keep a comfortable rhythm, you can make this. It’s especially nice for anyone who wants handmade wall decor that looks thoughtful and full without needing a big loom, fancy supplies, or a whole free weekend.
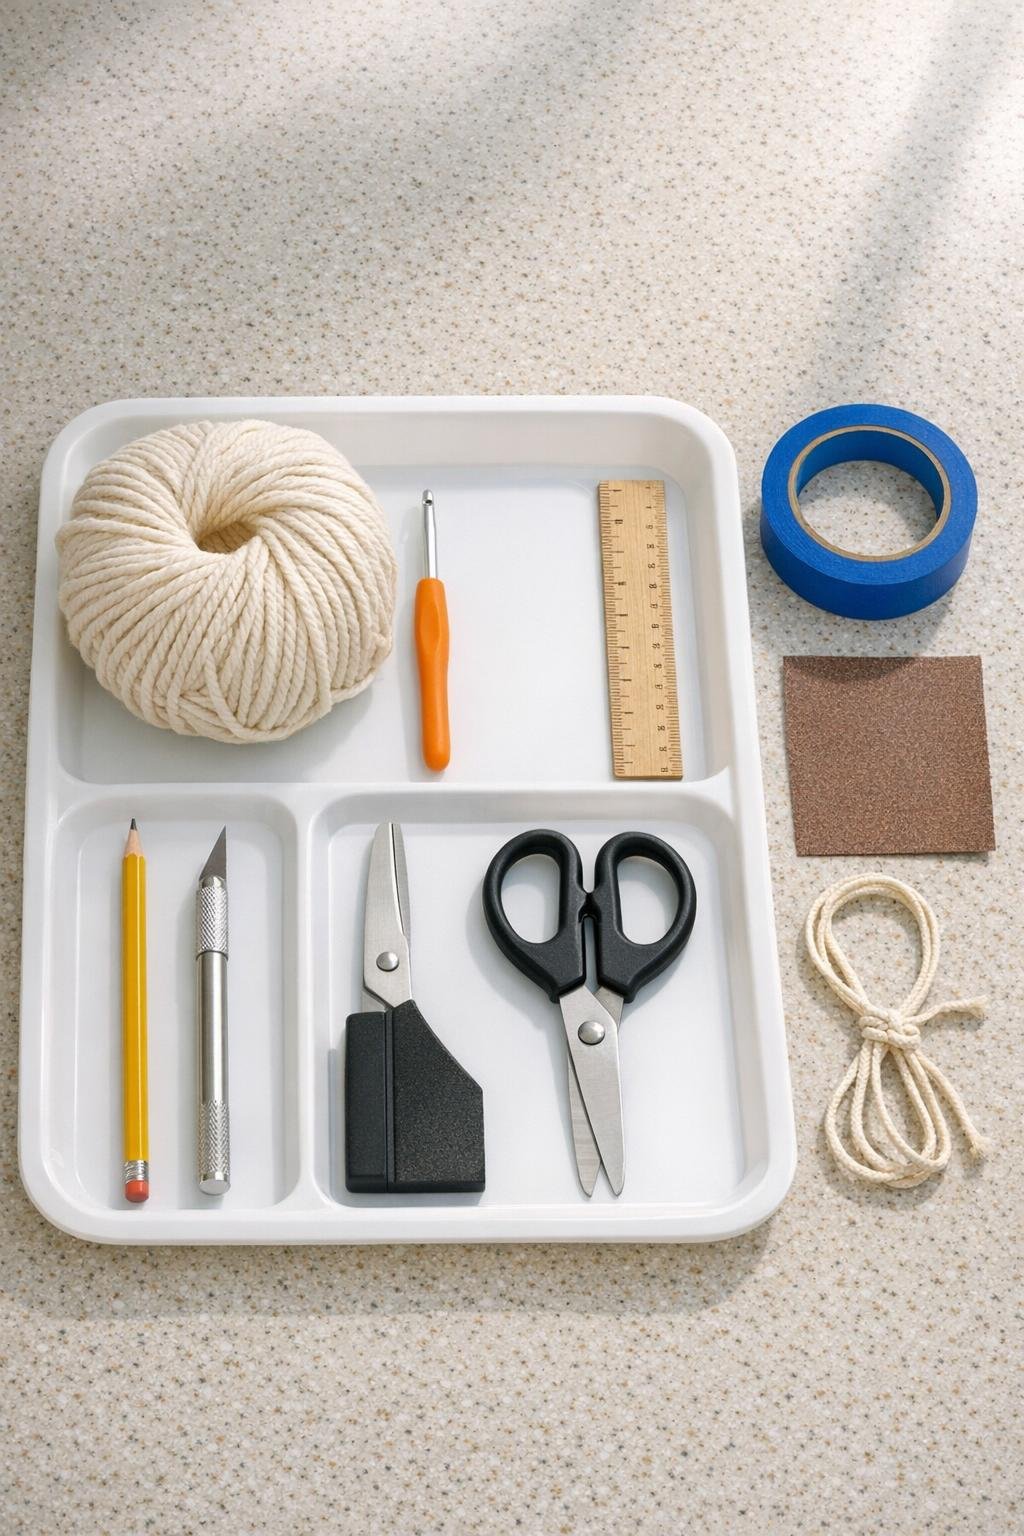
Materials
Instructions
1. Wash and dry the tray so the surface is free of dust and oils, then set it face up on your work surface. A clean tray is easier to mark accurately and more comfortable to handle while you crochet.
2. Along one long side of the tray, measure and mark 12 evenly spaced slot positions centered across the middle flat area, leaving about 3/4 inch at each end. Make each slot 1/4 inch wide and about 1/2 inch deep so the yarn has room to sit without slipping out.
3. Tape the tray in place over a cutting mat or scrap cardboard, then carefully cut each slot with the craft knife. Keep the cuts neat and straight so your crochet stitches line up evenly across the tray.
4. Smooth every cut edge with fine sandpaper until there are no sharp bits left. Run your finger lightly across each slot to check that the yarn will glide without snagging.
5. Tie the yarn through the first slot with a small secure knot on the back of the tray, then bring the yarn to the front and work one single crochet into each slot across. This first row anchors the yarn and gives you a tidy foundation edge.
6. Chain 2, turn your work slightly, and crochet double crochet stitches back across by inserting the hook through each looped slot stitch from the previous row. Keep your tension relaxed so the fabric drapes softly instead of pulling the tray edge tight.
7. Continue working rows of double crochet until the crocheted panel hangs 8 to 10 inches below the tray. For a fuller, more generous wall hanging, add one extra row every few inches with 2 double crochet stitches worked into the first and last stitches.
8. Shape the bottom edge by working shorter rows at both sides for the last 3 to 4 rows, leaving the center longest to form a soft point. This gives the finished piece that classic wall-hanging silhouette without any fussy cutting.
9. Cut twelve yarn strands 10 inches long each for fringe, then fold and attach them evenly across the bottom edge with a lark’s head knot. Trim the fringe into a shallow V so it echoes the pointed shape above.
10. Weave in all loose ends with the tapestry needle and straighten the crochet with your hands. If needed, lightly mist the yarn with water and smooth it flat so the stitches settle into an even shape.
11. Turn the tray over and tie the hanging cord through the two outermost end slots, then knot it securely so the tray hangs level. If you want a more finished look, slide the cord over the wooden dowel first and center the tray beneath it.
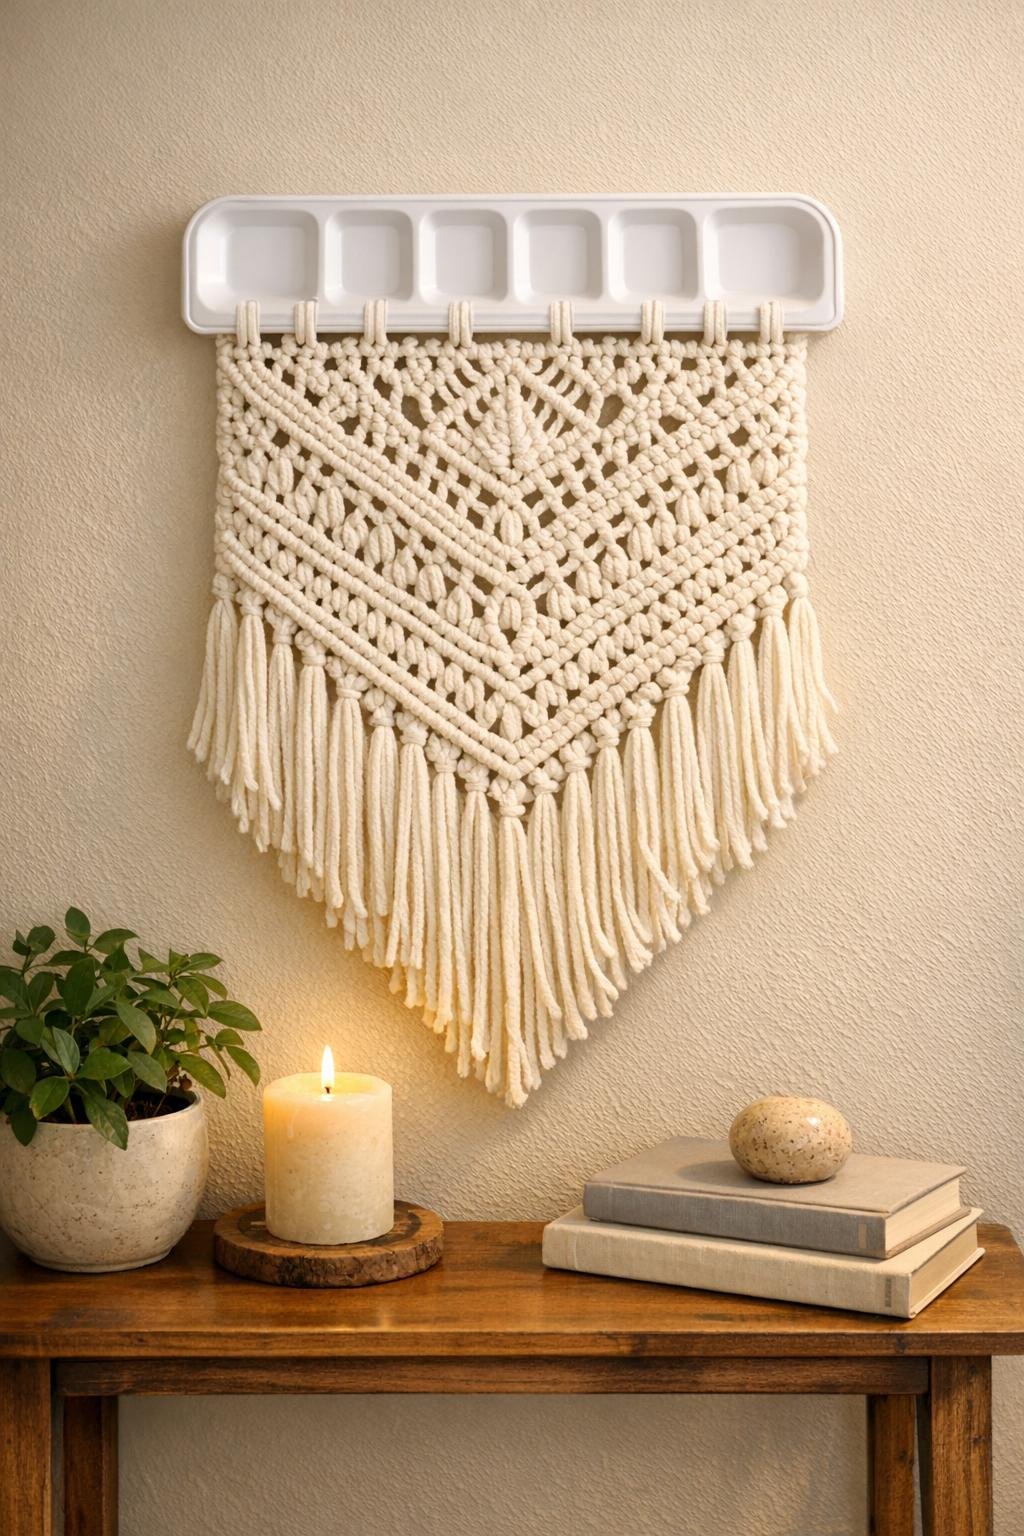
12. Hang the piece on the wall and fluff the fringe with your fingers. The white tray stays visible as a crisp frame at the top, while the thick cream cotton crochet softens it into a handmade wall accent.
Variations & Tips
For beginners: If double crochet feels too loose, make the whole hanging in single crochet for a denser, more controlled fabric. It takes a little longer, but it’s very easy to manage.
Add simple stripes: Change yarn colors every 2 or 3 rows for a soft banded look. I’d keep the tray white and use warm neutrals like cream, oatmeal, and light taupe so it still feels calm and polished.
Try a scalloped edge: Instead of a straight or pointed bottom, work 5 double crochets into every third stitch on the last row, then slip stitch between groups. It gives the piece a sweeter, more decorative finish.
For picky decorators: In my house, everybody has opinions about color, just like they do at the dinner table, so I’ve learned to make the base neutral first. Then you can swap the hanging cord, fringe color, or dowel finish later without remaking the whole piece.
Make it extra full: Use two strands of cotton yarn held together for the fringe only. That one small change makes the bottom look much more lush and substantial.
Keep the slots neat: If your tray plastic cracks a little while cutting, trim the rough area with small scissors and sand again before adding yarn. Smooth slots make the biggest difference in how clean the final project looks.
Mounting tip: This looks best hung where the crocheted panel can drape freely, like over an entry table, in a breakfast nook, or in a craft corner. I’d avoid a spot where it gets pressed flat against a busy shelf.