
There’s a certain kind of craft I love most in winter: one that looks far fussier than it really is. This project starts with the humblest supplies imaginable and turns them into something light-catching, icy, and surprisingly elegant. If you enjoy easy assembly-line crafts with a big visual payoff, this one absolutely delivers.
I’m especially fond of projects like this because they reward a little patience more than technical skill. If you can work a glue gun carefully and line up repeating pieces, you can make a set of ornaments that looks polished enough for a tree, a window, or a garland across a mantel.
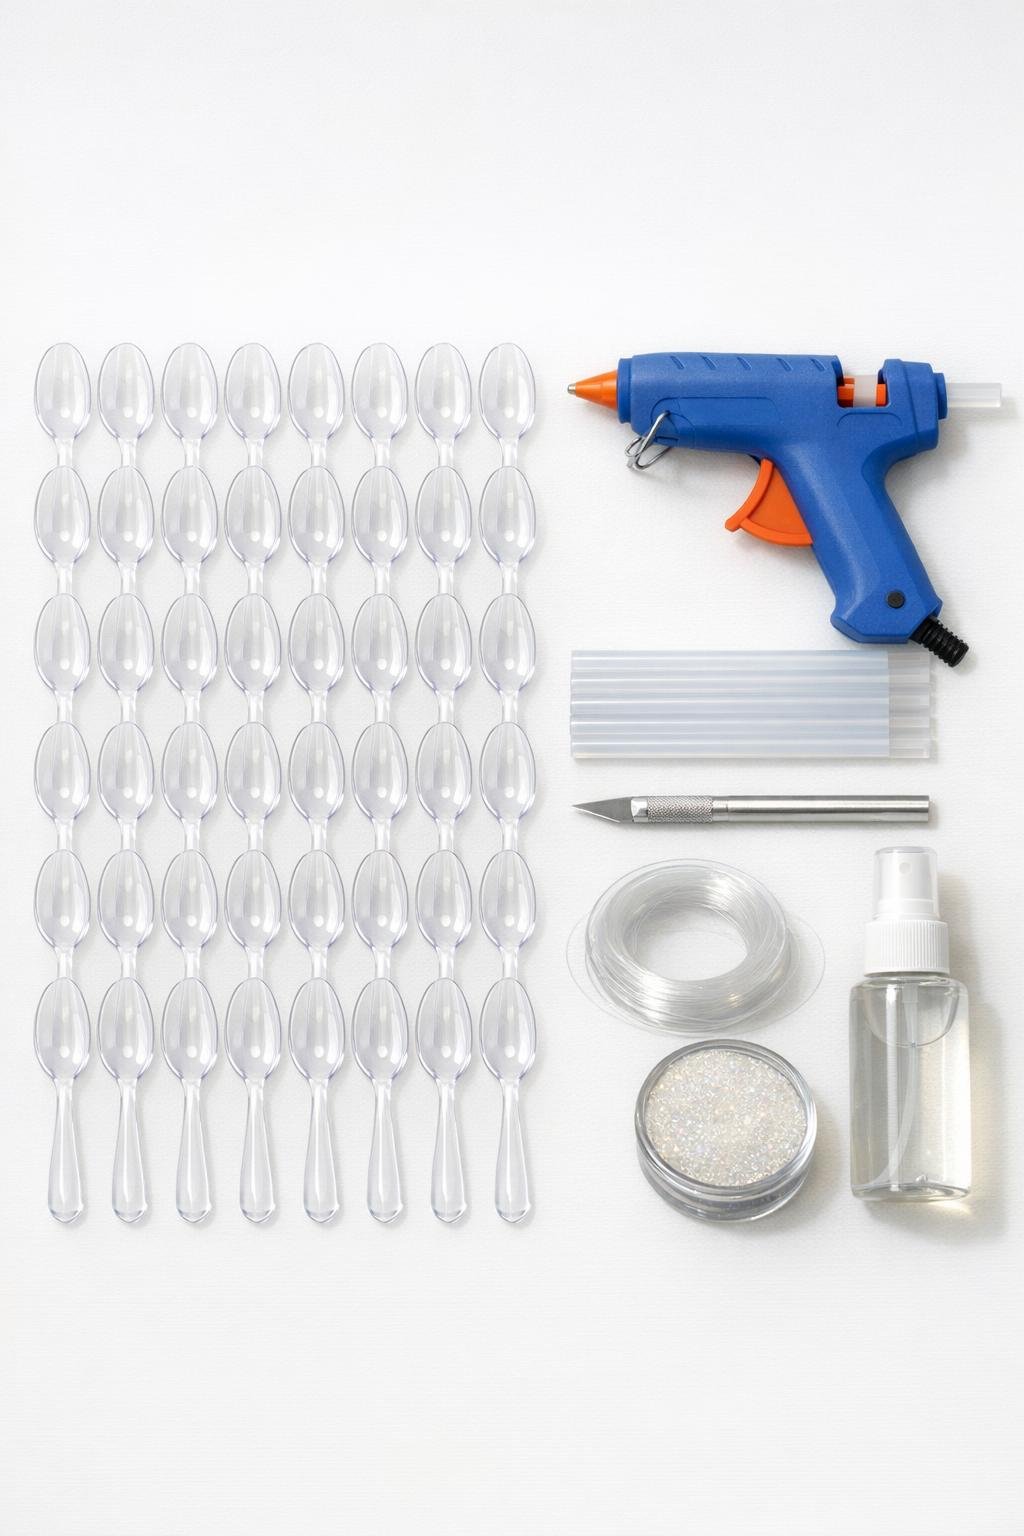
Materials
Instructions
1. Cover your work surface with parchment paper or a silicone mat, plug in the glue gun, and sort all 42 spoons so the bowls face up in straight rows for easy filling.
2. Fill the bowl of each spoon with clear hot glue, starting in the center and slowly spiraling outward until the hollow is level and fully covered; work carefully to avoid large bubbles.
3. Let the glue cool completely for 15 to 20 minutes, until every spoon feels firm and glassy rather than soft in the center.
4. Use the craft knife to score the handle off each spoon just below the bowl, then bend gently to separate it; trim any rough plastic so you end up with 42 rounded “petals.”
5. Arrange 6 petals in a circle with the narrow ends meeting in the middle to form the first snowflake layer, then tack them together with small dots of hot glue on the sides where they touch.
6. Build a second ring of 12 petals around that center, offsetting them between the first 6 so the snowflake immediately looks fuller and more dimensional.
7. Add a third ring of 18 petals, again staggering them evenly and gluing each piece where it touches the ring inside it; keep checking the circle as you go so the points stay balanced.
8. Use the final 6 petals to fill any larger gaps near the outer edge or cluster them into small accent points between spokes for a more starry, intricate outline.
9. Run a thin reinforcing bead of hot glue across the back wherever petals overlap, using just enough to secure the joints without clouding the front.
10. If you want extra sparkle, dust a very light pinch of iridescent glitter onto the warm glue seams or over the still-tacky back, then tap off the excess.
11. Spray the finished piece lightly with clear acrylic sealer if using, and let it dry flat for 20 minutes to lock in glitter and add a clean glossy finish.
12. Cut a 10-inch length of fishing line, thread it around one sturdy inner joint near the top, knot it securely, and trim the ends so the ornament is ready to hang.
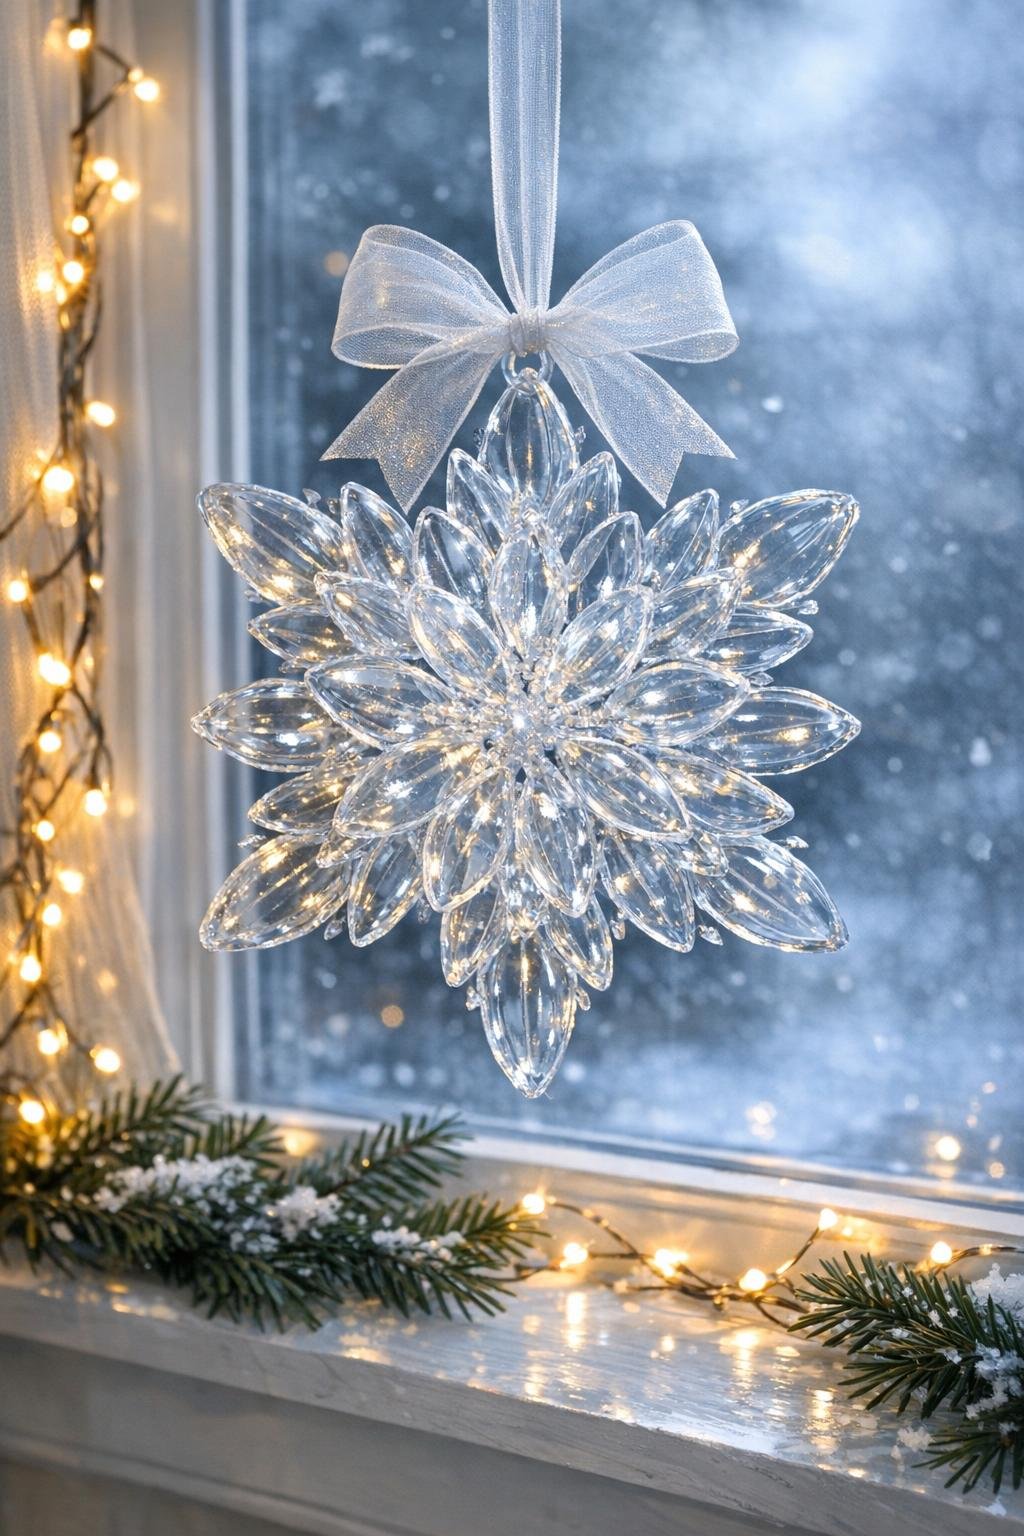
Variations & Tips
Make it frosty: Add a whisper of extra-fine silver or holographic glitter only at the seams and center so the ornament stays mostly clear and ice-like instead of turning cloudy.
Try smaller ornaments: Divide the spoons into groups of 14 and make three mini snowflakes using the same layered method for a tree full of matching pieces.
Use low-temp glue: I strongly recommend a low-temperature glue gun here because clear spoons can warp if the glue is too hot; slower and steadier wins this race.
Keep the front clean: I like to do most of the structural gluing from the back once the layout looks right, because the clear surfaces show every string and smudge.
Hang them where light hits: These look nicest in a window, near twinkle lights, or on a tree branch close to white bulbs where the clear glue can really catch and reflect light.
Batch your work: Fill all the spoons first, then trim all the handles, then assemble; that assembly-line rhythm reminds me a bit of prep work in the kitchen, and it makes the whole project go much faster.