
When I’m cleaning up the garden in fall, I’m always looking for one more way to make the mess useful before winter sets in. This little perennial root divider is one of those humble fixes that ends up doing a lot of work: it helps contain spreading roots, marks planting zones clearly, and gives broken terracotta pots a second life instead of sending them to the trash pile. If you’ve got a few pot shards on the bench and a couple of basic shed supplies, you can make this in just a few minutes.
I especially like this project for gardeners who want cleaner beds next spring without a big weekend overhaul. It’s simple, sturdy, and practical, and because the terracotta stays visible, it still looks right at home in a flower bed. I use these around enthusiastic perennials that like to wander, and they make dividing and cleanup much easier when the season turns again.
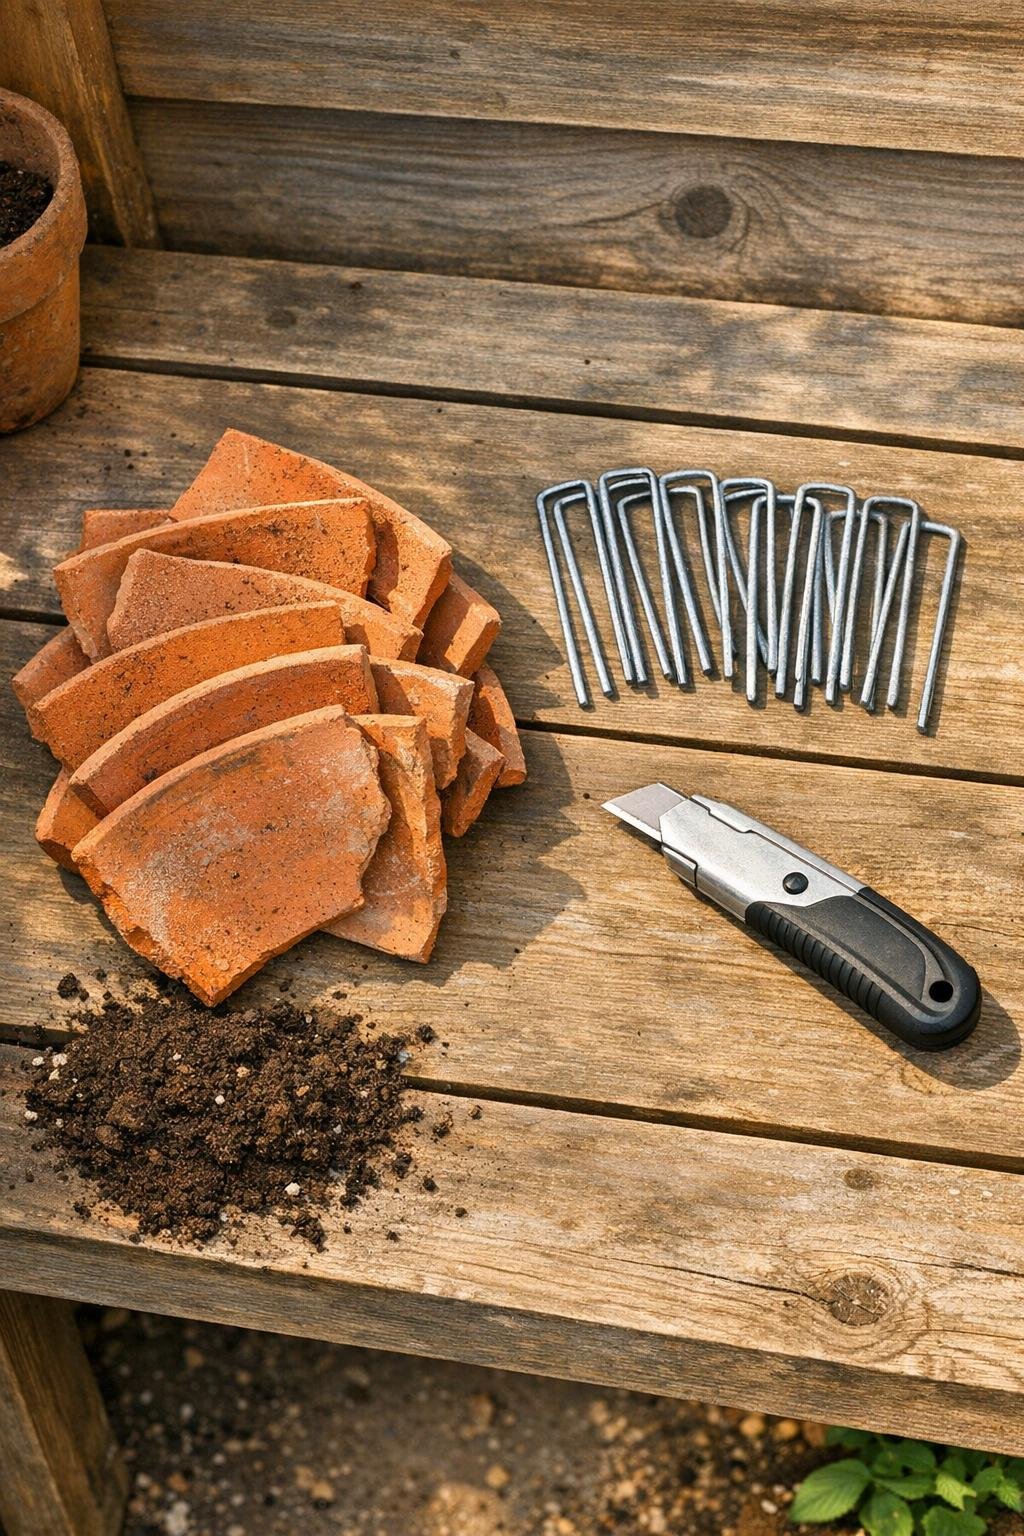
Materials
Instructions
1. Brush loose dirt off the terracotta shards and sort out the biggest curved pieces, because those will make the strongest divider wall.
2. Use the utility knife to scrape away any flaky soil or old mineral buildup from the shard edges so they sit snugly together in the ground.
3. At the edge of the perennial clump you want to control, press the first shard upright into the soil with the curved side facing outward so it follows the natural shape of the plant.
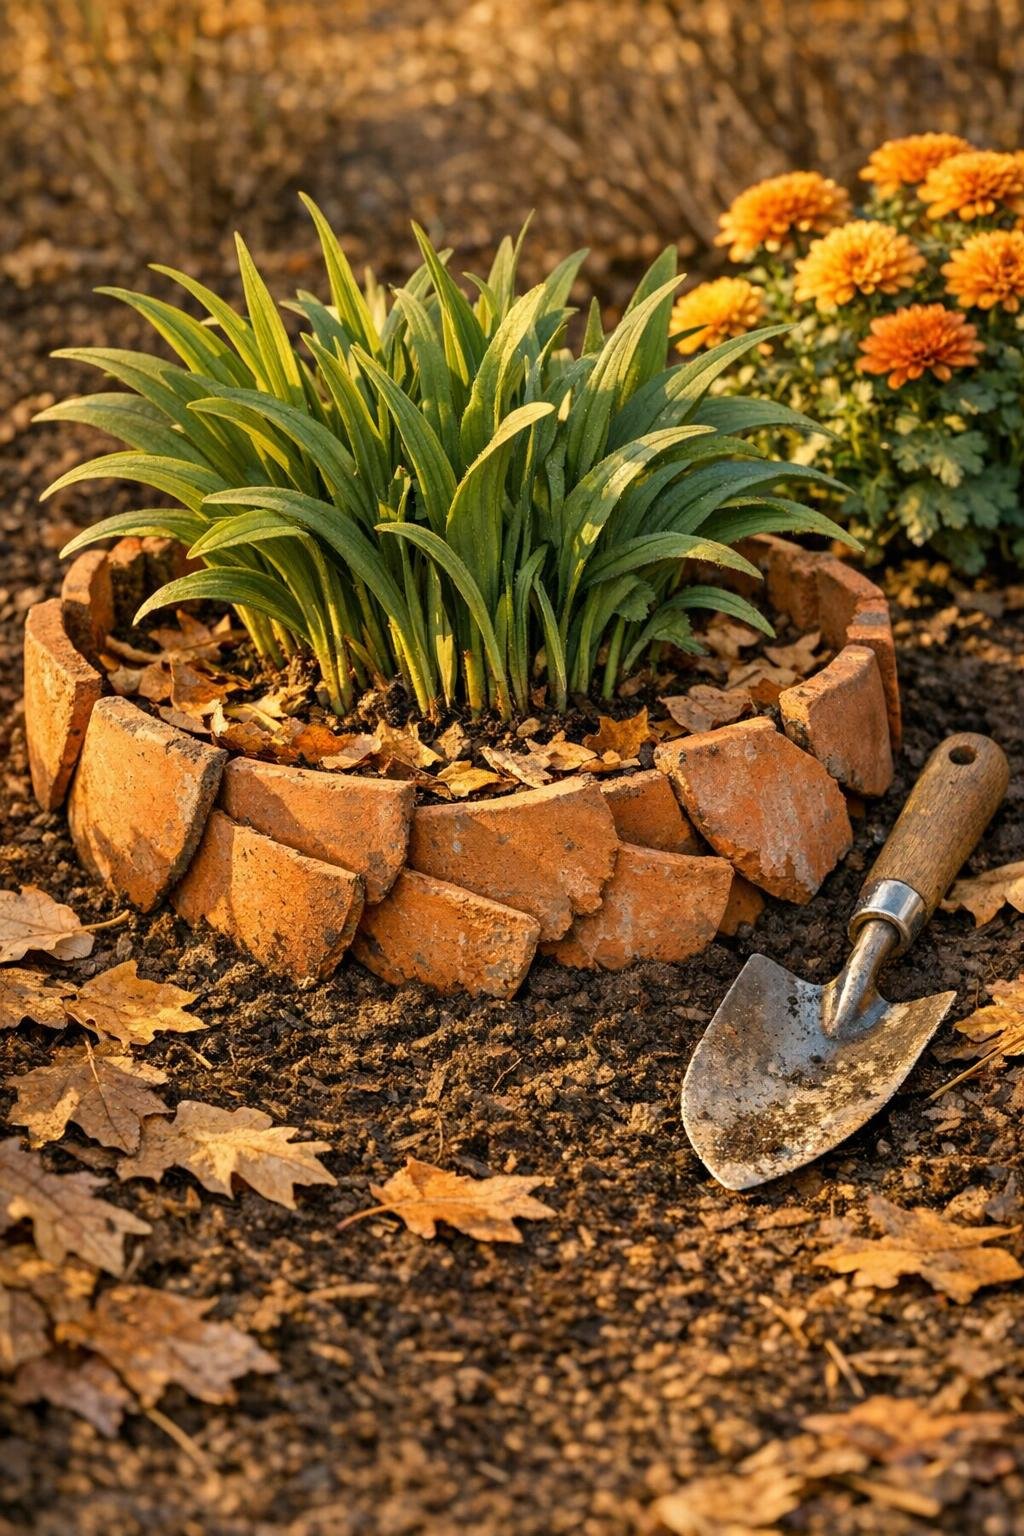
4. Overlap the next shard by about 1 inch and continue stacking the pieces in a shallow arc or full circle, depending on whether you want to block one side or create a complete root corral.
5. Push a galvanized landscape staple over the overlap between every second or third shard, driving it down until it pins the pieces tightly and keeps them from shifting during winter freezes.
6. Add extra staples at both ends of the divider or at any taller shard that wiggles, because a firm setup now will save you from frost-heave repairs later.
7. Set the top edges so about 1 to 2 inches of terracotta stays above the soil line; that gives you a visible guide for spring dividing without making the border look bulky.
8. Backfill and press soil firmly around both sides of the shards with your hands so the divider becomes part of the bed and the curve looks clean and intentional.
9. Test the barrier by tugging gently on two or three pieces; if one shifts, reset it deeper and add another staple before moving on.
10. Finish by tracing the divider line with a final smoothing of soil, leaving the warm terracotta rim visible as a tidy marker for where roots should stop spreading.
Variations & Tips
For aggressive spreaders: Make a full ring instead of a partial arc if you’re dealing with very pushy perennials like obedient plant or bee balm. The complete circle gives you a much clearer root boundary.
For shallow-rooted plants: Use shorter shards and leave more of the terracotta showing above the soil. It still marks the edge beautifully without crowding the crown of the plant.
For heavy clay soil: Water the area lightly before pressing in the pieces. I do this in our tougher patches because damp soil grips the shards better and makes installation less frustrating.
To make spring cleanup easier: Arrange the nicest matching shard edges along the front side of the divider. That little bit of order makes the bed look more polished all winter long.
If your shards are uneven: Alternate tall and short pieces so the top line looks intentionally scalloped rather than accidental. Garden projects always look better when the variation feels planned.
Kid- and pet-aware placement: Keep the divider just inside the planting bed instead of right along a walkway, and avoid leaving very sharp points exposed. I like to turn the bluntest edges outward where feet and paws might wander.