
There are a few projects I love because they feel a little like kitchen magic, and this is one of them. You start with the simplest little glass marbles and a baking sheet, and after one very dramatic temperature change, they turn into something sparkling, frosty, and special-looking enough to dress up a whole tree or a winter centerpiece.
I especially like this one because it is inexpensive, fast, and easy to make in a good-sized batch. If you enjoy holiday decorating, handmade gifts, or just want a cozy afternoon project that gives you a lot of payoff for very little fuss, this is exactly the sort of craft that feels wonderfully rewarding.
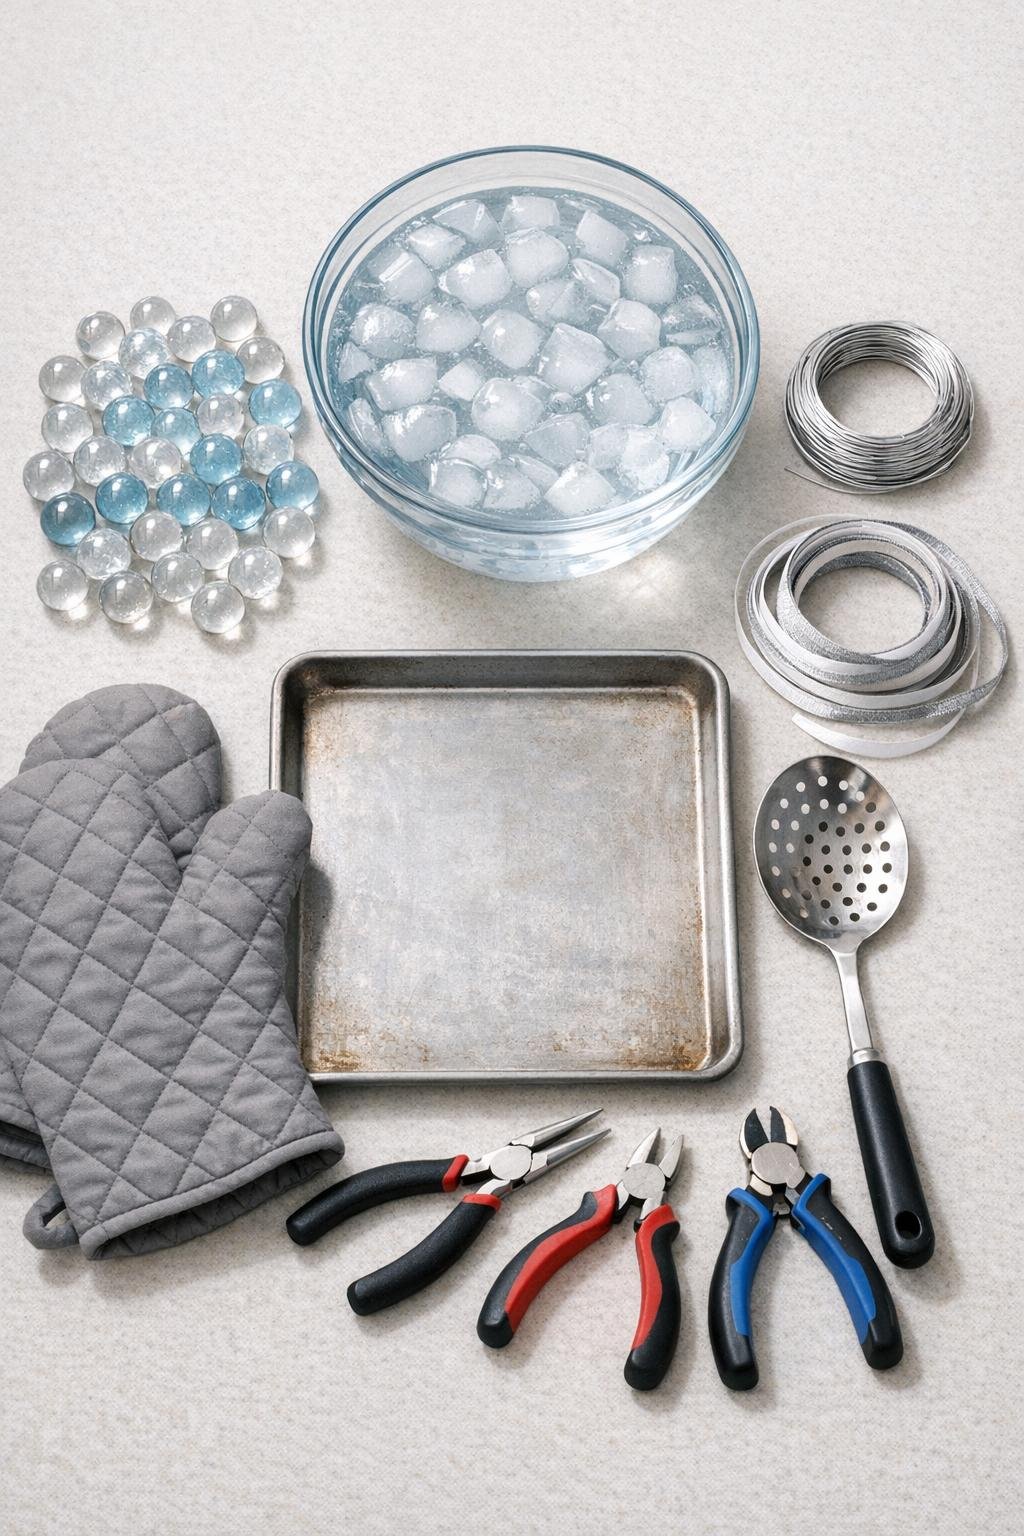
Materials
1 bag clear or pale blue glass marbles, about 50 marbles, 5/8 inch to 1 inch each
Instructions
1. Preheat your oven to 500°F and fill a large bowl with cold water and plenty of ice so it is ready before the marbles come out of the oven.
2. Spread the glass marbles in a single layer on a bare metal baking sheet, leaving a little space between them so they heat evenly.
3. Bake the marbles for 20 minutes, until they are thoroughly heated; meanwhile, set the bowl of ice water right beside the oven so you can work quickly and safely.
4. Wearing oven mitts, remove the baking sheet and immediately lift a few marbles at a time with a slotted spoon and lower them into the ice water; continue until all the marbles have been shocked and crackled.
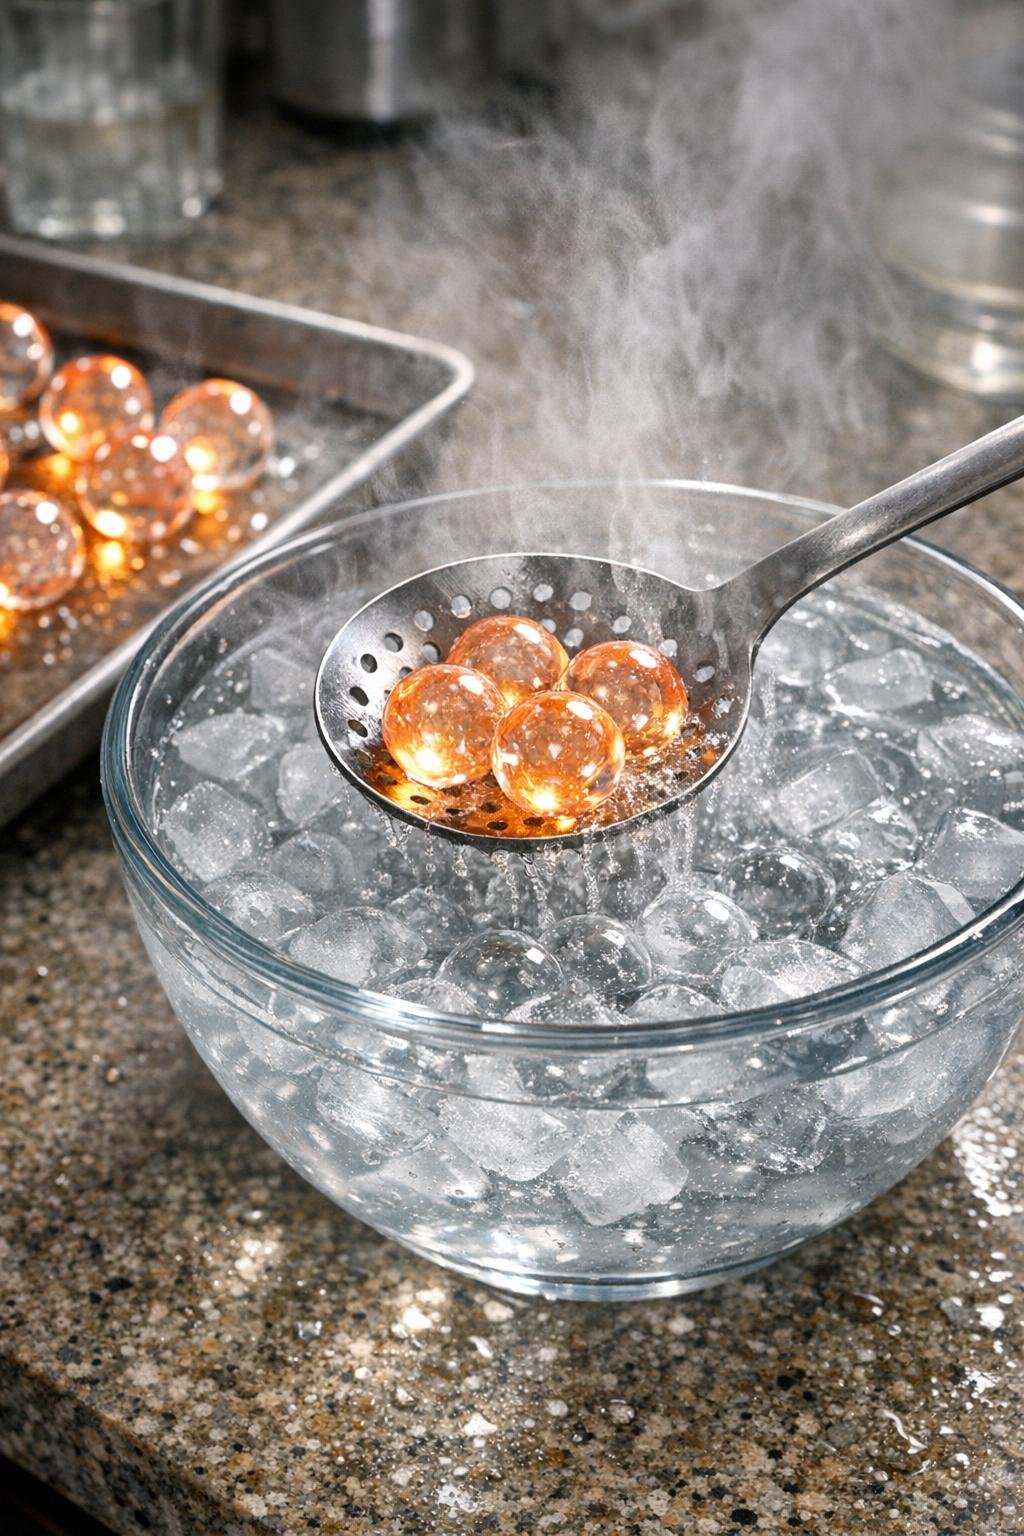
5. Let the marbles sit in the ice water for 2 to 3 minutes, then remove them and dry them completely on a towel so the wire grips well.
6. Cut a 6 to 7 inch piece of silver craft wire for each ornament, which gives you enough length to wrap securely and still make a hanging loop.
7. Hold one marble in your hand and wrap the wire around its middle twice, crossing the ends snugly so the wire sits neatly in the center like a tiny belt.
8. Twist the two wire ends together 3 or 4 times at the top of the marble with your fingers, then use round-nose pliers to curl the twisted section into a small loop for hanging.
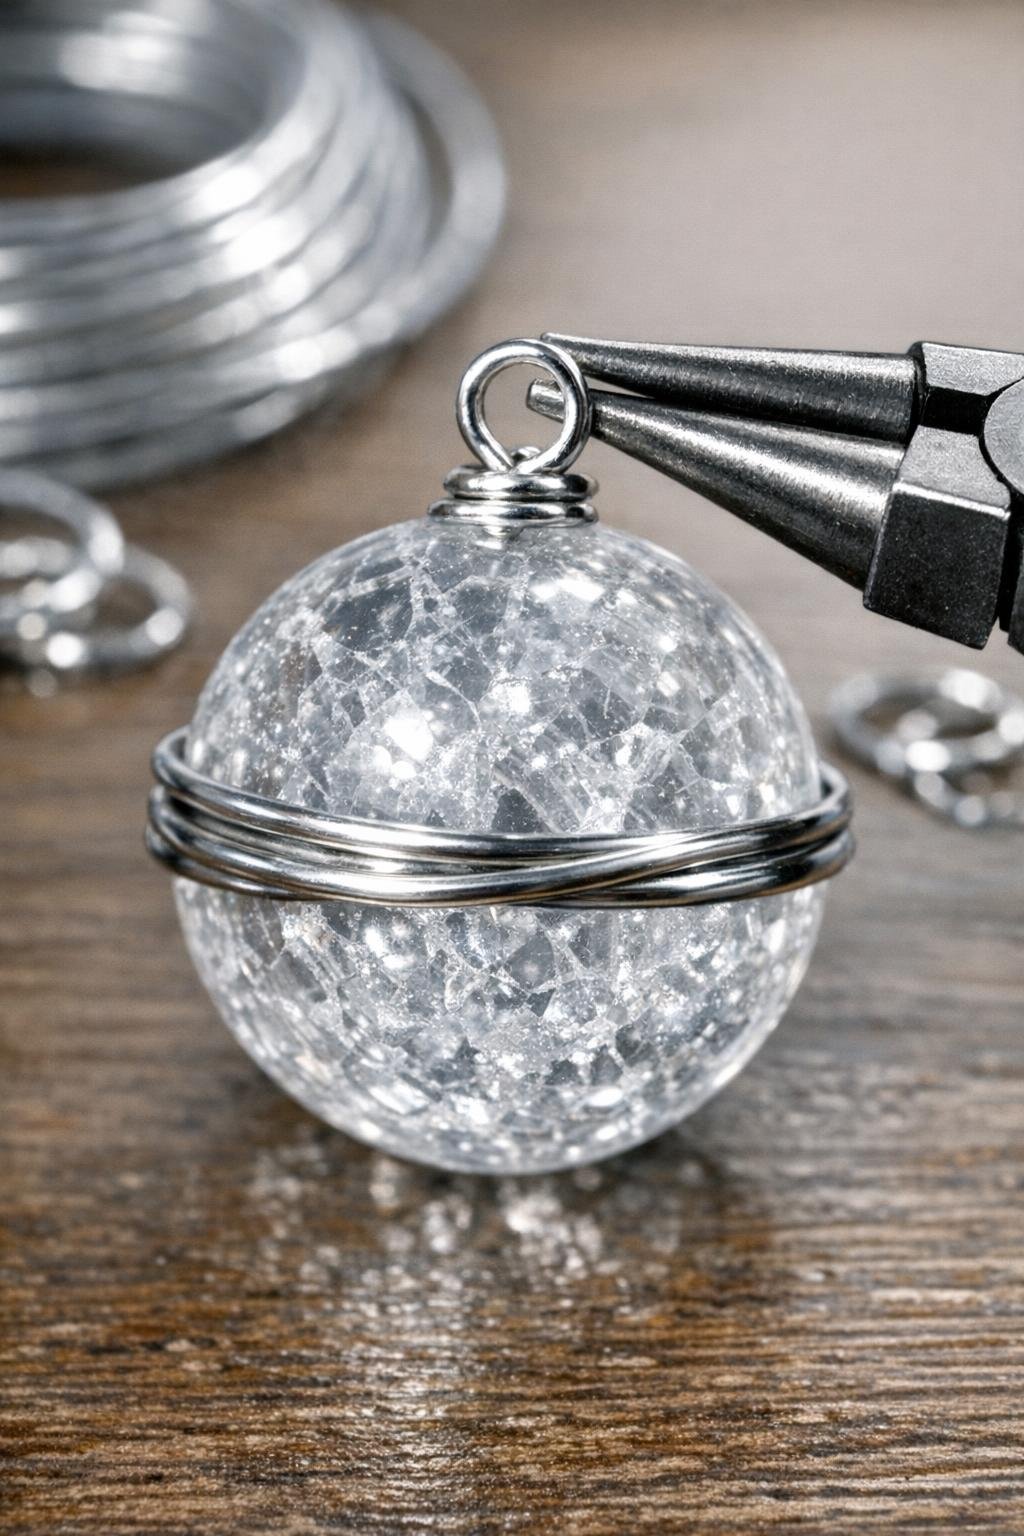
9. Trim any excess wire with cutters and press the cut end flat so there are no sharp points sticking out.
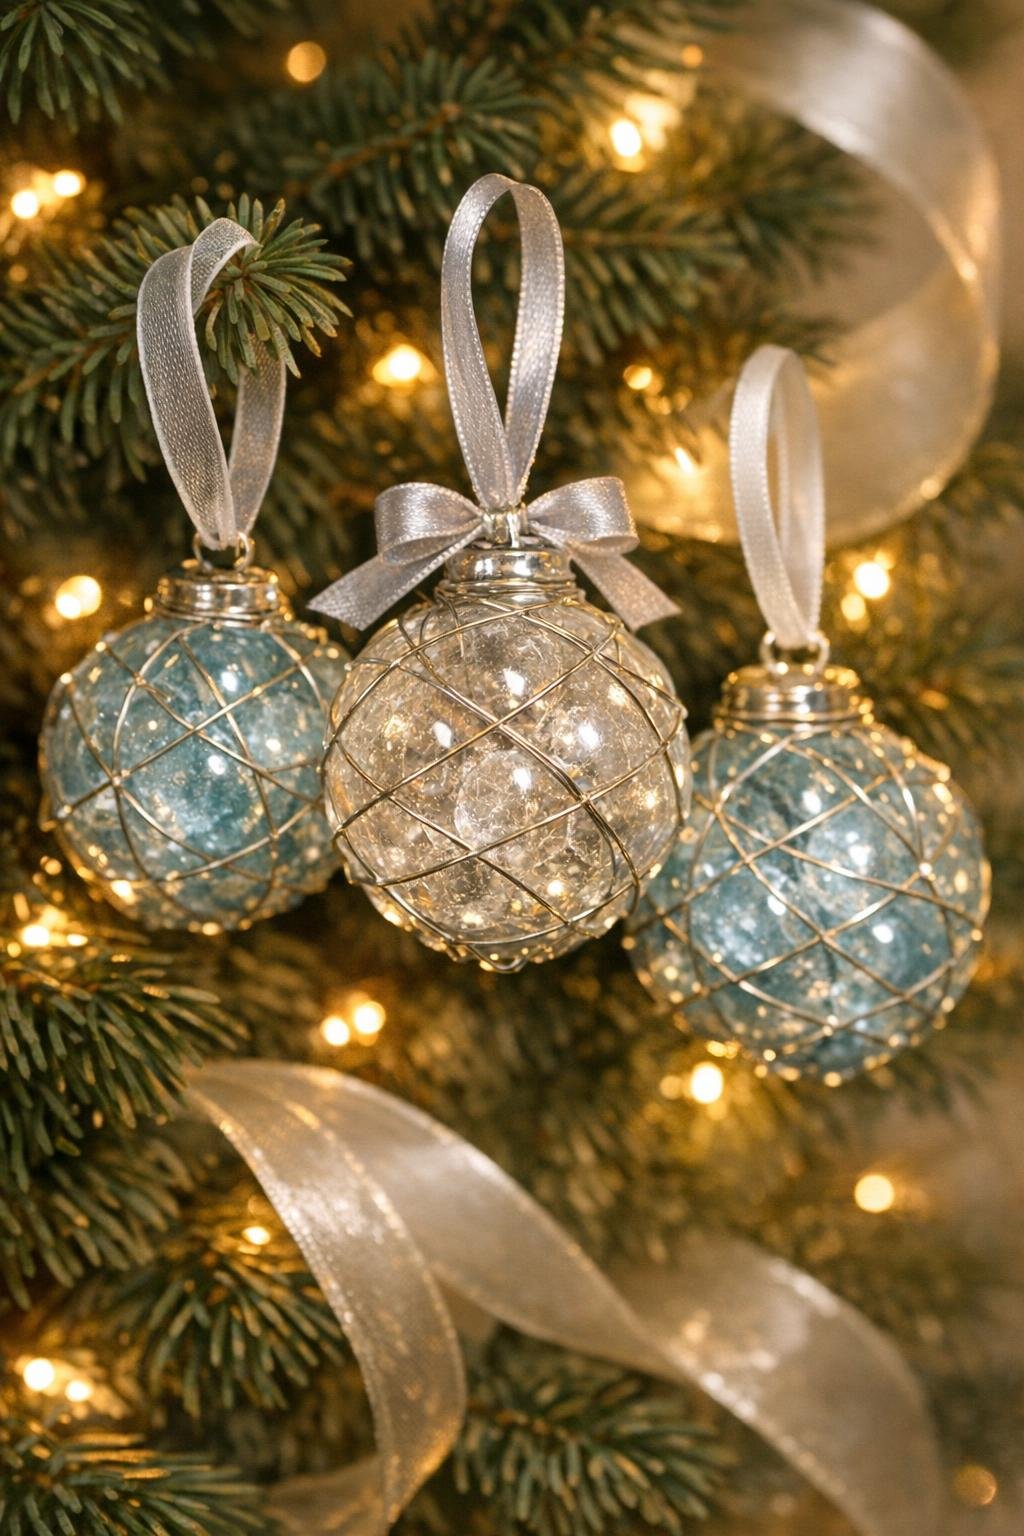
10. Thread a 10 to 12 inch piece of thin ribbon through the wire loop and tie it into a small knot or soft bow for a polished finish.
11. Repeat with the remaining marbles until you have a whole batch, mixing clear and pale blue marbles together for the prettiest icy look.
12. Hang them on a Christmas tree, drape them from a winter branch arrangement, or cluster several in a bowl where the crackled centers can catch the light.
Variations & Tips
For a fuller display: I like to make the whole bag at once so the finished ornaments look abundant instead of skimpy. A generous cluster in one spot always looks more magical than just two or three scattered around.
For picky color tastes: If your family likes a softer look, use all clear marbles for a clean snowy sparkle. If you want more color without losing the icy effect, mix in a handful of pale blue marbles only.
For safer handling: Make sure you use plain glass marbles, not plastic decorative fillers. I also always keep the ice-water bowl close to the oven so I am not carrying hot marbles across the kitchen.
For the prettiest wire wrap: Keep the wire centered around the widest part of the marble and pull it snug before twisting. That little detail helps the ornament look finished instead of homemade in a rough way.
For gift giving: These look lovely tucked into a small box with tissue paper or tied onto a package. I have even added a few to a hostess gift during the holidays, and they always get noticed.
If a marble cracks too much: Set aside any marble that chips or breaks all the way through instead of wiring it for hanging. Most will crackle beautifully inside, but it is always smart to keep only the fully intact ones for ornaments.