
There’s something deeply satisfying about making a handful of decorations from what would otherwise get tossed out, and this little project does exactly that. A row of old light bulbs, a few bottles of paint, and some ribbon or felt can turn into a whole set of winter ornaments with more charm than anything I ever bought in a store. It’s simple enough for an afternoon at the kitchen table, and the kind of craft that looks extra sweet once they’re all gathered together.
I’m especially fond of projects like this in the colder months, when the house feels cozier with a bit of handmaking going on. If you like easy seasonal crafts, homemade tree ornaments, or little upcycled projects that don’t ask much from you besides a steady brush and a touch of patience, this one is well worth your time.
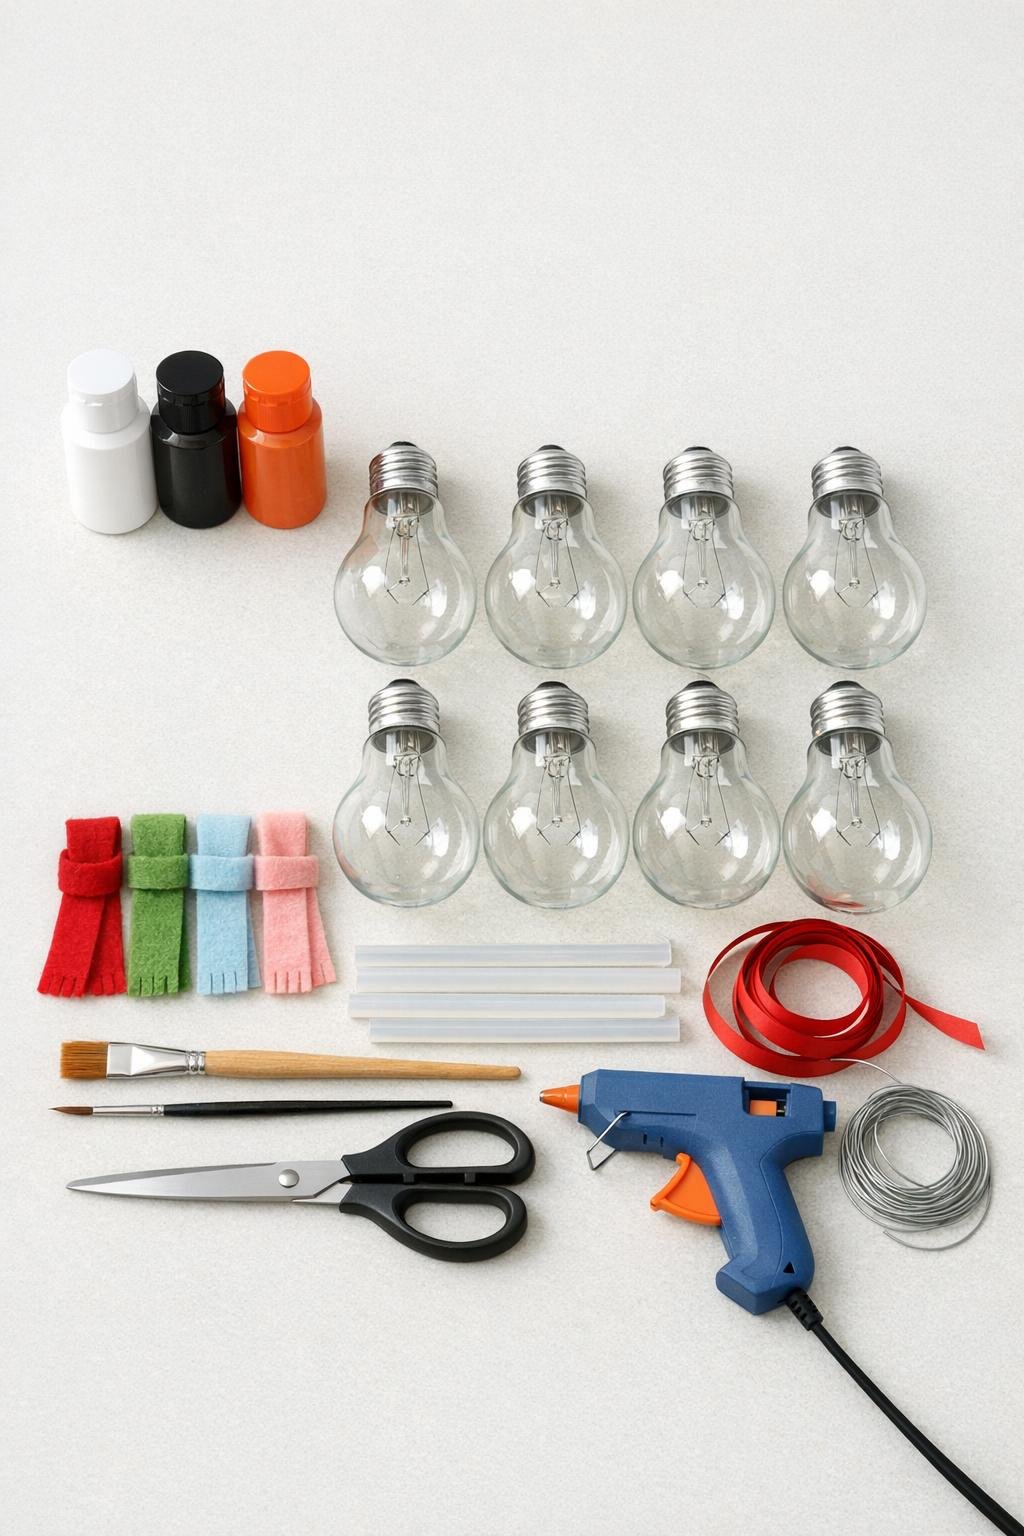
Materials
Instructions
1. Wipe each light bulb clean and make sure the glass is dry, then hold each bulb by the metal base so you can work without smudging the surface.
2. Brush white acrylic paint over the round glass portion of all 6 bulbs, leaving the metal bases unpainted; apply a solid coat and let it dry before adding a second coat for full coverage.
3. Turn the bulbs as you paint so the finish stays smooth, and set them upright or balance them carefully to dry completely before adding details.
4. Use black acrylic paint to add the penguin’s back and side panels, leaving a rounded white belly on the front of each bulb.
5. With the small detail brush, paint two small black eyes on the white area near the narrow end of each bulb, then add a tiny orange triangle beak centered just below the eyes.
6. Let the faces dry, then cut or neaten the scarf pieces so each one looks finished and proportional to the bulb.
7. Wrap one felt or ribbon strip around the neck area where the glass meets the metal base, tie it once if using ribbon, or overlap the ends if using felt.
8. Add a small dot of hot glue to secure each scarf in place, then fluff the ends so they sit neatly and give the ornaments a cozy finished look.
9. Thread one 12-inch piece of wire or ribbon around each metal bulb base, knot or twist it securely into a hanging loop, and trim any excess.
10. Check that all 6 ornaments are dry, balanced, and securely glued, then set them aside for a final cure before hanging them on the tree or displaying them on a branch arrangement.
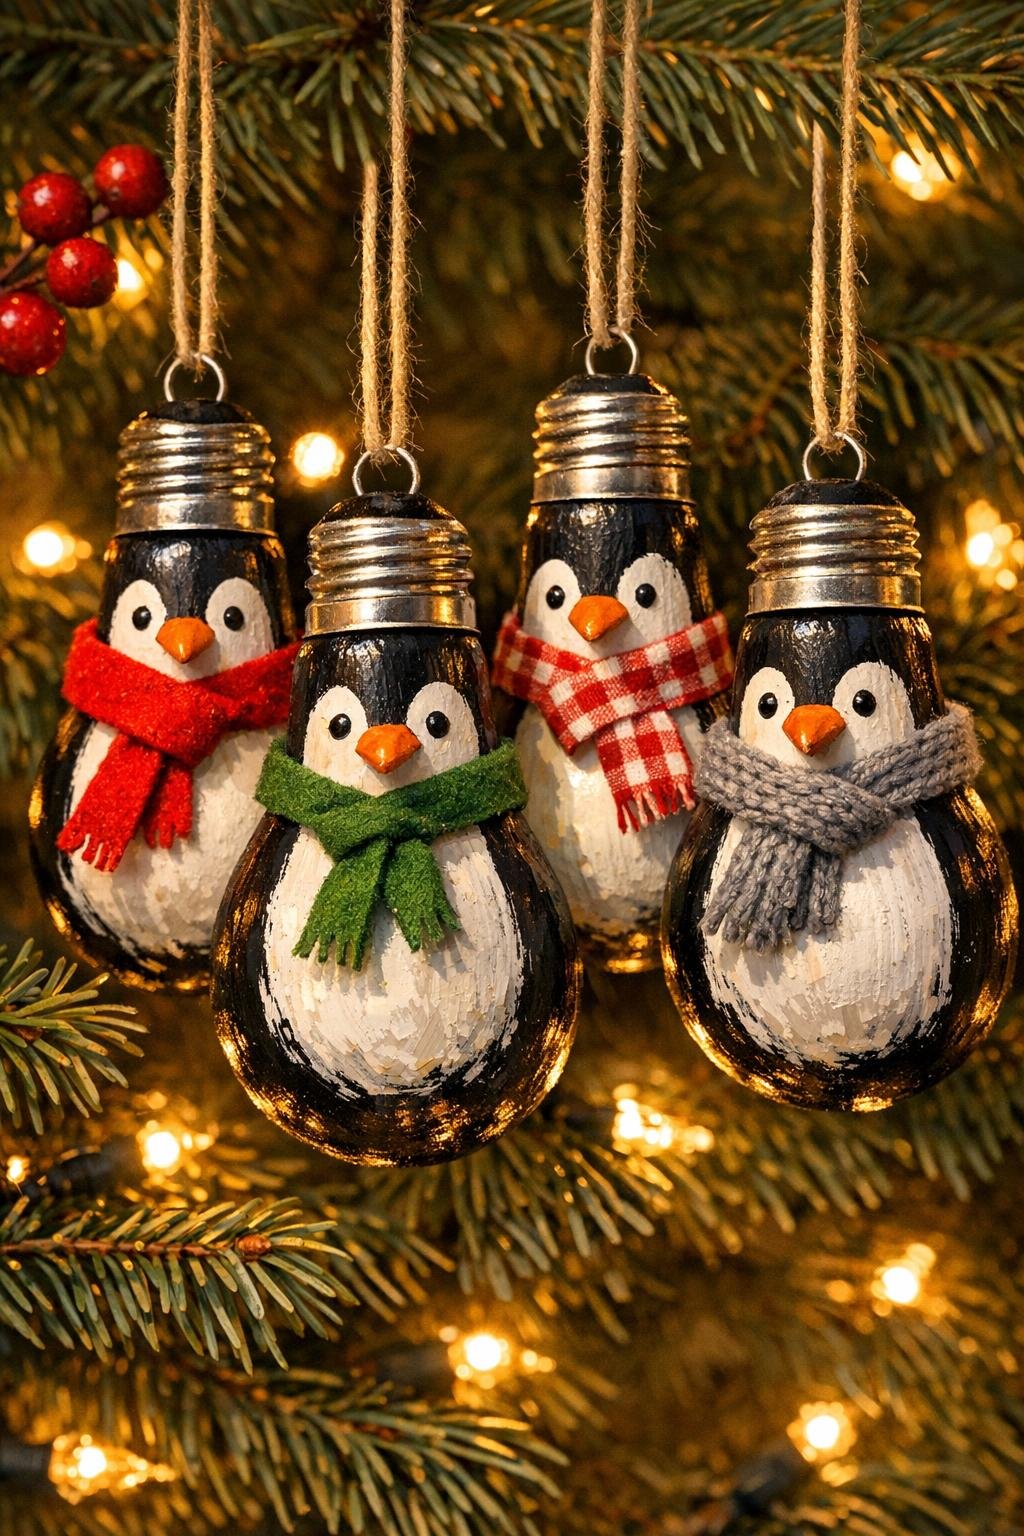
Variations & Tips
Scarf Choices: Felt gives a soft, snug little scarf that stays put nicely, while ribbon looks tidier and a touch dressier. If I have both in my drawer, I like mixing them so the set looks collected over time.
Face Placement: Paint the eyes and beak a little higher than you think you should. On a rounded bulb, features placed too low can make the face disappear once the ornament is hanging.
Paint Coverage: If your bulbs are especially slick, two coats of white paint are usually the sweet spot. Letting the first coat dry fully before the second makes all the difference.
Hanger Option: Thin floral wire gives a secure loop, but narrow ribbon is prettier if these ornaments are mostly for gentle indoor use. Just knot it tightly around the metal base.
Display Idea: These are lovely on a Christmas tree, but I also like them hanging from a bare winter branch tucked into a crock or pitcher on the table. It gives that old-fashioned homemade feel that never goes out of style.
Storage Tip: Wrap each ornament in tissue paper and store them in a shallow box so the painted glass doesn’t knock together. A little care means you can bring them out year after year.