
There’s something downright delightful about taking the plainest bargain-store supplies and coaxing them into something that catches the light like a winter morning on the pasture fence. This project starts with a stack of simple round cake pans and a whole lot of clear pony beads, and with a little heat and some easy assembly, those humble pieces turn into a sparkling decoration that looks far fancier than the price tag suggests.
I especially love a project like this when I want a big seasonal statement without fussing with tiny complicated steps. If you’re comfortable pouring, melting, drilling, and stacking, you can make this in an afternoon, and the finished piece has that polished, old-fashioned magic I’m always drawn to around the holidays.
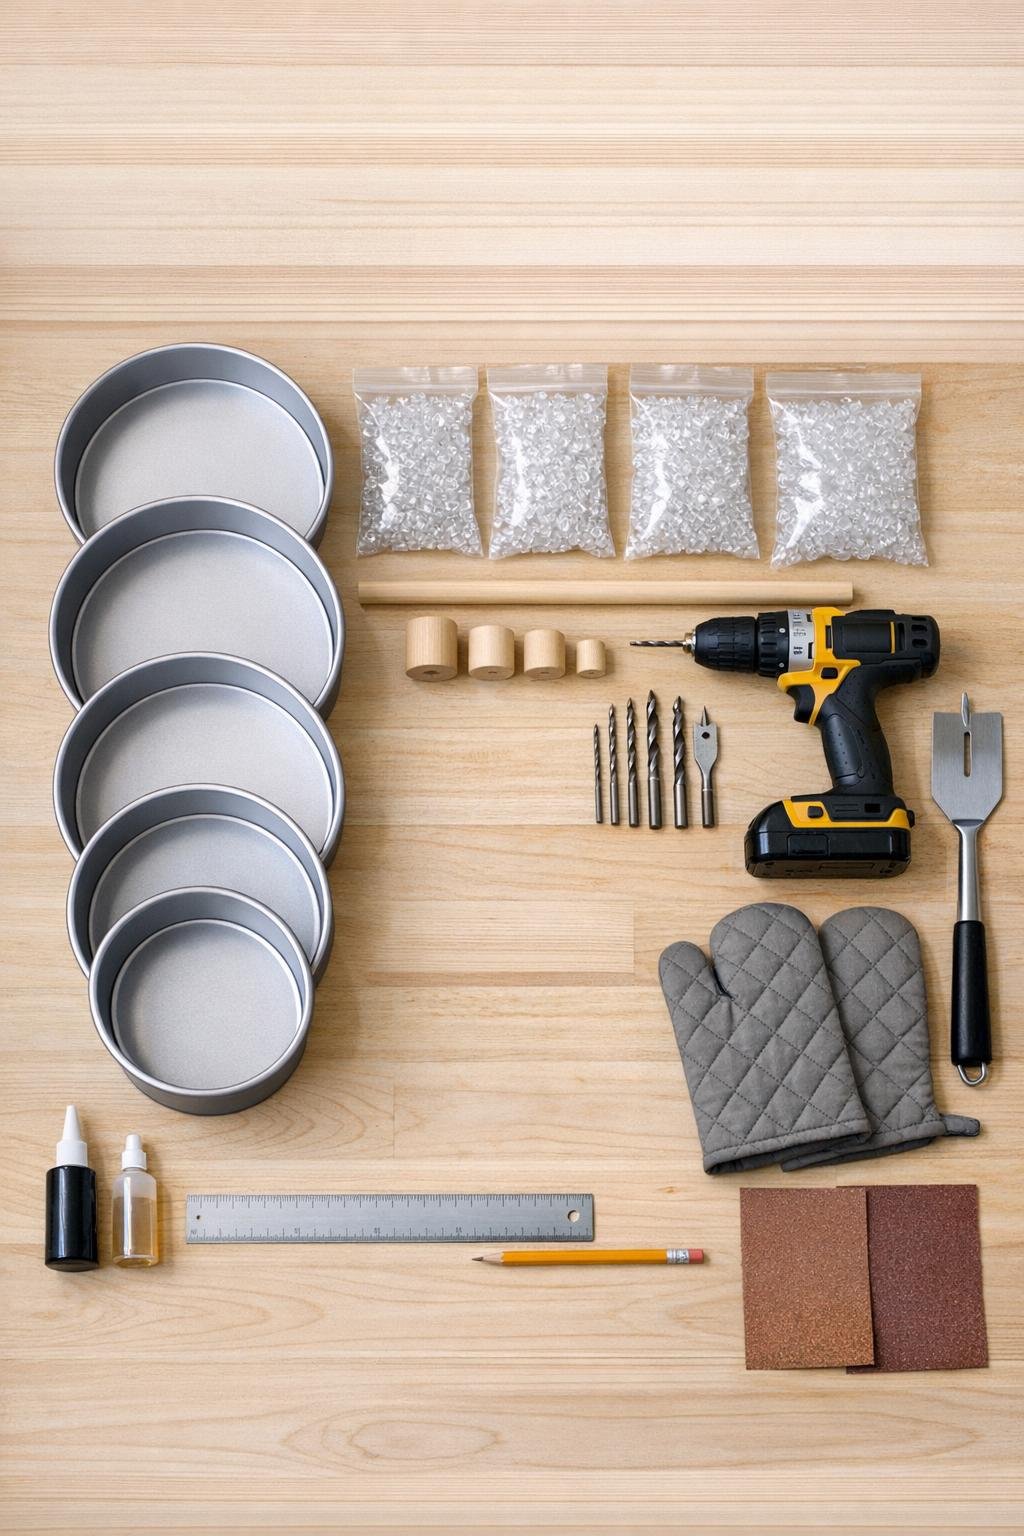
Materials
Instructions
1. Wash and dry all 5 cake pans, then set them in order from largest to smallest. Pour enough clear pony beads into each pan to make a single flat layer that fully covers the bottom edge to edge.
2. Preheat the outdoor grill to medium heat, aiming for roughly 350°F to 400°F, and place the pans on the grill grates with the lid closed. Heat them just until the beads soften and fuse into solid discs, checking every 3 to 5 minutes so they melt together without browning.
3. Remove the pans carefully with oven mitts and let them cool completely on a heat-safe surface. Once cool, press each fused bead disc gently to be sure it has set into one sturdy piece.
4. Run a drill through the center of each cooled disc, making one neat 3/8-inch hole straight through the middle. Sand away any rough plastic bits around the holes so the pieces stack cleanly.
5. Cut the wooden dowel to 18 inches if needed, and lightly sand the ends smooth. Test-fit the smallest hole over the dowel so it slides on easily without wobbling too much.
6. Glue the dowel upright into the center of the largest disc, keeping it as straight as possible, and let it set firmly. This largest tier becomes the base, so give the glue a few extra minutes to grab well.
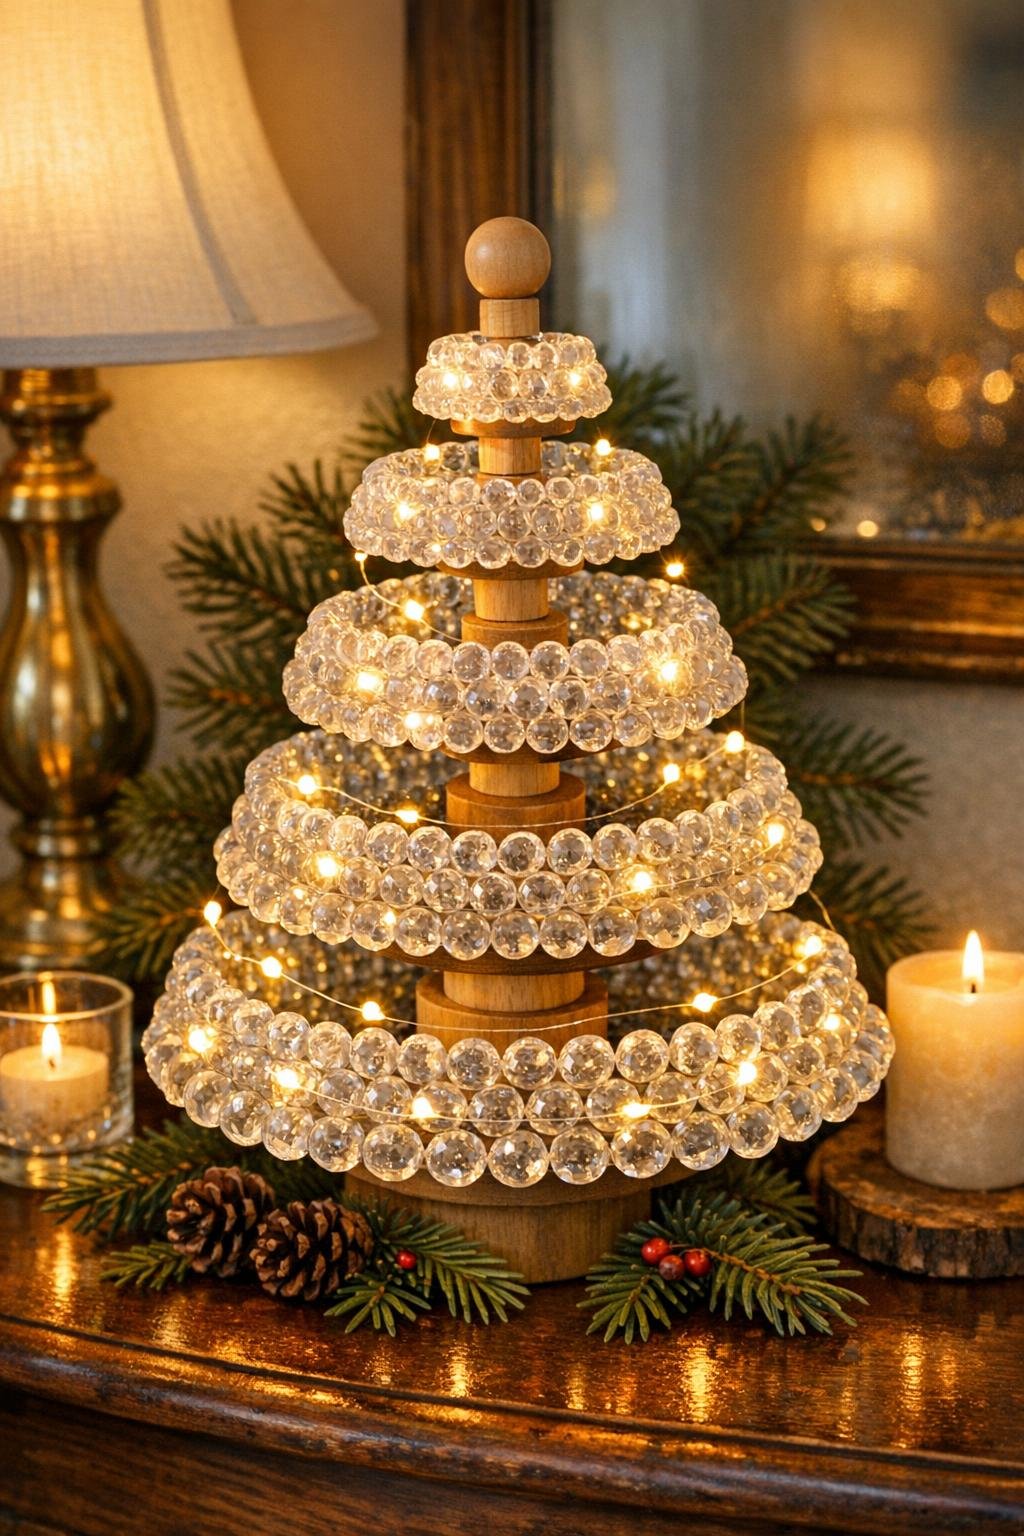
7. Slide one wooden spool spacer down the dowel, then add the 10-inch disc, another spacer, the 8-inch disc, another spacer, the 6-inch disc, another spacer, and finally the 4-inch disc. Adjust the spacing so each tier sits evenly and the stack tapers neatly like a tree.
8. Glue each spacer in place once you like the spacing, then top the dowel with the extra wooden spool or wood ball topper. If the dowel extends above the topper, trim it first or sand it flush for a clean finish.
9. Stand back and check the silhouette from all sides, rotating the tiers until the edges look balanced and centered. Add a touch of glue under any tier that shifts so the whole piece feels solid.
10. If you want extra sparkle, mist the finished piece lightly with clear glitter spray and let it dry fully outdoors. For evening shine, tuck a short strand of battery fairy lights around the tiers, weaving them loosely so the clear beads catch the glow.
Variations & Tips
Add a frosted look: If you prefer a softer, icy finish, dust the cooled tiers lightly with clear glitter spray instead of leaving them plain. It gives the piece a sugar-frost sparkle without hiding the bead texture.
Use mixed clear beads: You can blend in a cup or two of iridescent or pearly translucent pony beads with the clear ones for more depth. I’d still keep the mix mostly clear so the whole tree glows instead of looking cloudy.
Keep the tiers full-sized: Don’t skimp on bead coverage in the pans. A complete single layer in each pan gives you broad, dramatic tiers, and that fuller shape is what makes the finished piece feel special.
Work outdoors for melting: I always prefer melting plastic craft materials outside on the grill for better ventilation and easier cleanup. Let everything cool completely before handling so the discs stay smooth and don’t warp.
Light it simply: A short battery light strand tucked around the layers makes this especially pretty at dusk. I like warm white lights best because they bring out the glassy look without turning it blue.
Make it sturdier: If you’ll display it on a porch or in a breezy spot, add a small bead of glue where each tier meets the dowel. That little extra hold keeps the stack from twisting if it gets bumped.
Dress up the top: A small wood ball, spool, or even a simple clear ornament cap at the top gives the whole project a finished look. Those tiny final touches are often what make a homemade piece feel thoughtfully done.