
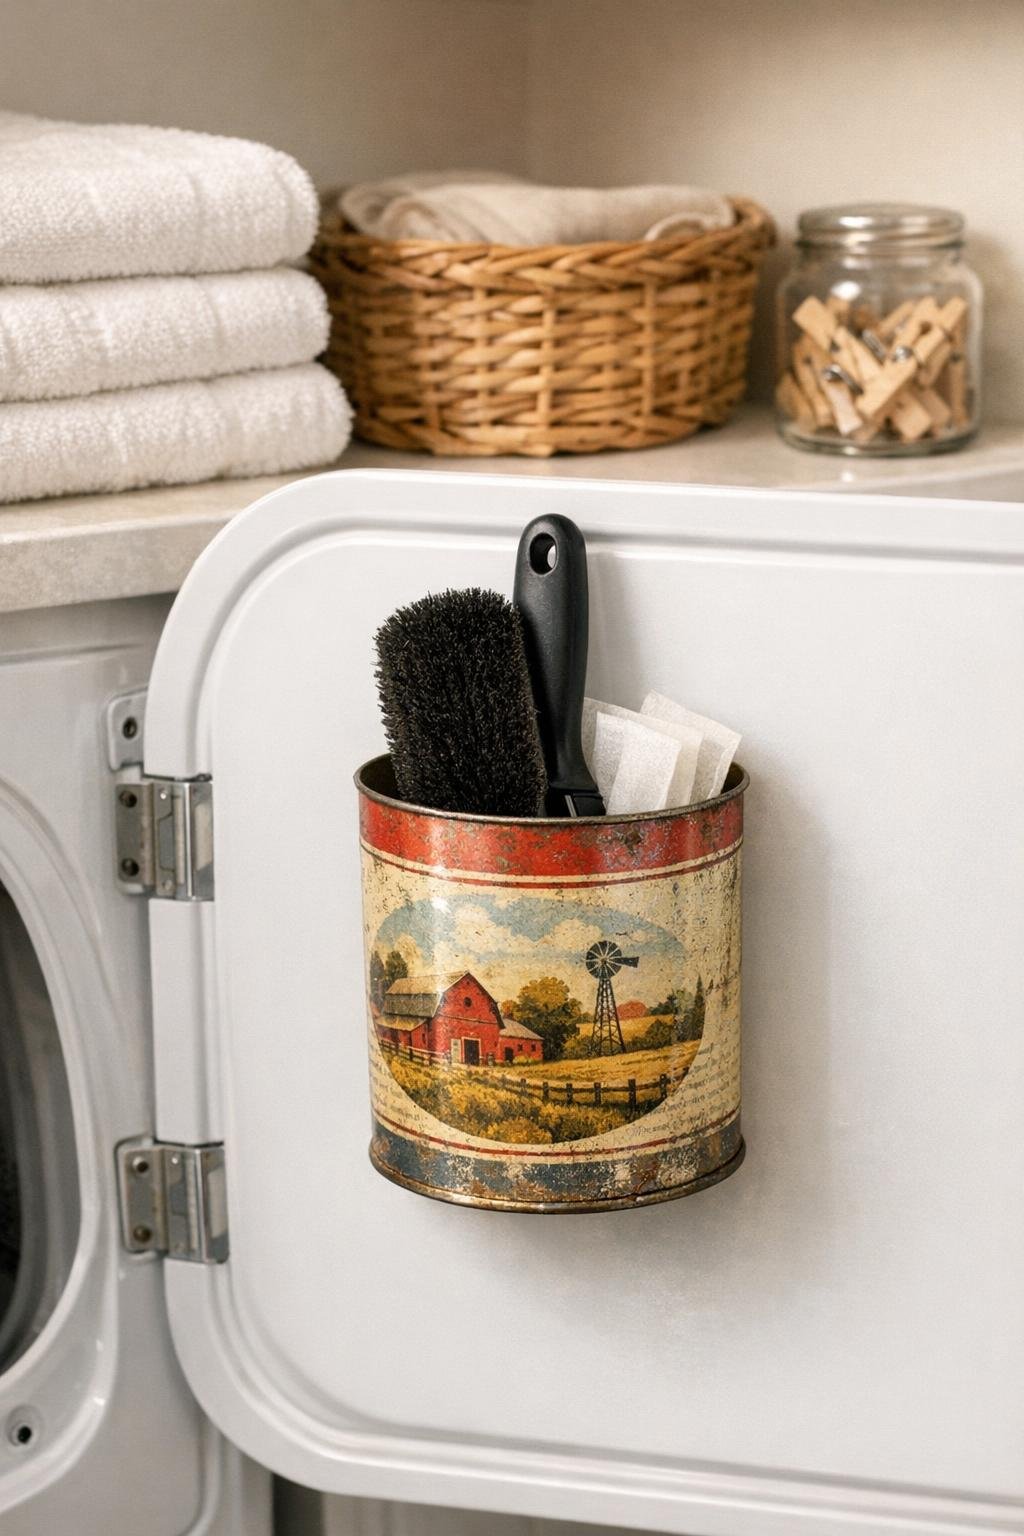
In a small laundry room, the tiniest organizing tricks can make the biggest difference, and this little lint brush station is one of my favorite examples of that. By attaching a strong magnet behind a small tin can and mounting it inside the dryer cabinet door, you get a tidy spot to hold a lint brush, dryer sheets, clothespins, or those little laundry odds and ends that always seem to disappear right when you need them.
I love projects like this because they’re quick, useful, and don’t ask much from you besides a few simple supplies and a little careful placement. If your laundry area is tight on shelf space like mine, this is such a smart way to use that hidden vertical space inside a cabinet door while still keeping everything easy to grab.
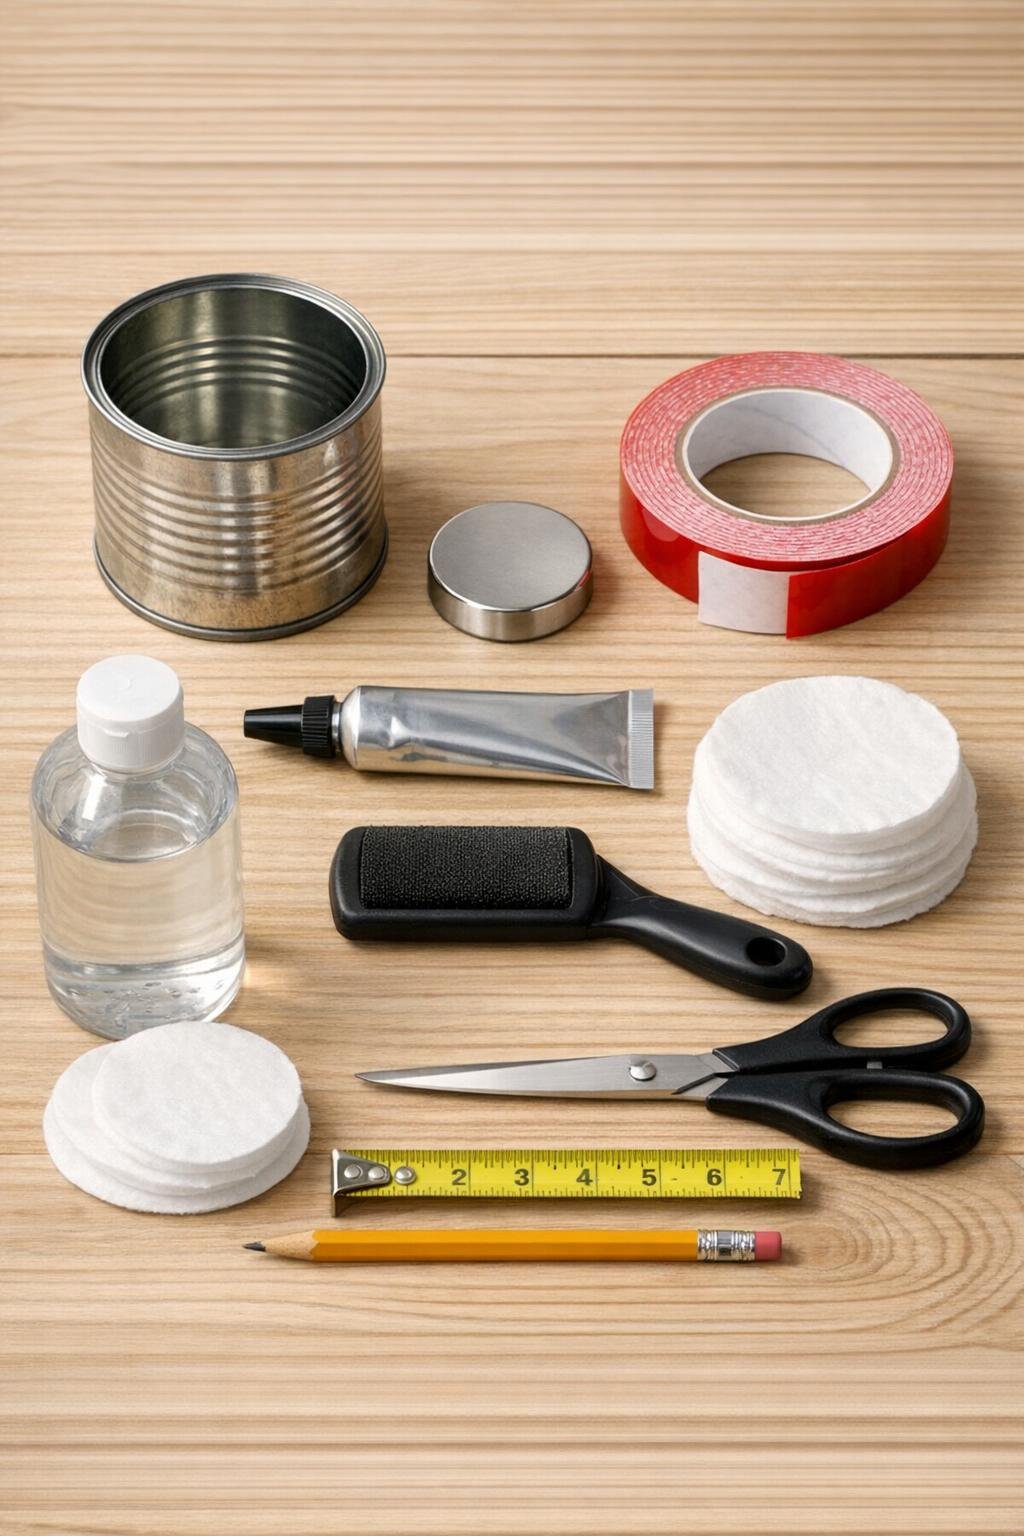
Materials
Instructions
1. Empty and clean the tin can thoroughly, then dry it well so the adhesive will grip properly. Wipe the outside back of the can and the inside of the cabinet door with rubbing alcohol and let both surfaces air-dry.
2. Test the can inside the dryer cabinet door to find a spot where it won’t bump shelves, detergent bottles, or the dryer when the door closes. Mark the placement lightly with a pencil.
3. Glue the neodymium magnet to the outside back of the tin can, centering it so the can stays balanced once mounted. Press firmly and let the adhesive set according to the glue directions until the magnet feels fully secure.
4. Add two strips of heavy-duty mounting tape around the magnet on the back of the can for extra hold. This combination gives you both immediate grip and long-term strength, which is especially helpful in a hard-working laundry space.
5. Press the can onto the marked spot inside the cabinet door and hold it in place for 30 to 60 seconds. Make sure the open top faces upward and the can sits level.
6. If you want to soften noise and protect the contents, tuck the small piece of felt or shelf liner into the bottom of the can. Trim it to fit snugly so it lies flat.
7. Wait the full cure time recommended for your adhesive before loading the can. This is one of those little patience moments that saves you from having to redo the project later.
8. Slide your lint brush into the can handle-side up, then add a few dryer sheets or clothespins if there’s room. Keep it full but not crammed so everything is easy to pull out with one hand.
9. If you’d like a polished finish, tie a simple ribbon or twine around the upper edge of the can. It’s optional, but it gives the station that finished, intentional look instead of feeling like an afterthought.
Variations & Tips
For renters: Use extra-strong removable mounting strips rated for metal and cabinet surfaces if you don’t want a more permanent adhesive bond. I would still keep the can lightly loaded for the best long-term hold.
For picky family systems: If your household tends to toss random things into any container they see, make this can the lint-brush-only spot and add a second matching can nearby for dryer sheets. I’ve learned that simple categories make it much easier for everybody to put things back where they belong.
Can choice: A tin with straight sides is easier to mount and tends to sit more securely than one with deep ridges or a tapered shape. Lightweight tins work best because they put less strain on the adhesive over time.
Magnet strength: Choose a real heavy-duty neodymium magnet rather than a basic craft magnet. The stronger magnet helps stabilize the back of the can and makes the whole setup feel much more solid.
Door clearance: Before final mounting, close the cabinet door slowly with the empty can held in place by hand. This quick check helps you catch any clearance problems before the adhesive sets.
Pretty finish: If your tin can is scratched or mismatched, spray-paint it before mounting and let it dry completely. A soft white, matte black, or sage green finish looks especially nice in a clean laundry room.