
A tall metal wine rack already has the one thing a good magazine holder needs: lots of evenly spaced cubbies that keep papers tidy without crushing them. Turning it on its side and loading it with rolled magazines gives you a living room organizer that feels clever, looks intentional, and takes almost no building skill to pull off.
I love projects like this because they solve a real household nuisance with something you may already have tucked in a pantry, dining room corner, or thrift-store haul. If your coffee table tends to disappear under magazines, catalogs, and folded newspapers, this version keeps everything visible and easy to grab while still looking polished enough to leave out beside a sofa or reading chair.
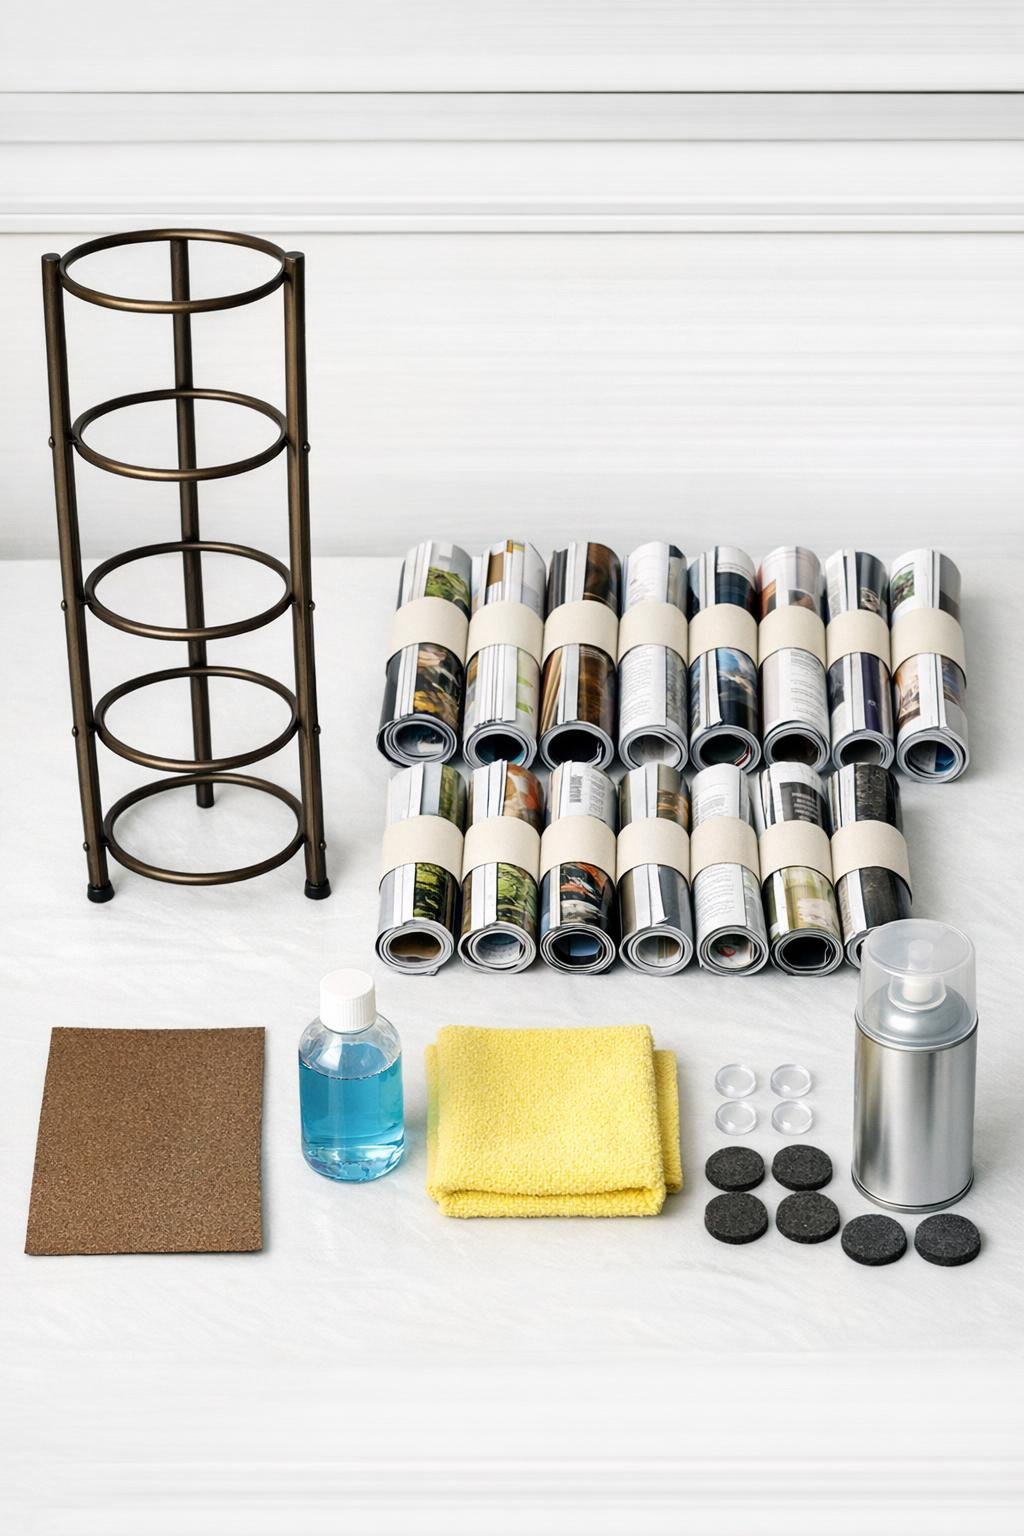
Materials
Instructions
1. Clean the wine rack thoroughly with metal cleaner or warm soapy water and dry it with the microfiber cloth so the finish looks fresh and the magazines stay dust-free.
2. Lightly scuff any rough spots or scratches with the 220-grit sandpaper, then wipe away all dust so the bronze finish looks even once it is in the room.
3. If the existing finish looks worn, spray on a light coat of clear matte sealer and let it dry completely; this simple step gives an older rack a more finished, furniture-like look.
4. Turn the wine rack on its side so the bottle openings face outward horizontally, and test which side sits flattest and looks best from the front.
5. Stick felt pads along the long bottom edge that will rest on the floor or shelf, spacing them evenly to protect the surface and keep the rack from scraping when moved.
6. Add the clear rubber bumpers to the back corners so the rack does not slide or mark the wall if you place it beside a chair, console, or media stand.
7. Roll each magazine into a loose tube about 3 to 4 inches across, keeping the cover visible on the outside, and secure it gently with a removable band so it stays neat without creasing badly.
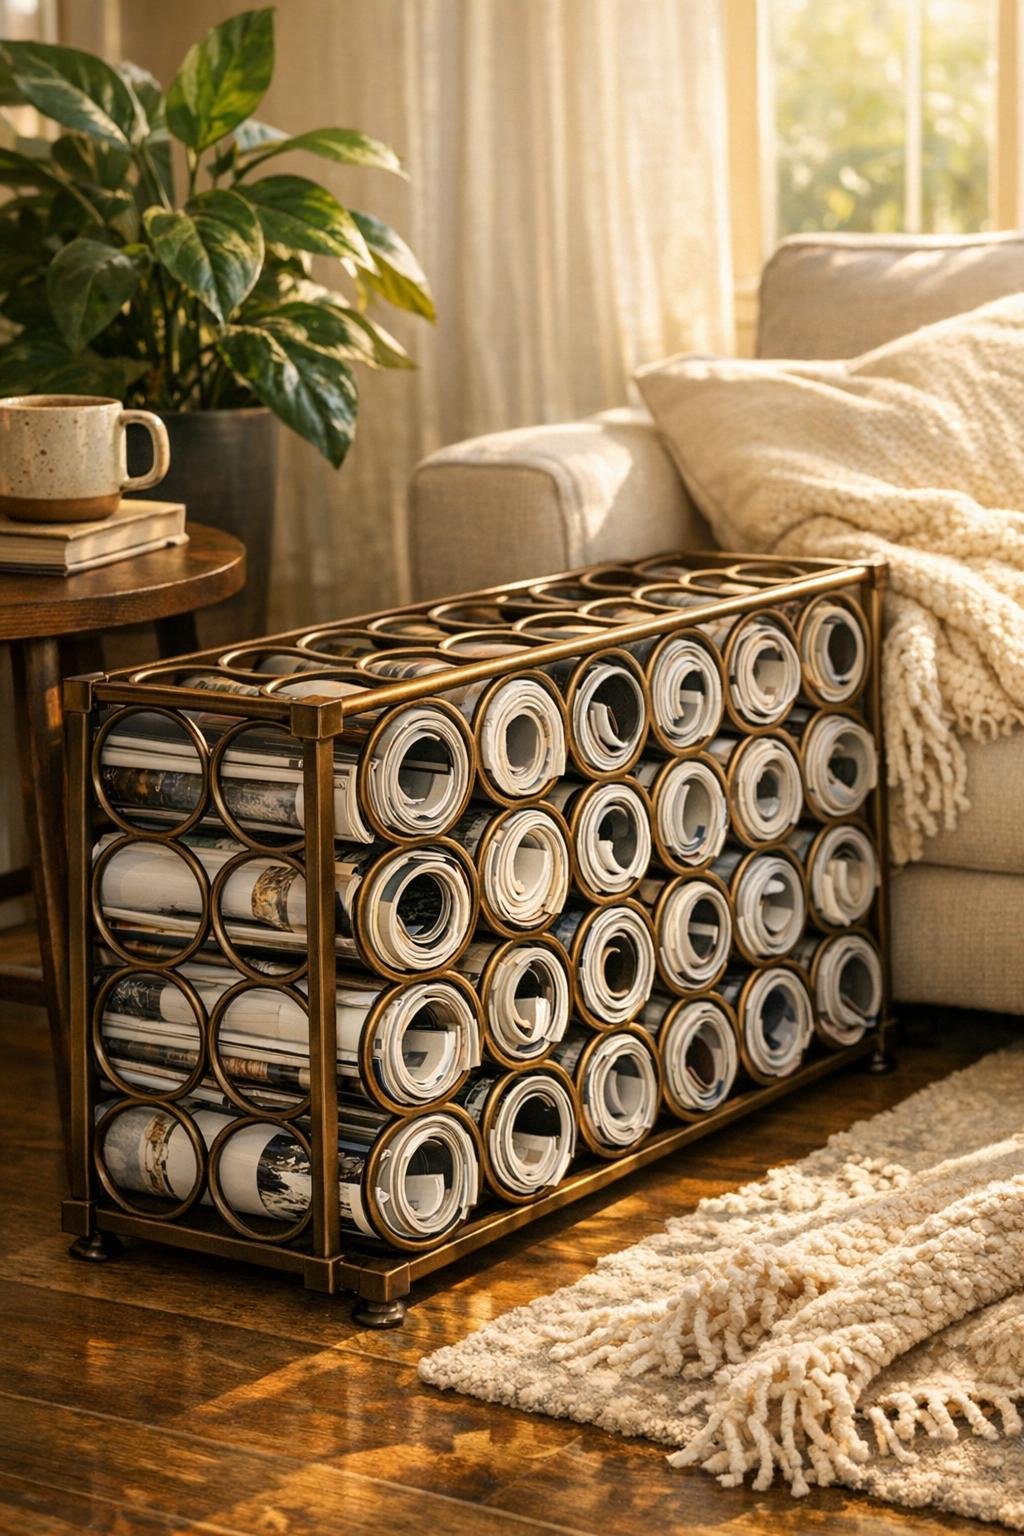
8. Slide one rolled magazine into each wine opening, adjusting the rolls so they protrude by about 1 to 2 inches for an easy grab and a full, balanced look.
9. Mix thicker magazines, slimmer issues, and catalogs across the rack so the overall shape stays even and the organizer looks intentionally styled rather than overstuffed on one side.
10. Place the finished rack beside a sofa, under a side table, or next to a reading chair, and rotate a few covers outward until the collection looks colorful, generous, and easy to browse.
Variations & Tips
For a cleaner look: Use magazines with similar spine colors or neutral covers if you want the rack to read more like decor and less like everyday storage.
For heavier reading material: If you plan to store thick catalogs or large-format magazines, keep the rack on the floor rather than on a tabletop so the weight stays stable.
For a thrifted rack: A bronze rack with chips or discoloration can be refreshed with a metal spray paint made for indoor decor; just let it cure fully before loading it with paper.
For easier browsing: Leave one or two openings partially filled so you can quickly tuck in current issues without rerolling the whole collection every week.
For better stability: If your wine rack has a narrower frame, place it with one long side against a wall or secure it discreetly to the back of a low cabinet with a small removable wall strap.
My favorite finishing touch: I like to edit the contents the way I would edit a pantry shelf: keep the freshest, prettiest issues in front and recycle dog-eared extras. It takes five minutes and makes the whole room feel calmer.