
I love a project that rescues something awkward from the donate pile and turns it into front-porch décor with real presence. An old wooden easel is one of those pieces people stop seeing once it’s nicked up or missing its original purpose, but its tall triangular shape is already halfway to something festive and dramatic.
This is a very forgiving holiday build, and that’s part of the charm. If you can wrap, layer, and secure greenery, you can make this work. I designed this version to look full and polished from the curb, with enough lights and foliage to read clearly at night without asking you to build a complicated frame from scratch.
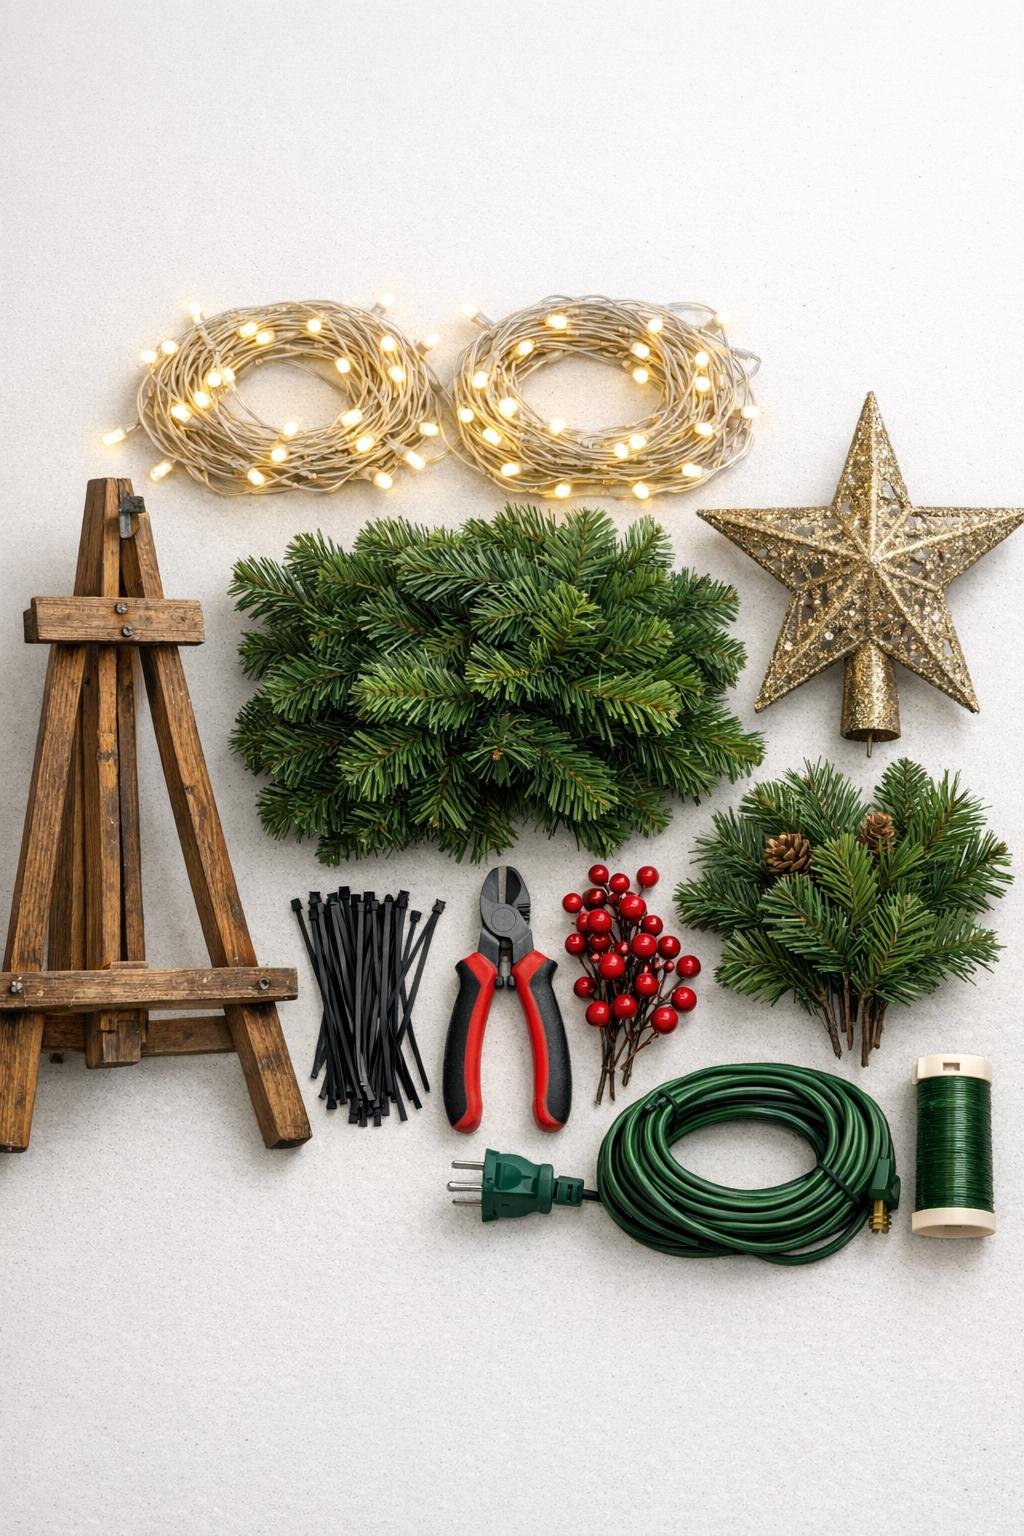
Materials
1 old wooden easel, 48 to 60 inches tall
Instructions
1. Open the wooden easel fully and set it on a flat surface, adjusting the rear leg so the frame stands solidly without wobbling. Tighten any knobs or screws it already has, and wipe off dust so the greenery sits neatly.
2. Wrap the first strand of lights around the easel from top to bottom, following the outer triangle shape and then weaving inward so the whole frame glows evenly. Secure the wire every 8 to 10 inches with small zip ties, keeping the plug end at the bottom back corner.
3. Add the second light strand between the first passes to fill dark gaps, especially through the center and lower half where porch displays need the most visual weight. Plug the strands in briefly to check coverage before adding greenery.
4. Starting at the bottom front edge, spiral the first faux garland up the easel, fastening it with medium zip ties anywhere it wants to slip. Let the garland follow the easel’s triangle so the wood frame still guides the shape underneath.
5. Wrap the second garland in the opposite direction, crossing the first to build thickness and hide bare spots. Fluff every branch outward as you go; that simple step is what makes it look lush instead of stringy.
6. Tuck the faux pine picks into the garland, concentrating four near the base, four through the middle, and four near the top for balanced fullness. Secure each pick to the easel or garland spine with floral wire so wind cannot twist them loose.
7. Weave in the berry stems in small clusters, spacing them around the front and sides for color without overwhelming the greenery. Twist their wired stems onto the garland backbone so they sit deep and natural instead of poking straight out.
8. Attach the star topper at the top point of the easel using floral wire and one zip tie, keeping it centered and tilted slightly forward so it reads from the street. If the top is narrow, anchor the star to both front rails of the easel for better stability.
9. Step back and fill any thin areas with leftover sprigs, turning sparse spots toward the wall or corner side if needed. Trim excess zip tie tails for a cleaner finish, then soften the look with a simple twine or ribbon accent near the top or around the middle.
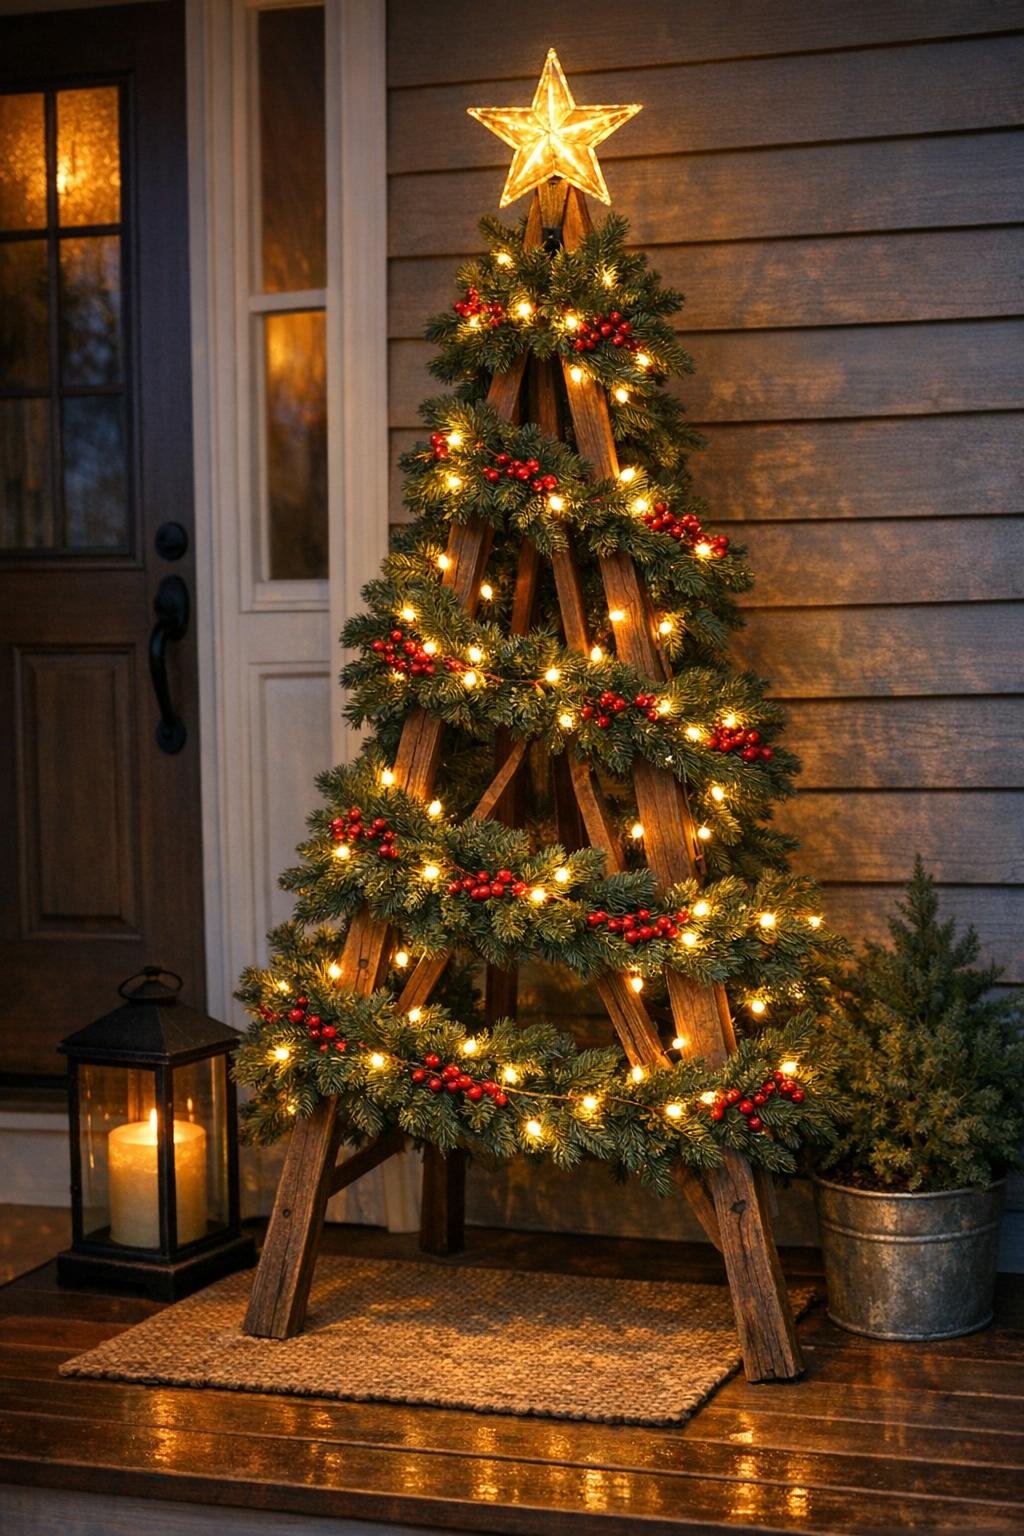
10. Move the finished piece to the porch, plug it into an outdoor extension cord, and style it where it has a wall or corner behind it for maximum impact. I like to place it beside the door or near a bench so the glow reflects off nearby surfaces and looks even richer at night.
Variations & Tips
For a fuller look: Add one more 9-foot garland if your easel is wider than 24 inches or very open through the center. The extra layer makes a big difference on porches where the piece is viewed from the street.
For a snowy style: Use flocked garland and white berry picks instead of classic green and red. I’d keep the lights warm white so the finish still feels cozy rather than icy.
For better weather resistance: Choose outdoor-rated lights and UV-safe faux greenery if the porch is exposed. I also double-secure the topper and the lowest garland turns because wind always tests those first.
For a more traditional finish: Add a wide red velvet bow under the star or near the upper third of the frame. That one extra touch makes the whole piece feel intentionally decorated, not just assembled.
Placement tip: Put the easel tree where it can lean visually against architecture like siding, brick, or a porch column. Just like plating food, a good backdrop makes the colors and shape stand out more.
Storage tip: Leave the garland attached after the season if you have room to store it upright or wrapped in a sheet. Next year, you’ll only need to fluff, plug in, and maybe refresh a few accents.