
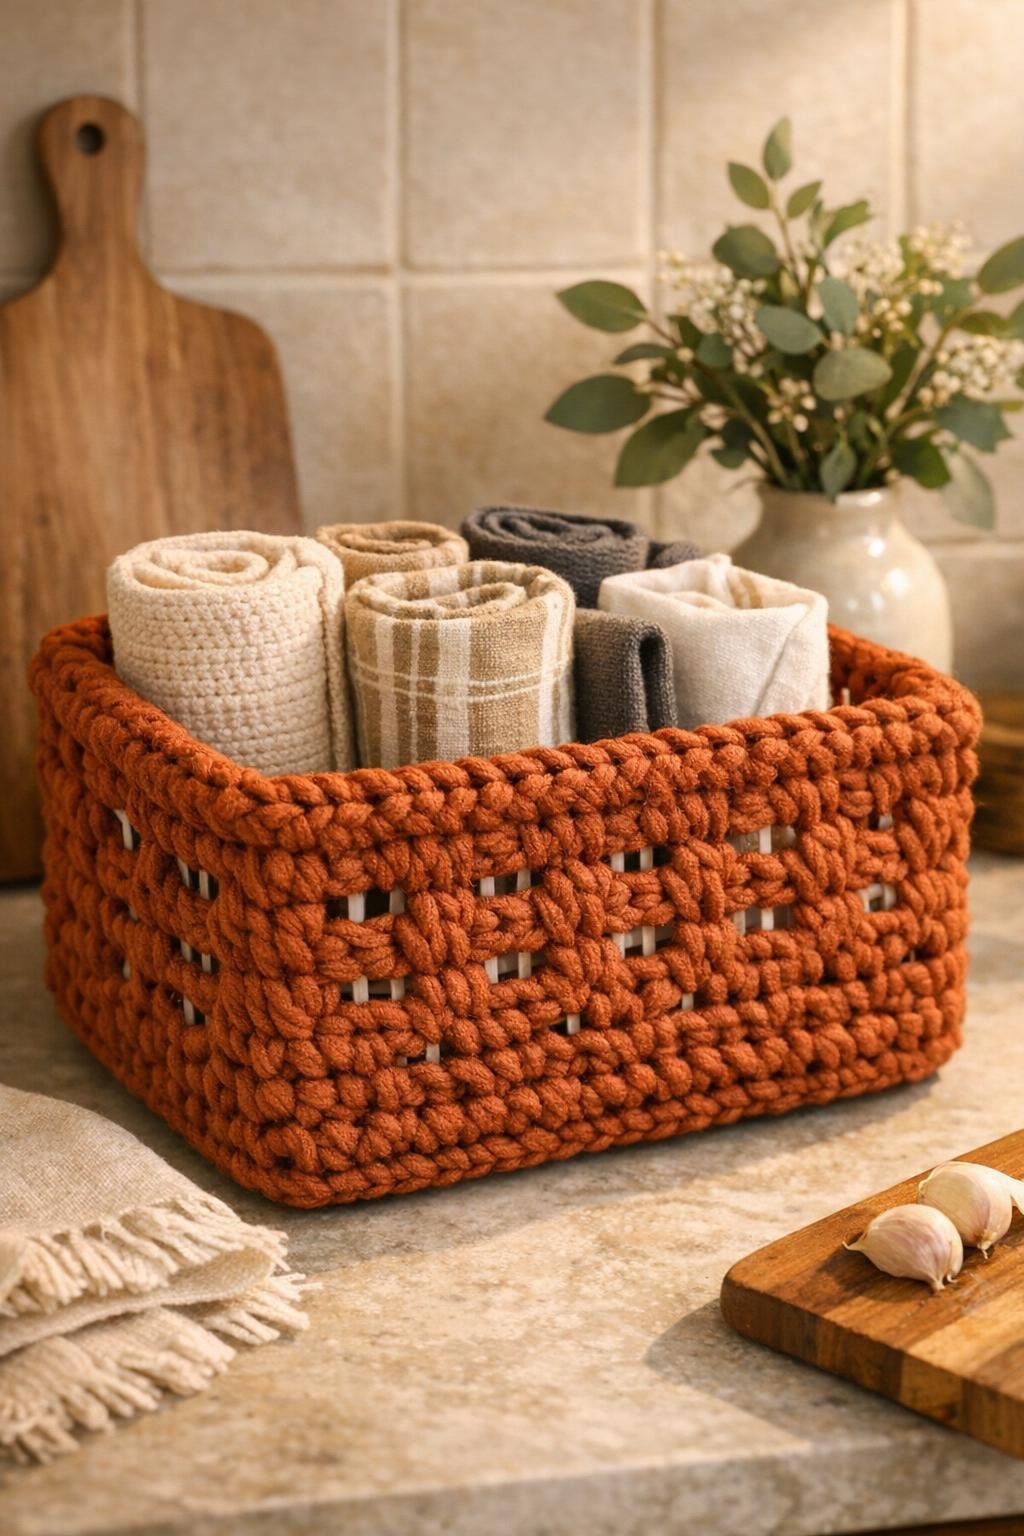
I love a project that turns a humble little dollar store find into something you’d actually be happy to leave out in your home, and this crochet dish rack basket does exactly that. By crocheting chunky burnt sienna yarn straight through the grid openings, you get a sturdy storage basket with a polished, cozy look and hardly any fussy construction.
This is a wonderful project for beginners who know a basic single crochet and for seasoned crafters who want a quick win. The plastic dish rack does the hard work of holding the shape, and the yarn softens it up beautifully, so you end up with a basket that’s useful for napkins, mail, rolled hand towels, kids’ coloring supplies, or all those little odds and ends that seem to gather on the counter at my house.
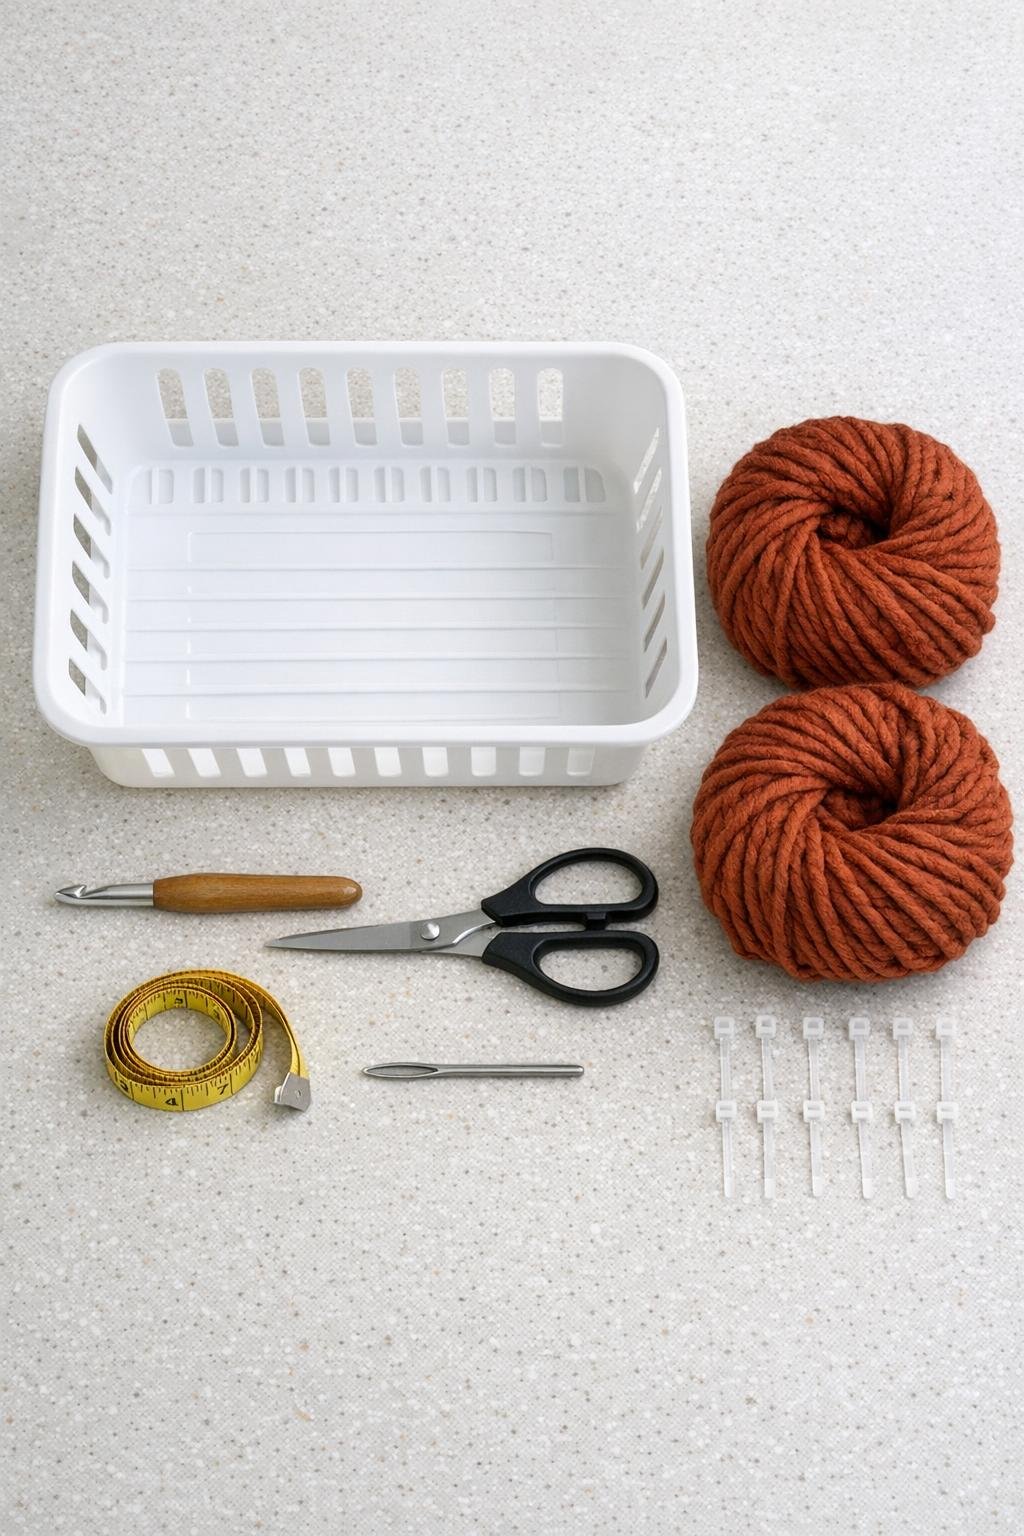
Materials
Instructions
1. Wash and dry the dish rack well, then snip off any price tags or sticker residue so the yarn can glide smoothly through the openings.
2. Check the rack for sharp plastic burrs around the slots, and trim or sand any rough spots lightly with scissors so they won’t catch your yarn.
3. If the corners of the dish rack feel loose or flexible, add one small clear zip tie at each corner joint and trim the tails for a sturdier basket base.
4. Start at an upper corner and join the yarn through one grid opening, leaving a 5-inch tail tucked to the inside.
5. Work single crochet through each opening along the top rim, making 1 stitch in every slot and 2 stitches in each corner area so the edge covers smoothly without pulling.
6. Continue around the full top edge, then slip stitch to join and chain 1; this first round gives the basket a clean finished rim and sets up the side coverage.
7. For the sides, work single crochet through the next row of side openings directly below the rim, keeping the stitches snug and sliding them close together to hide as much white plastic as possible.
8. Crochet around all four sides one row at a time, using the grid openings as your guide and adding 1 extra stitch near each corner if the fabric looks tight.
9. When you reach the lower side rows, keep your tension even and push the stitches upward with your fingers every few inches so the coverage looks full and tidy.
10. Turn the rack upside down and begin crocheting through the bottom grid openings, working back-and-forth rows of single crochet from one side to the other until the base is fully covered.
11. If the bottom has a raised divider or awkward center section, treat each section separately and join them with slip stitches so the finished base lies flat and sturdy.
12. Add a second pass of slip stitches around the top rim if you want a thicker, more polished edge; I really like this touch because it makes the basket look intentionally finished instead of simply covered.
13. Fasten off the yarn, thread the tail onto a yarn needle, and weave all ends through nearby stitches on the inside of the basket.
14. Add a tiny dab of clear craft glue to any stubborn tail ends if needed, then let it dry completely before using the basket.
15. Fill the basket and shape it gently with your hands, pressing the corners square so the crocheted cover settles neatly over the dish rack frame.
Variations & Tips
For a fuller look: Choose the chunkiest yarn that still pulls comfortably through the slots. A thicker yarn gives better coverage faster and makes the finished basket look rich and substantial.
For picky color tastes: Burnt sienna is warm and earthy, but this also looks beautiful in oatmeal, olive, charcoal, or deep navy. In my house, I usually lean toward colors that hide everyday use and still feel cozy on the counter.
For easier stitching: If your hook feels awkward through the plastic openings, pull up the loops with the hook tip first and then complete the stitch outside the rack where you have more room.
For extra structure: Add an extra crochet round around the rim and top inch of the sides. That little bit of bulk makes the basket feel more finished and helps it stand up to regular use.
For bathroom storage: Use the same basket to hold washcloths, extra hand towels, or hair supplies. The built-in plastic frame makes it especially nice in spots where a fully soft basket might slump.
For a cleaner inside: If you want the interior smoother, line the bottom only with a small rectangle of felt or fabric cut to fit and hand tack it at the corners.
Yarn-saving tip: Cover the rim, upper sides, and visible outer walls most densely, then work the base a touch more simply. That keeps the basket looking generous and finished without using more yarn than necessary.
Gift basket idea: These are lovely filled with cookies, tea towels, or coffee treats. I’m always looking for ways to make useful things feel special, and this one has that homemade-but-pretty charm I never get tired of.