
There are some projects that look a little questionable right in the middle, and this is absolutely one of them. A flattened cereal box covered in wild hot-glue squiggles does not exactly inspire confidence at first glance, but that odd little stage is what creates all the charm later. I love projects like this because they turn everyday packaging into something with texture, age, and a surprising amount of character.
If you enjoy low-cost crafts with a big visual payoff, this one is especially satisfying. The technique is easy, the materials are humble, and the finished pieces have that old metal look that feels collected rather than newly made. As someone who spends a lot of time in the kitchen transforming simple ingredients into something greater than the sum of their parts, I have a real soft spot for this kind of crafty alchemy too.
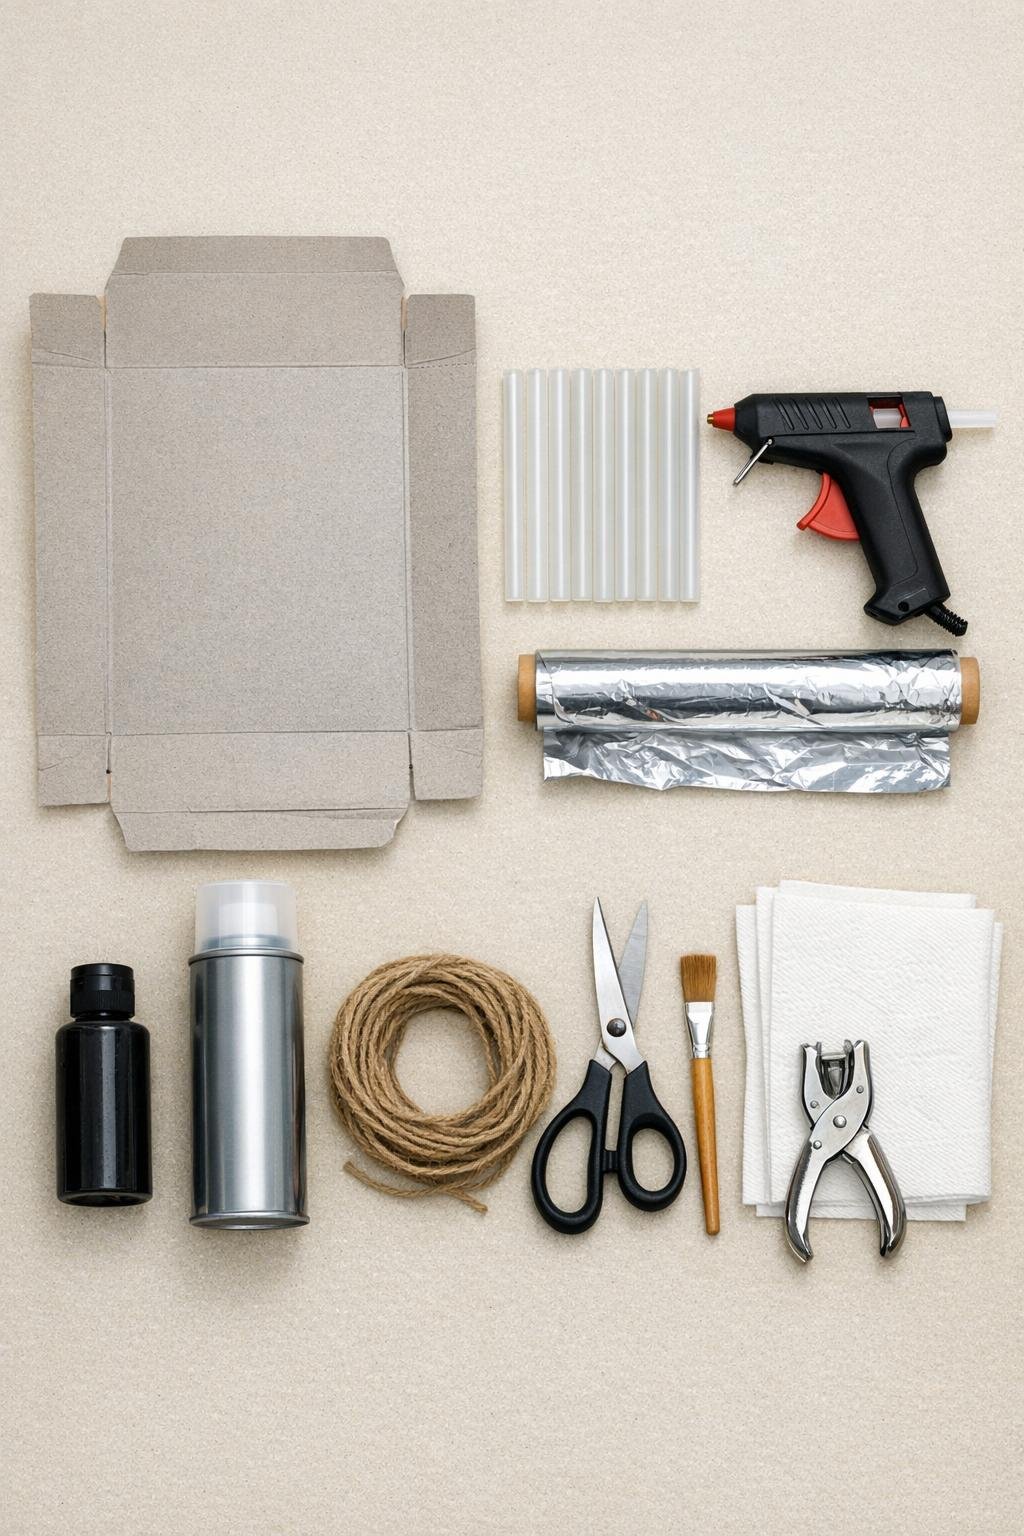
Materials
1 empty cereal box, opened flat and smoothed
Instructions
1. Cut the cereal box along its seams and flatten it with the plain gray inside facing up. Trim away the top and bottom flaps so you are left with smooth panels to work from.
2. Heat the glue gun and scribble loose looping lines all over the gray side of the cardboard, letting the lines cross and overlap for a pressed-metal feel. Cover the surface densely, but leave tiny gaps here and there so the pattern does not turn into one solid blob.
3. Let the glue cool completely, then draw several star shapes on the panel, making them 3 to 5 inches wide for a generous ornament size. Cut out the stars carefully, keeping points crisp.
4. Tear off pieces of heavy-duty foil large enough to wrap each star with at least 1 inch of overhang on all sides. Place one foil piece shiny side out on the counter and set a cardboard star glue-side down onto it.
5. Smooth the foil firmly over the star with your fingers first, then press it down into all the glue ridges and swirls with a folded paper towel. Work from the center outward so the raised pattern shows clearly without ripping the foil.
6. Flip the star over and snip the foil overhang at each inside angle and around the points, then wrap the foil neatly to the back. Press the edges flat so the front stays sharp and clean.
7. Repeat with the remaining stars until you have used most of the cereal box panel; one standard cereal box usually yields 8 to 12 ornaments depending on size. If any area looks too flat, add another glue squiggle to a new section and make a few extra textured stars.
8. Squeeze a little black acrylic paint onto a paper towel and lightly brush or rub it over one foil-covered star at a time. Push the paint into the recessed areas, then wipe the high spots clean so the pattern stands out like aged tin.
9. Let the paint dry fully, then punch a hole near the top point of each star. Thread an approximately 9-inch length of jute twine through each hole and tie the ends in a knot for hanging.
10. Take the ornaments outdoors or to a well-ventilated area and spray them with a light, even coat of clear sealer. Let them dry flat, then add a second light coat if you want a slightly sturdier finish and a soft sheen.

Variations & Tips
Make the pattern richer: Vary the glue lines with a mix of tight loops, long curves, and a few dots or short dashes. That layered texture reads much more like old pressed metal once the paint goes on.
Use the dull side if you prefer: I like the brighter look of shiny foil on the outside, but the dull side gives a slightly softer vintage finish. Either works as long as you press it tightly into the texture.
Keep the stars substantial: Larger stars, around 4 to 5 inches across, show off the embossed detail best. Very tiny stars are cute, but they do not give the swirls enough room to shine.
Try other shapes: Once you like the technique, hearts, snowflakes, or simple round medallions all work beautifully. I would still keep the same foil-and-antique finish so the set feels cohesive.
Don’t overpaint: The prettiest finish comes when the dark paint settles into the low spots and the raised areas stay silver. In cooking terms, think of it like seasoning properly rather than smothering the whole dish.
Display beyond the tree: These are lovely tied onto gifts, tucked into a wreath, or draped on a garland. A little cluster of them catches the light in a way that looks much fancier than the cereal box origin story suggests.