
I love a pantry-bin craft, and this one honestly feels like the sweet spot between practical and pretty. If you’ve been saving those little cardboard cereal box dividers that usually get tossed without a second thought, you can turn them into a textured crochet wall hanging with almost no fancy supplies. The cardboard grid does part of the design work for you, so you get that woven, handmade look without needing to build a frame from scratch.
This is a great project for anyone who likes easy evening crafts, especially if you already crochet a little or just know a basic chain and single crochet. I’m a big fan of projects like this because I can leave the pieces on the dining table, answer a couple work emails, stir dinner, and come right back without losing my place. The finished hanging has a warm, natural look that works beautifully in a kitchen nook, hallway, or home office.
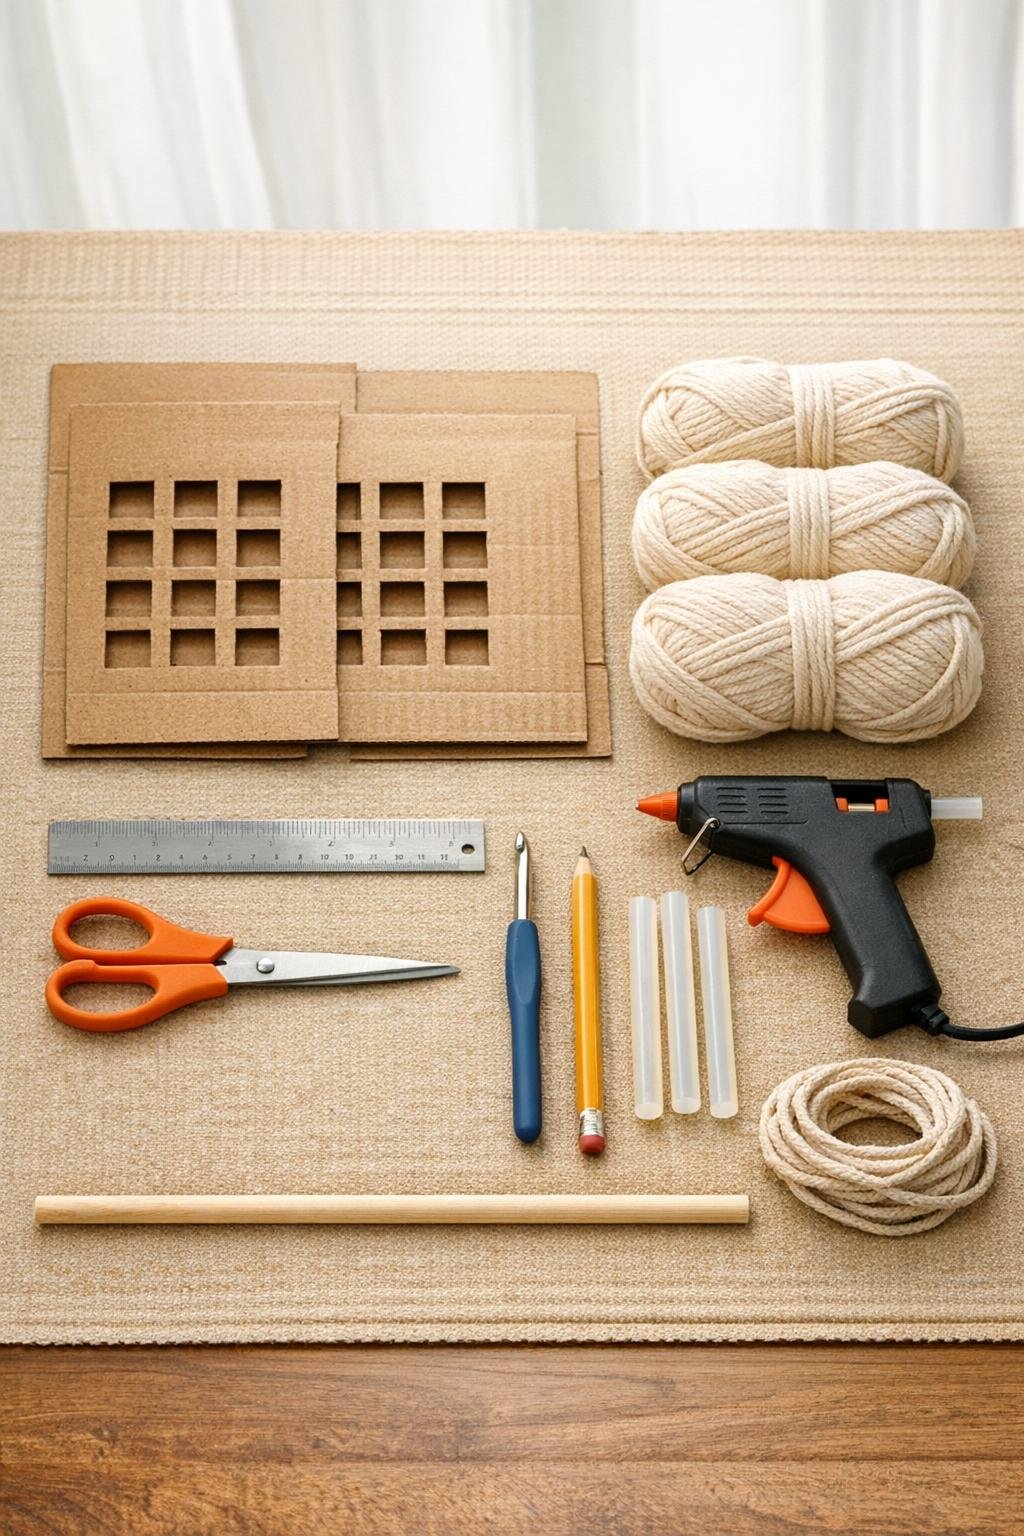
Materials
Instructions
1. Lay the cereal box dividers flat under a heavy book for an hour if they’re bowed, then trim any torn edges so both pieces are neat rectangles.
2. Place the two cardboard grids one above the other with the openings lined up vertically, overlapping them by 1 inch, and glue the overlap on the back to create one long panel about 21 inches tall.
3. Cut 18 strands of cream cotton yarn, each 24 inches long, and set them aside for the bottom fringe.
4. Using the cream yarn and your 5 mm hook, start at the top left opening and work single crochet stitches through each cardboard grid opening across the first row, wrapping the cardboard bars as you go so the top edge begins to look soft and covered.
5. Continue crocheting row by row through the grid openings, working mostly in cream yarn and pulling each stitch snug enough to cover the cardboard bars without buckling the panel.
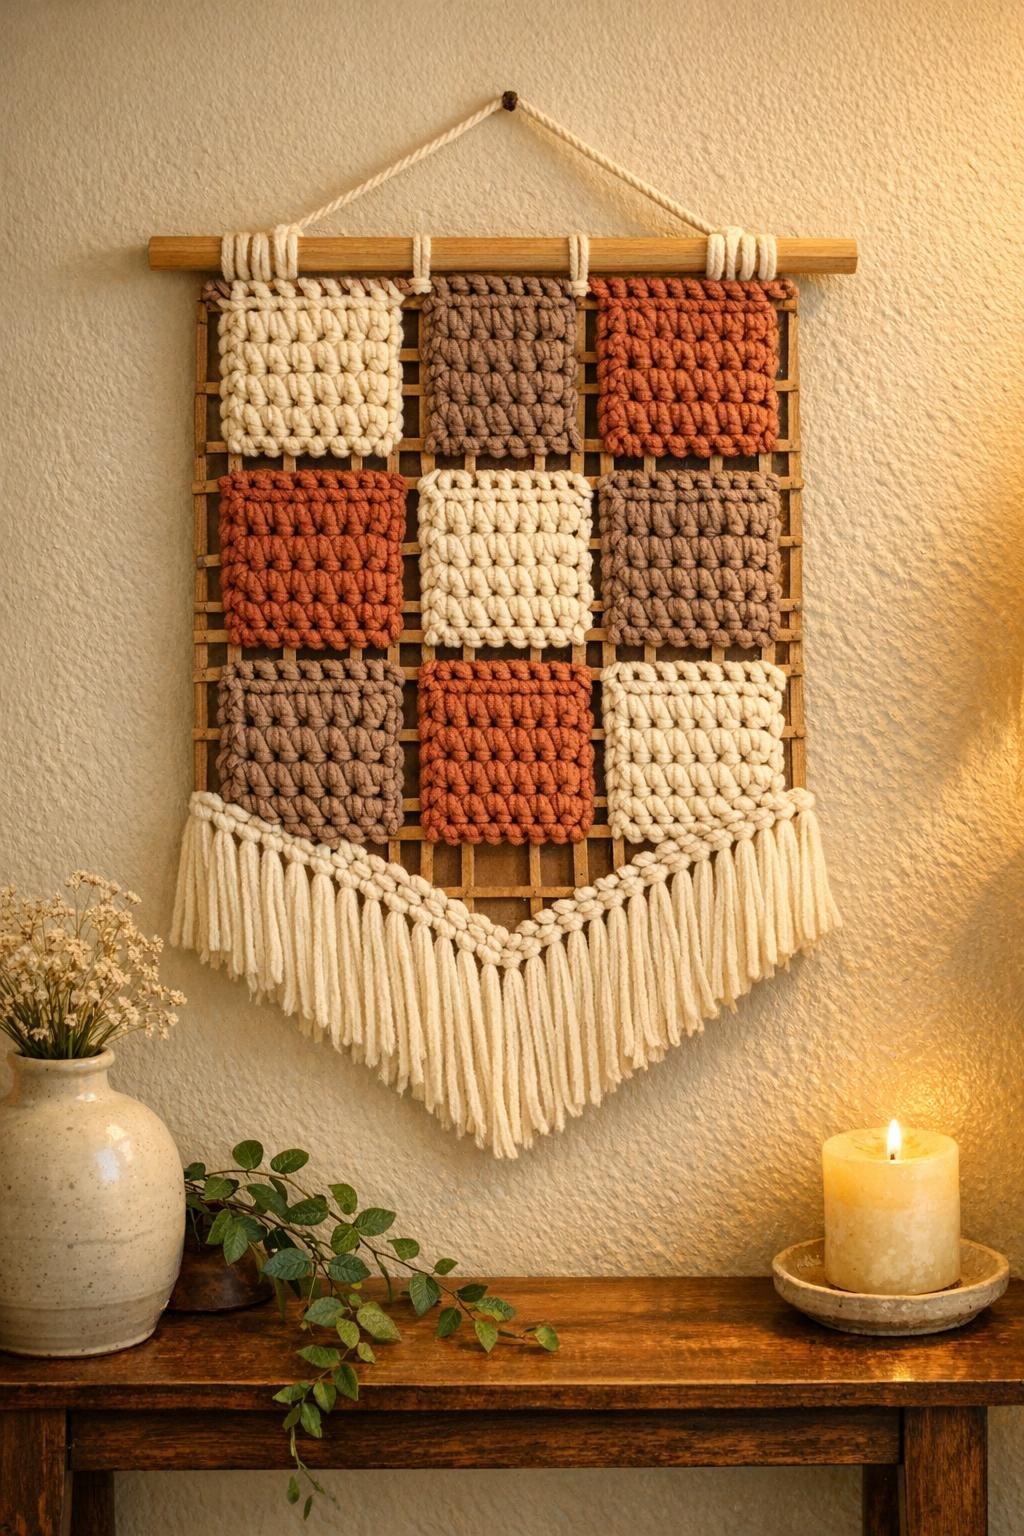
6. Switch to taupe yarn for 2 to 3 rows near the upper third of the panel, then return to cream for several more rows to create a subtle stripe that still keeps the piece neutral and easy to style.
7. Add 2 rows of rust or muted terracotta yarn around the middle-lower section, then finish the remaining rows in cream so the color accents feel warm but not busy.
8. If any cardboard still shows more than you like, go back and slip extra stitches or short wraps over the exposed bars; this is the little fix that makes the whole piece look fuller and more polished.
9. Turn the panel over and glue the top back edge to the wooden dowel in a straight line, leaving about 1 inch of dowel visible on each side.
10. Tie the 24-inch twine to both ends of the dowel to create a hanging loop, and add wooden beads to the twine first if you want a slightly more finished, decorative look.
11. Fold each 24-inch cream strand in half, lark’s-head knot the strands through the bottom row of grid openings, and space them evenly so you get a full fringe across the entire bottom.
12. Trim the fringe into a shallow V or soft arc, then lightly mist or smooth it with damp hands so the yarn hangs straight and the wall hanging looks intentional instead of shaggy.
Variations & Tips
Make it larger: If you have a third divider, glue it on before crocheting and turn this into a longer statement hanging for a narrow wall or the side of a pantry cabinet.
Keep the palette simple: I like cream with one or two earthy accent shades because it looks calm and expensive, especially in a kitchen or breakfast nook.
Try a chunkier texture: Hold two strands of cotton yarn together for a few rows if you want extra dimension and faster coverage over the cardboard bars.
Use what you have: A smooth stick, a painted dowel, or even a leftover curtain rod cut-down can work in place of the wooden dowel as long as it’s sturdy enough for the panel.
Help it last: A very light coat of matte craft sealer on the cardboard back can add durability in a dry indoor spot, but keep it light so the panel stays flat.
Best place to hang it: This is happiest away from heavy humidity, so I’d use it in a hallway, office, bedroom, or dining area rather than right next to the stove.
Beginner shortcut: If full crochet feels intimidating, use simple pull-through loops and wrapped stitches through the grid openings; you’ll still get the same cozy handmade look.