
I love a project that uses up the random stuff that seems to multiply in a junk drawer, and old CDs are one of those things I can never quite throw away. This one turns them into something surprisingly sparkly and festive, and it looks way fancier than the effort involved. If you want an easy evening craft that gives you a full set of polished decorations by the time your coffee goes cold, this is such a satisfying one.
It’s especially great if you like holiday decor with a little shine but don’t want to buy another box of ornaments that looks like everyone else’s. The process is simple, repetitive in the best way, and very doable for beginners, but the finished pieces have that dramatic light-catching effect that makes people ask where you got them.
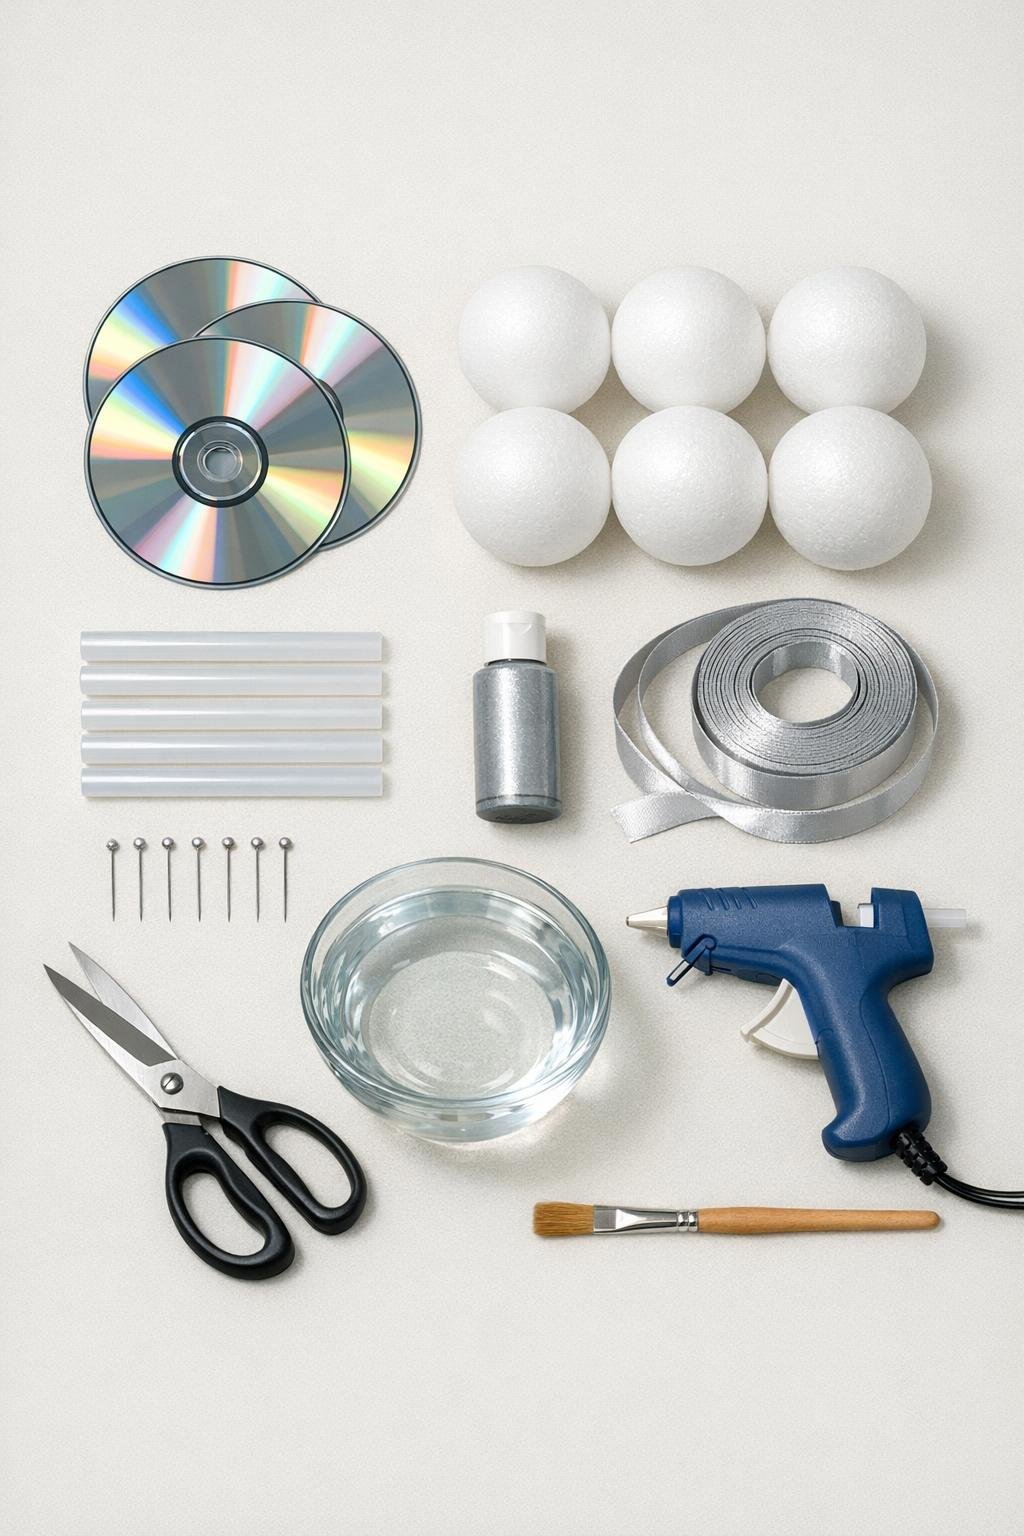
Materials
Instructions
1. Fill a bowl with hot tap water and soak one CD for 2 to 3 minutes to soften it slightly, which makes it easier to cut with less cracking.
2. Cut the soaked CD into strips, then snip those strips into small squares and rectangles about 1/4 to 1/2 inch wide; repeat with all 3 CDs until you have a big pile of mirrored pieces.
3. Paint each foam ball with a quick coat of silver acrylic paint, covering the white surface so any small gaps between the mirrored pieces blend in nicely.
4. Let the paint dry fully, then tie each 18-inch ribbon length into a hanging loop and secure the knot to the top of a foam ball with a straight pin pushed in firmly.
5. Heat the low-temp glue gun and start at the top of one ball, gluing on the CD pieces one at a time with the shiny side facing out.
6. Work in small sections, placing the pieces close together and slightly angling them as you go so the surface looks faceted and full rather than flat.
7. Continue covering the ornament all the way around, rotating it often and trimming a few smaller filler pieces as needed to fit bare spots near the bottom and around the ribbon pin.
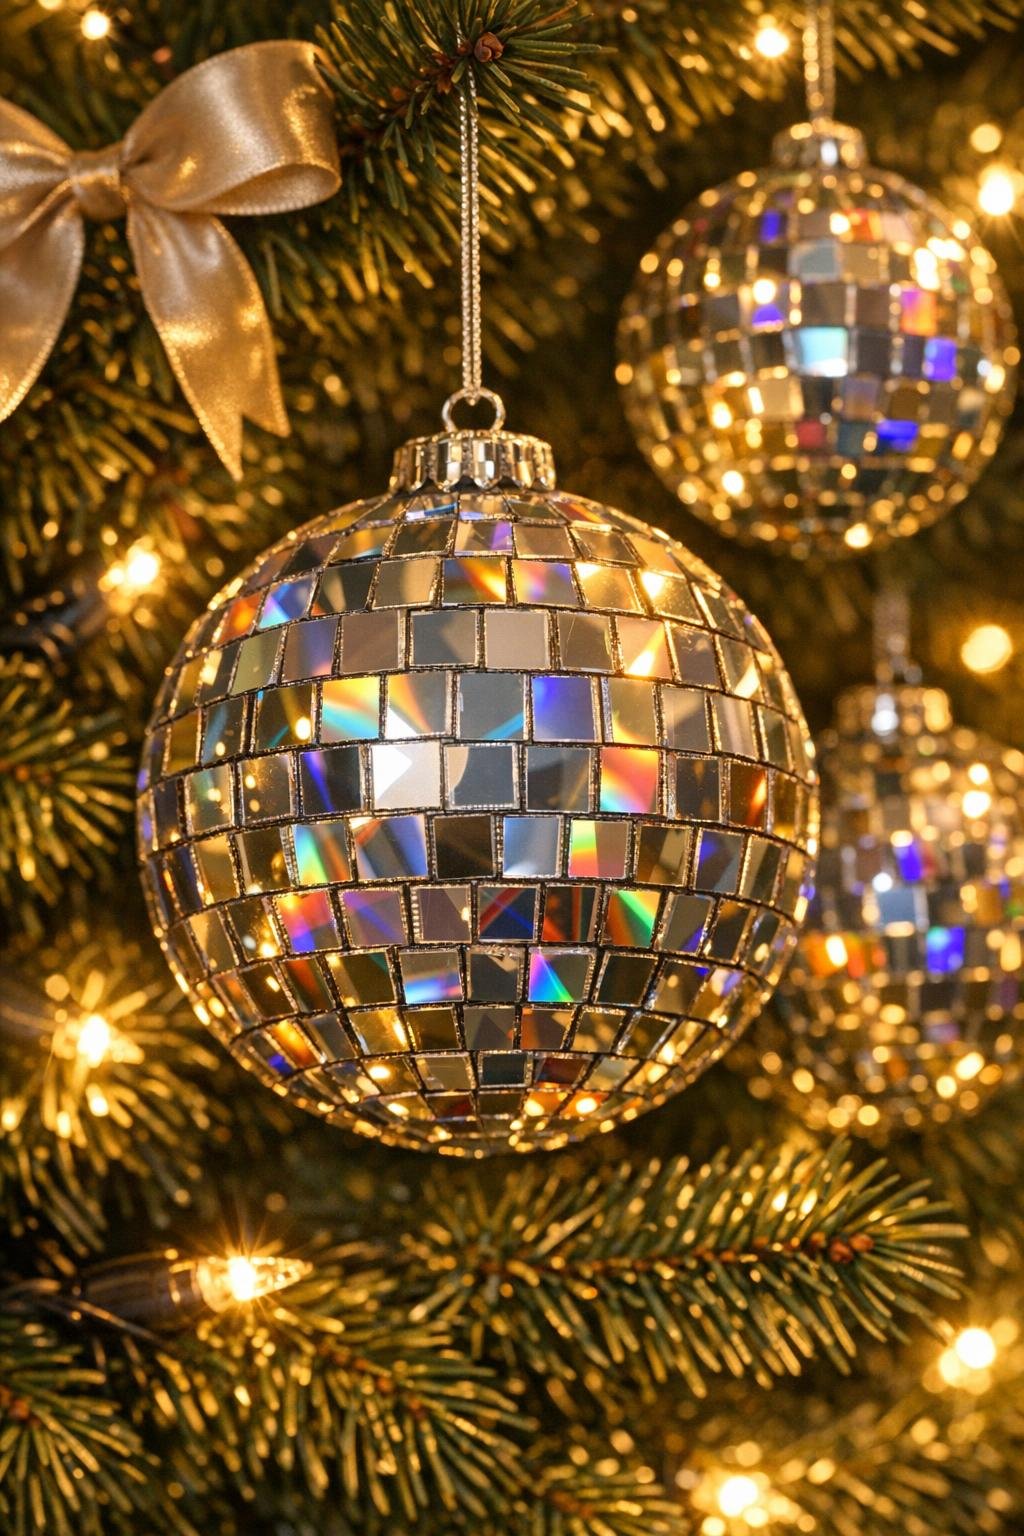
8. Repeat the gluing process for all 6 balls, using plenty of pieces so each one has dense mirrored coverage and a rounded, polished look.
9. Let the glue cool completely, then gently check for loose edges and add a dab of glue anywhere a tile lifts up.
Variations & Tips
Use DVDs too: If your old discs are a mix of CDs and DVDs, that’s completely fine. Both give a great mirrored finish, and the slight variation in reflection actually adds more depth.
Keep the pieces small: I’ve found the sweet spot is around 1/4 to 1/2 inch. Tiny pieces wrap the curve of the ball much more neatly and give you that real disco-ball texture.
Choose narrow ribbon: Ribbon around 3/8 inch wide hangs nicely without overpowering the ornament. Silver, white, black, or velvet ribbon all look especially pretty with the mirrored finish.
Work assembly-line style: If you’re making all six, paint every ball first, add all the ribbon loops next, and then do the gluing. That’s the easiest way to fit this into a busy evening, and it feels much less messy.
Fill gaps with intention: Don’t stress about making every piece identical. A mix of squares and small rectangles looks more natural, and a few tiny filler bits make the surface look fuller and more professional.
Display them where they catch light: These really come alive near tree lights, a window, or a garland with fairy lights. The shimmer is what makes the project feel so much more dramatic than the simple materials would suggest.