
There are a few craft supplies I always grab when I’m doing a quick dollar store run, and plastic spoons are one of them. They’re inexpensive, easy to cut, and surprisingly pretty once you start layering them into something dimensional. This project looks far fancier than the supply list suggests, which is exactly my favorite kind of weekend DIY.
If you want a statement decoration that feels sparkly and polished without needing advanced crafting skills, this is a great one to try. It’s especially nice for anyone who likes seasonal decorating, party decor, or making one dramatic piece in an evening after work—I’ve done enough late-night kitchen-counter crafting to know that simple repetition can be oddly relaxing.
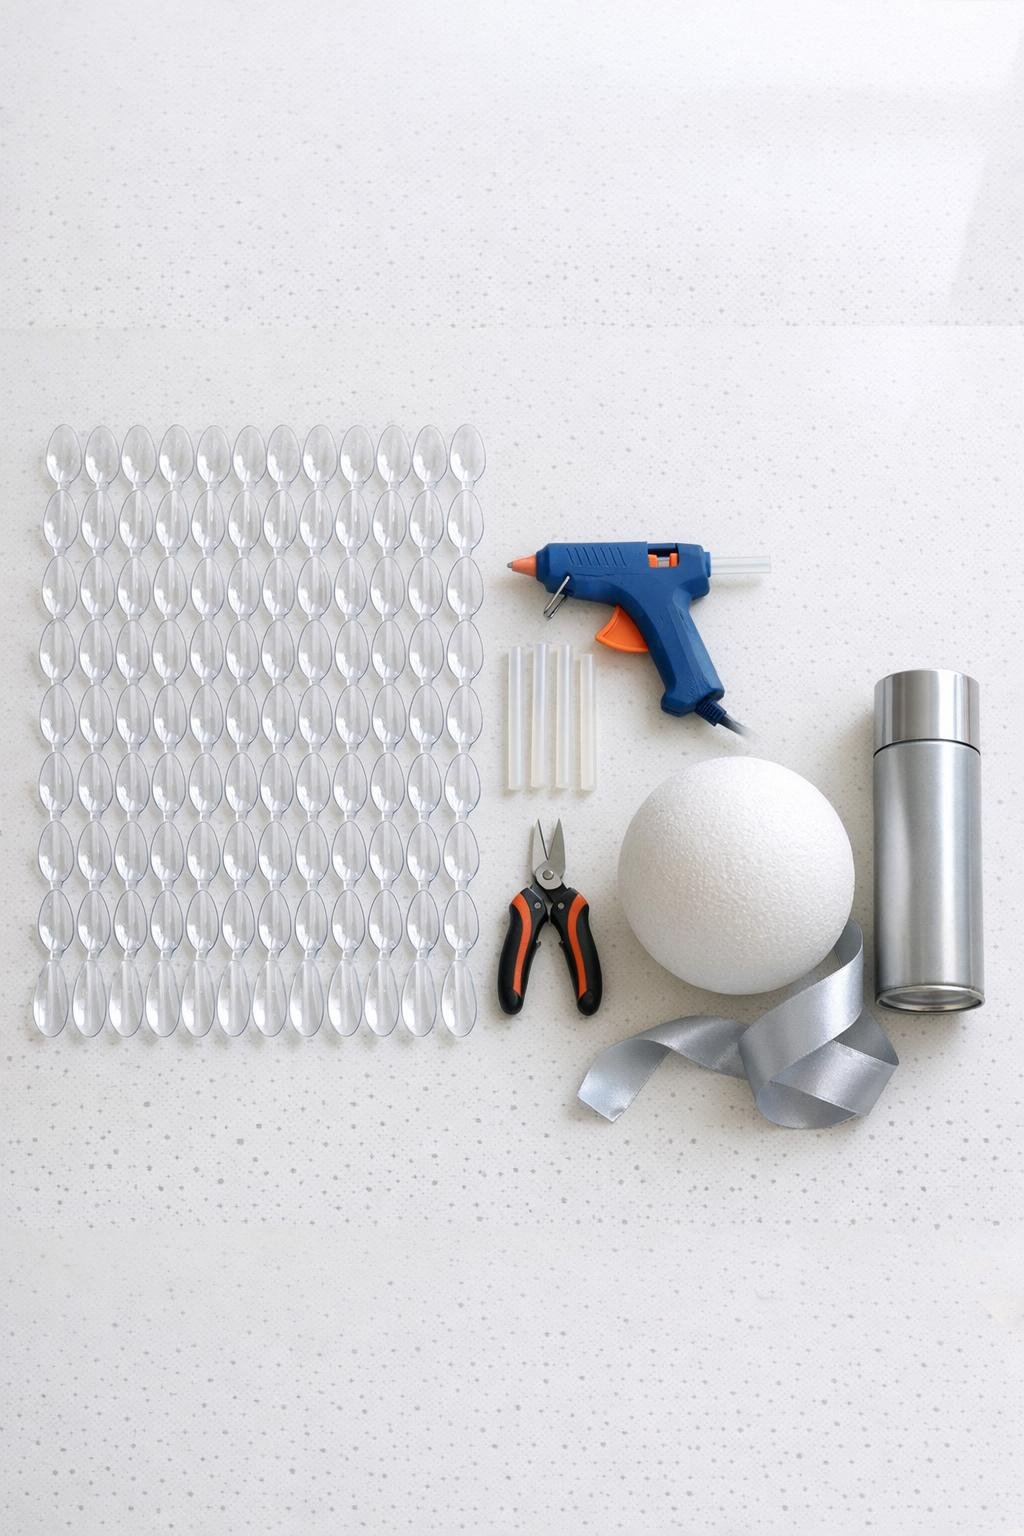
Materials
90 clear plastic spoons, standard size
Instructions
1. Plug in the glue gun, lay the 90 clear spoons in straight rows, and fill the bowl of each spoon with a puddle of hot glue until it reaches close to the rim. Let the glue cool completely so each spoon has a thick, glassy center.
2. Snip the handles off all 90 spoons right below the bowl, keeping the rounded spoon tops intact. Trim any sharp plastic bits so each petal sits flat against the foam ball.
3. Take the foam ball outside or to a well-ventilated area, place it on scrap cardboard, and spray it silver with light even coats. Let it dry fully so any small gaps between petals blend into the finished design.
4. Fold the ribbon in half to make a hanging loop, then pin the cut ends securely into the top of the foam ball with 2 straight pins. Add a dab of hot glue over the pins to lock the loop in place.
5. Start at the bottom of the ball and hot glue the first ring of spoon petals side by side, slightly overlapping the edges. Keep the rounded ends facing out so the ball begins to look full and flower-like instead of spiky.
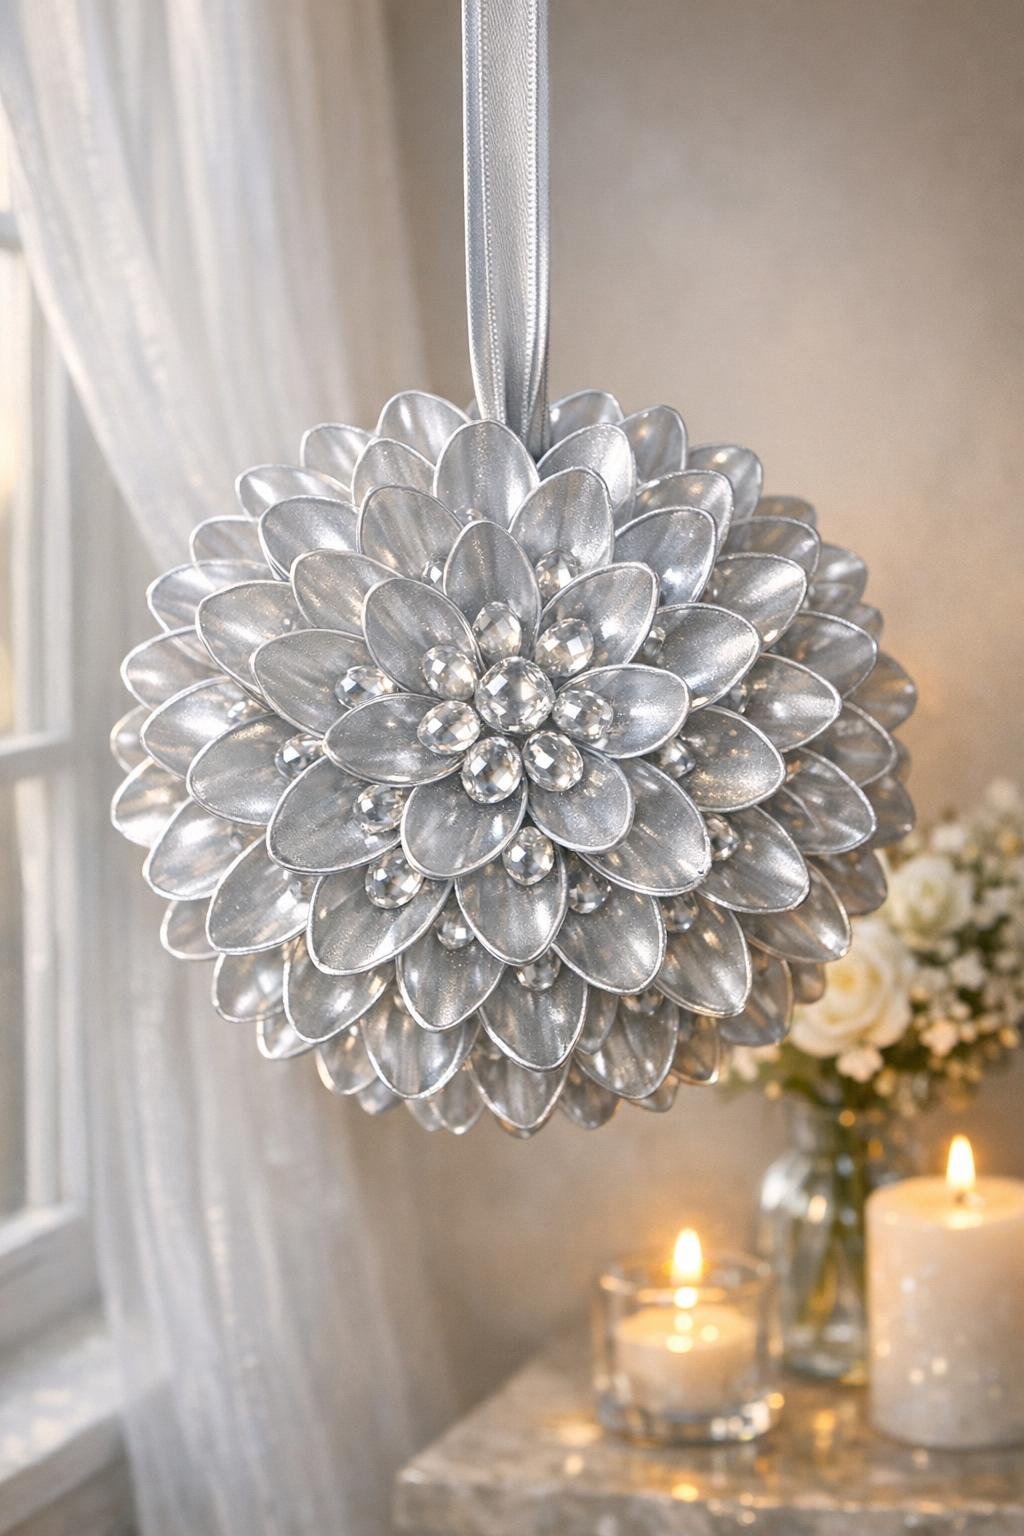
6. Add a second and third ring above the first, staggering the petals so each new spoon sits between two below it. This layered placement is what gives the surface that dense dahlia look.
7. Continue gluing petals around the middle of the ball in overlapping rows until the widest section is fully covered. Press each spoon in for a few seconds so it grips the foam securely.
8. Work upward toward the ribbon loop, using slightly tighter overlaps as the curve narrows. Leave only a small circle exposed around the hanger so the top stays neat and balanced.
9. Fill the top area with the last spoons, angling them inward to create a finished flower-center effect around the ribbon. If you see any thin spots, tuck in an extra petal wherever the silver base still peeks through.
10. Lightly mist the entire piece with silver spray paint to unify the finish while still letting the spoon texture and glossy glue centers show through. Let it dry completely before hanging.
Variations & Tips
Color shift: If silver isn’t your style, use pearl white, icy champagne, or a pale gold spray paint for a softer look. Clear spoons catch light beautifully under any metallic or satin finish.
Holiday version: I love this hanging near an entryway during winter with a velvet ribbon instead of silver ribbon. It also looks gorgeous clustered in groups of three at different heights.
Stronger hold: If your glue gun runs cool, add the hot glue to both the spoon back and the foam ball before pressing the petal in place. That little extra adhesive helps on the upper rows.
Better coverage: Count on using nearly all 90 spoons for a really lush result. If your spoons are on the smaller side, keep 10 extra on hand so you can close gaps without rationing petals.
Easy hanging tip: This is prettiest where light can hit the curved petals—near a window, over a dining table, or from a hook in a covered porch area. Just keep it out of heavy rain and direct outdoor weather so the foam core stays protected.