
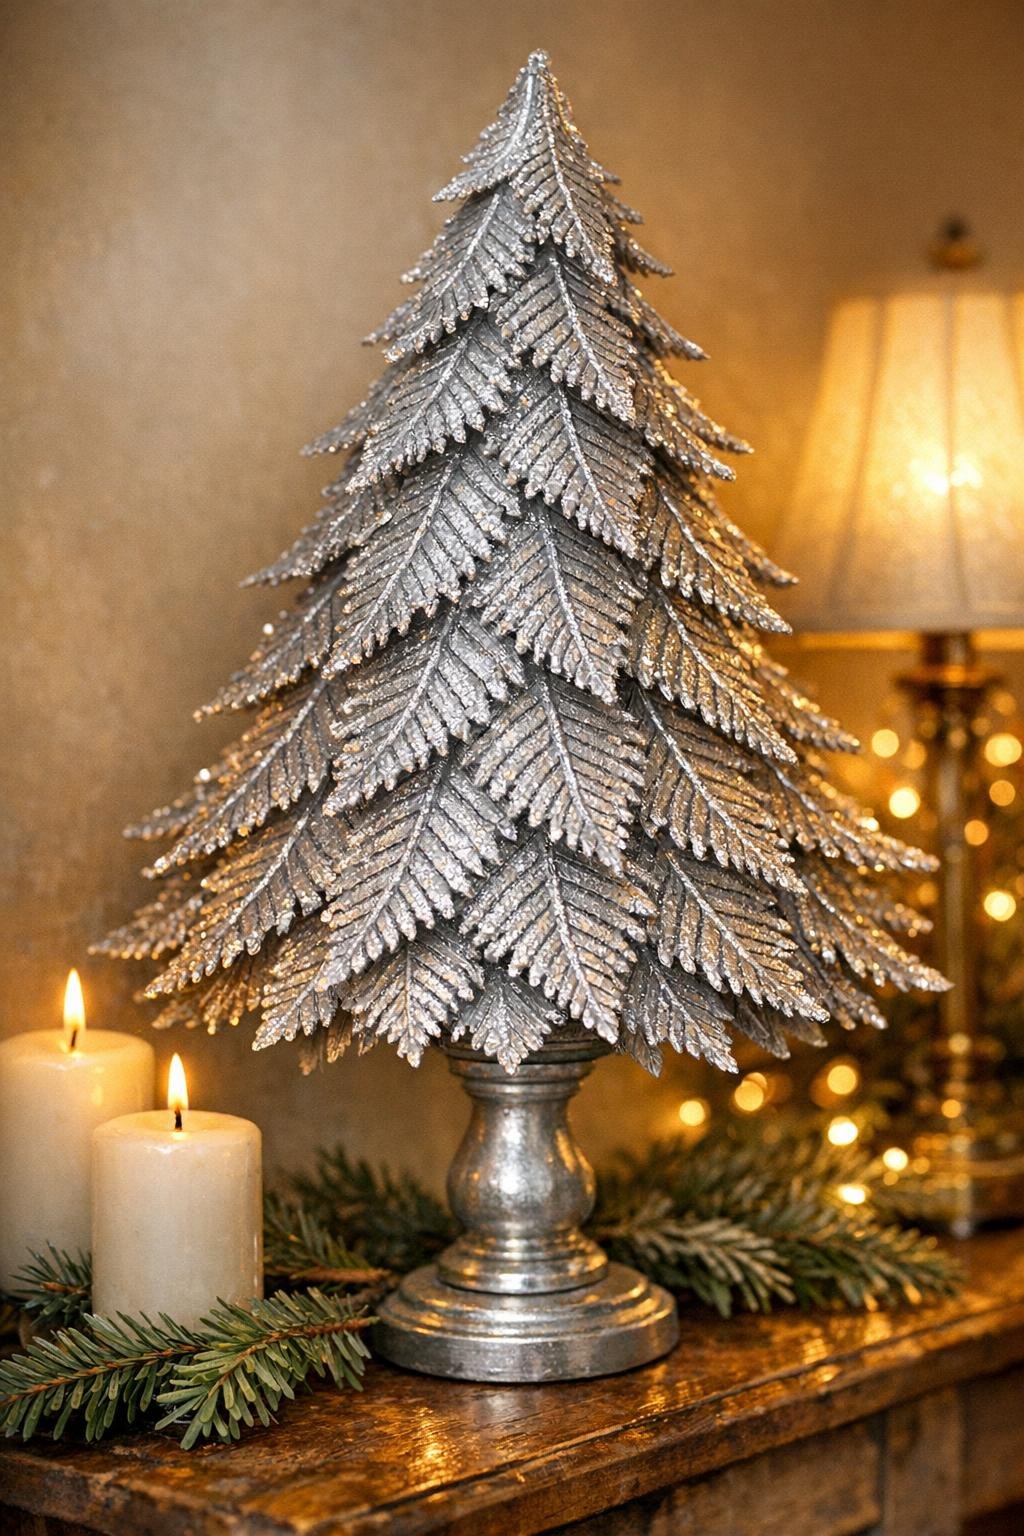
This is one of those dollar-store craft projects that looks surprisingly elegant once it all comes together. Starting with simple silk fern leaves and a little patient glue work, you can build a frosty, sparkly piece of decor that feels festive, light-catching, and far more expensive than the supply list would suggest.
I especially love projects like this when I want something eye-catching for a mantel, entry table, or holiday centerpiece without dragging out a long list of complicated tools. If you’re comfortable using a hot glue gun and spray paint, this is very doable, and the finished piece has that magical, wintery look that makes a room feel extra special.
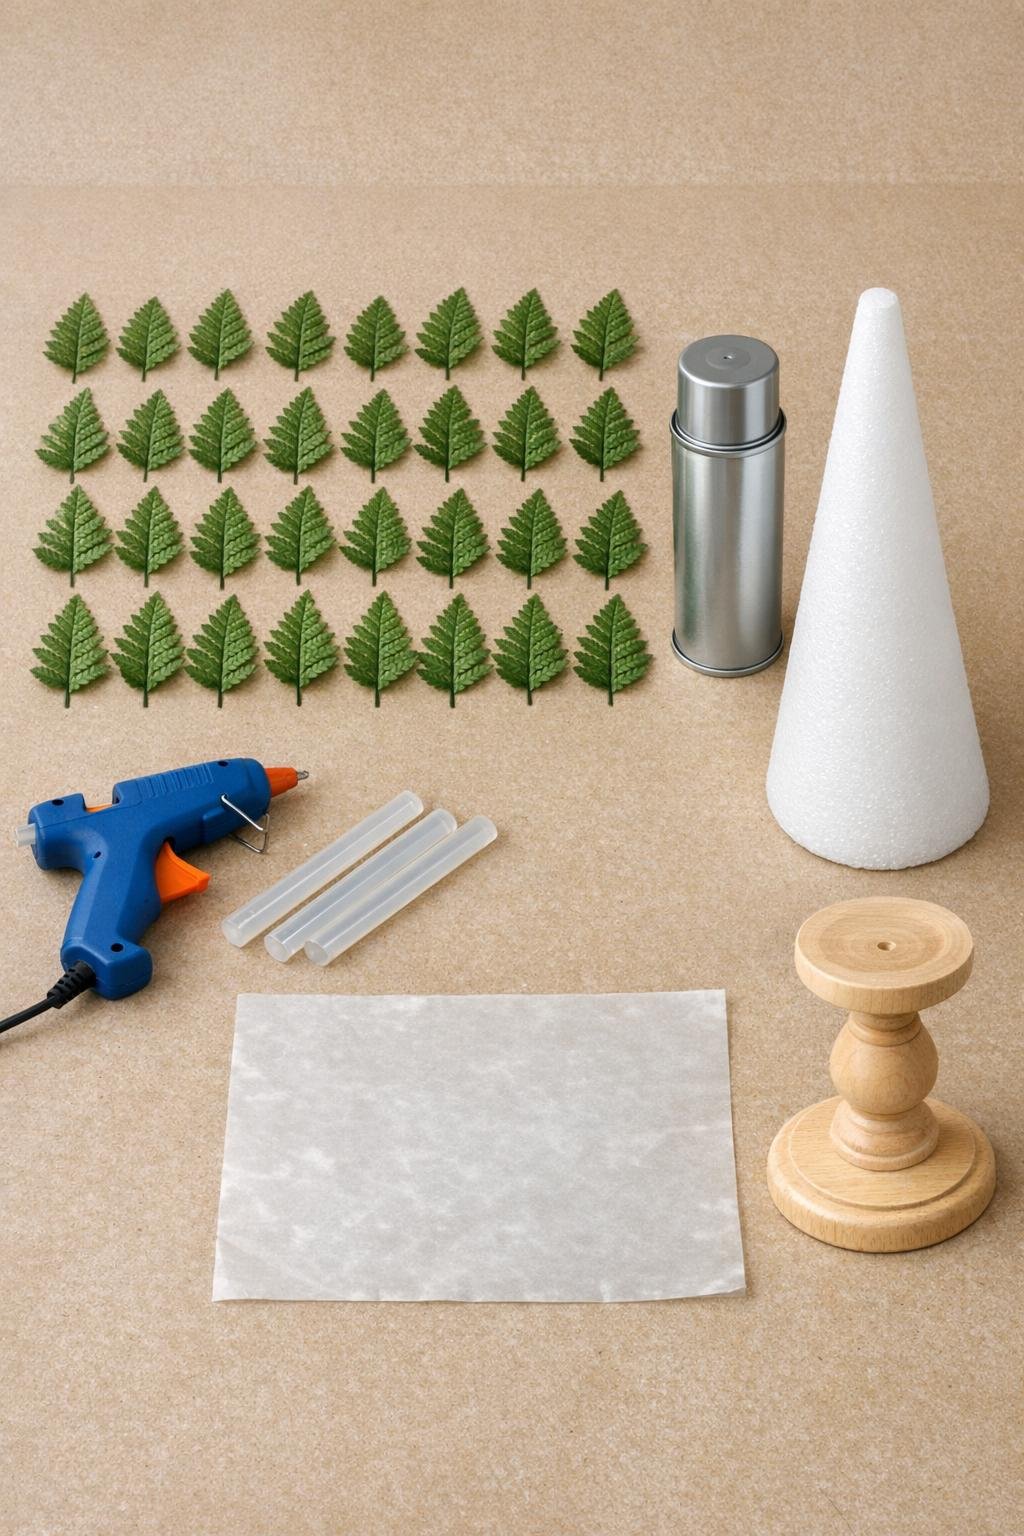
Materials
Instructions
1. Lay the 24 silk fern leaves flat on wax paper in neat rows, with enough room between them so the glue won’t touch from leaf to leaf.
2. Heat the glue gun fully, then squeeze clear hot glue along the center stem and out over the feathery fronds of each leaf in thin, branching lines to create a frosted, crystalline texture.
3. Let the glue cool completely for 10 to 15 minutes, then gently peel each leaf off the wax paper and check that the glue lines are firmly attached.
4. Lightly sand the wooden candlestick base if needed, then set the foam cone and candlestick on cardboard or a drop cloth in a well-ventilated area.
5. Spray-paint the glue-textured fern leaves, the foam cone, and the wooden candlestick with light, even coats of silver until everything is fully covered, then let the pieces dry completely.
6. Glue the foam cone onto the top of the candlestick base, using a short craft dowel or trimmed glue stick in the center first if you want a stronger connection.
7. Start at the bottom of the cone and hot-glue the first ring of fern leaves in place, slightly overlapping them so the cone is covered densely and no foam shows through.
8. Add a second and third ring above the first, staggering the leaves between the lower seams and angling them upward so the tree shape stays full and feathery.
9. Continue filling the cone upward with the remaining leaves, trimming a little off the stem ends if needed so the top layers sit neatly and taper nicely.
10. Finish the top by gluing one last leaf upright or wrapping the topmost leaf tips together so the tree comes to a soft point.
11. Check the tree from all sides and add a little extra hot glue or craft glue anywhere a leaf edge lifts or the coverage looks thin.
Variations & Tips
For extra sparkle: While the silver paint is still slightly tacky, dust the leaves lightly with fine iridescent glitter for more icy shine.
If your family likes softer holiday colors: Try champagne gold, pearl white, or frosty sage spray paint instead of silver for a gentler look that still feels magical.
To make it fuller: Tuck small trimmed fern pieces into any open spots near the top and around the back; I always do one last turn of the tree before calling it done.
For a sturdier base: Use a heavier wooden candlestick or glue the finished base onto a small painted wood round if you plan to display it where little hands or pets might bump the table.
For a centerpiece grouping: Make one tall tree with a 12-inch cone and two shorter versions with 8-inch cones; grouped together, they look wonderfully abundant without much more work.
Storage tip: Wrap the tree loosely in tissue paper and store it upright in a tall box so the fern layers keep their shape from season to season.