
There is something about turning the plainest little household castoff into Christmas prettiness that still delights me every single time. Out here, where I learned early to save a good jar, a sturdy box, and yes, even cardboard rolls, we’ve always had a way of making do and making it lovely. This project starts with a dozen humble toilet paper rolls and a brush of cold coffee, and by the end you’ll have a full, old-fashioned holiday decoration with that warm, timeworn look that feels right at home in December.
I especially love this one for folks who want a Christmas craft that is inexpensive, easy to handle at the kitchen table, and polished enough to hang up proudly. The steps are simple, but the finished piece looks generous and festive, with layered petals, a rustic stain, and just enough sparkle in the center to catch the light.
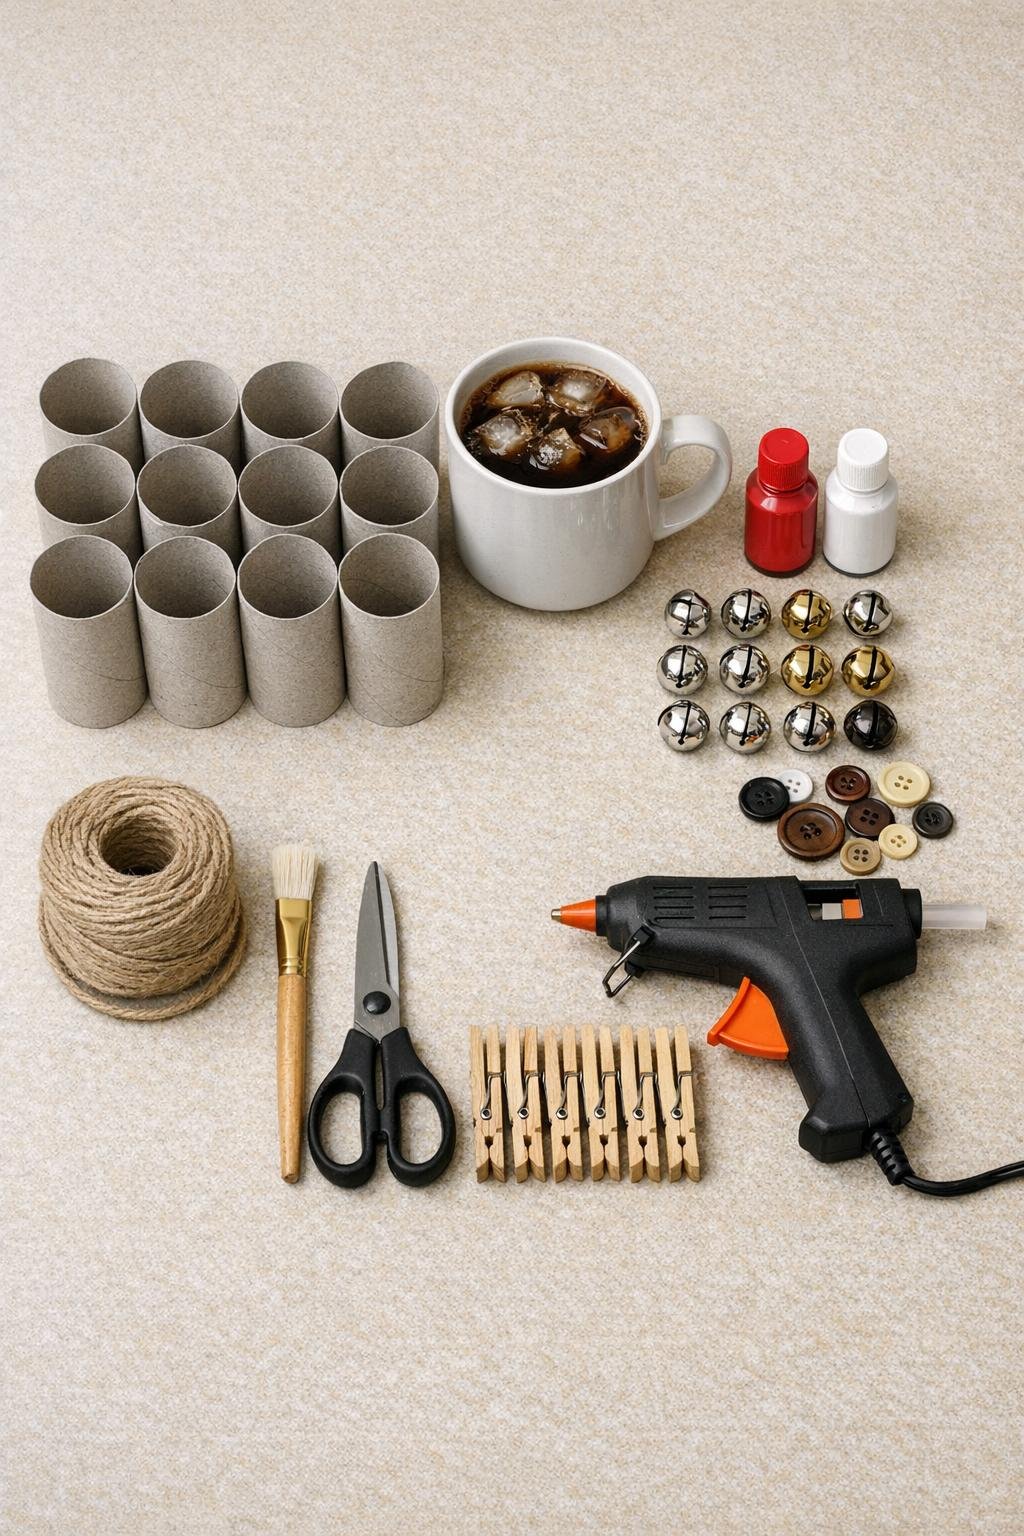
Materials
12 empty toilet paper rolls
Instructions
1. Set all 12 toilet paper rolls on your counter and brush each one all over with the cold coffee, leaving no dry gray spots except any tiny areas you miss in the seams. Let them dry 20 to 30 minutes, then brush on a second coat for a deeper, weathered brown.
2. Flatten each dry roll gently with your hands, then cut every roll into 5 even rings about 1/2 inch wide, giving you 60 petal pieces total. Pinch each ring at the sides to sharpen the leaf shape if needed.
3. Sort the pieces into twelve groups of 5 petals each so every flower will be full and evenly shaped. If you want extra fullness, save any slightly wider or prettier pieces for the outer points of the flowers.
4. Arrange 5 petals in a flower shape with the pointed ends meeting in the middle, then add a small dot of hot glue where each petal touches the next. Clip the joins with clothespins for a minute so the flower holds its shape neatly.
5. Once the glue sets, add a jingle bell or button to the center of each flower with a generous dab of hot glue. Press firmly for a few seconds so the center sits flat and secure.
6. If you’d like a more festive finish, dry-brush a little red or white paint along the outer edges of the petals. Keep it light so the coffee stain still shows through and the flowers stay rustic rather than fussy.
7. Cut twelve 6-inch lengths of twine and glue one loop to the back of each flower for hanging. For a tidier finish, glue the ends of the twine behind the top two petals so the loop is hidden from the front.
8. Let everything cool completely, then fluff and reshape the petals with your fingers so each flower looks open, even, and full. Hang them on the tree, tuck them into a garland, or cluster several together on a wall or wreath for the prettiest display.
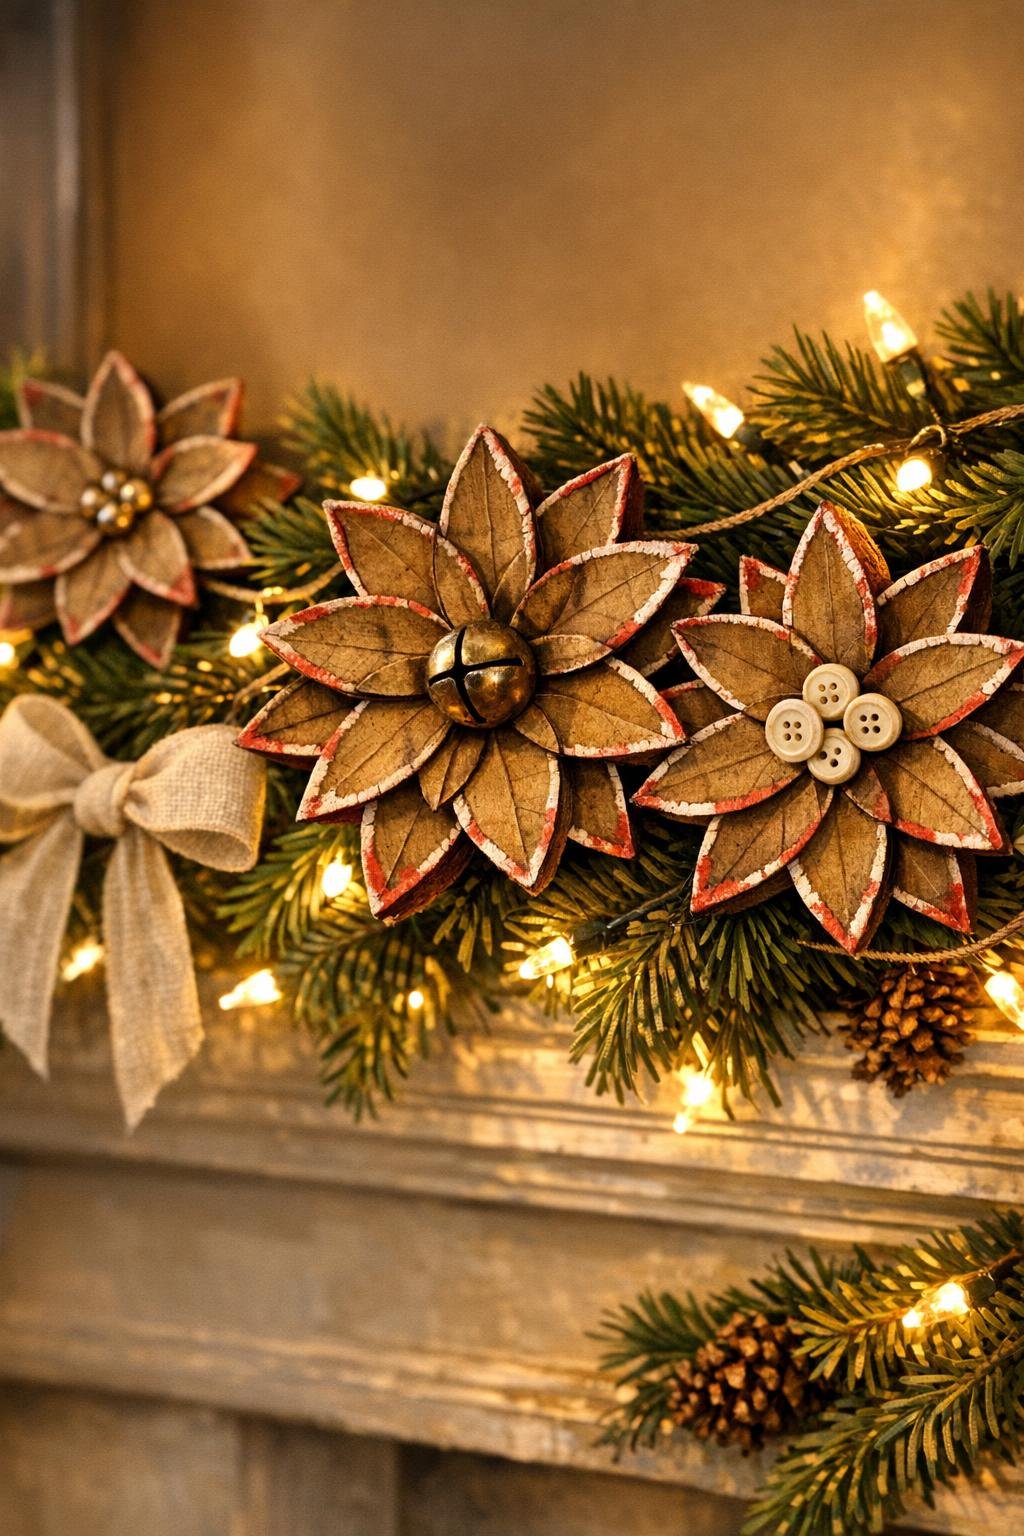
Variations & Tips
For a fuller look: Make a few double-layer flowers by gluing a second 5-petal flower behind the first and offsetting the petals. It uses more rolls, but it gives you that lush, store-window Christmas look.
For a farmhouse finish: Skip the red paint and use only a soft white dry brush on the edges. That keeps the flowers looking snowy, simple, and especially nice with burlap, pine, and old wood.
For wreath decorating: Instead of adding twine loops to all of them, glue several flowers directly onto a grapevine wreath and fill the gaps with evergreen clippings or a few extra bows.
For sturdier petals: If your rolls are very thin, brush on the coffee stain, let them dry fully, and then flatten them under a heavy book for 15 minutes before cutting. They’ll slice more evenly and hold their shape better.
Center choices: Jingle bells give a merry little glint, but buttons have a sweet vintage charm that reminds me of my old sewing tin. Mismatched cream, brass, or red buttons all work beautifully.
Hanging tip: If you’re using these on a tree, keep the twine loops small so the flowers sit upright instead of tipping forward. A dab of glue at the knot helps the loop stay neat.
Batch crafting: I like to stain and cut all the rolls first, then glue all the flowers assembly-line style. It goes faster that way, and by the end your table is covered in a whole little patch of Christmas blooms.