
I love a yard project that solves a real problem with things I already have in the shed, and this raised bed soil aerator is exactly that kind of fix. If your beds are compacted after a long growing season, water is pooling on top, or your fall cleanup always ends with heavy, clumpy soil, this old-school trick is such a satisfying one to make and use.
The basic idea is simple: you turn a rusty tomato cage into a wide, easy-grip aerating basket, then pair it with two everyday shed items to help punch, lift, and loosen tired bed soil without hauling out a tiller. I like this project for busy gardeners because it takes hardly any time, costs almost nothing, and gives you a tool that makes fall bed prep feel much less like a chore.
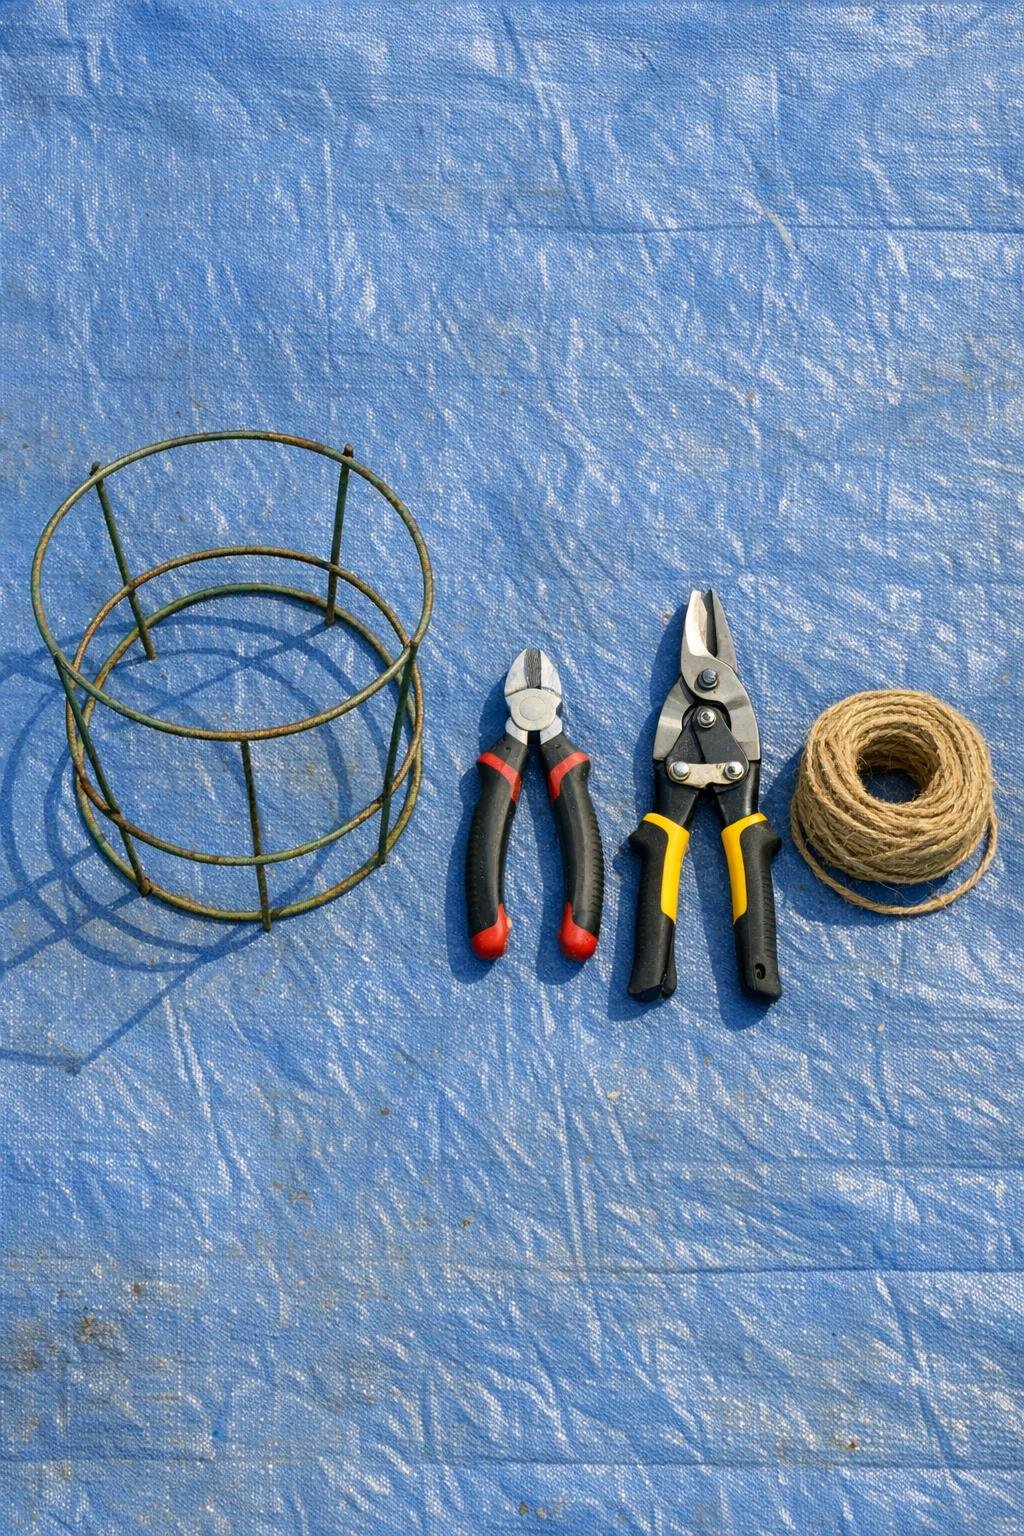
Materials
Instructions
1. Set the tomato cage on a tarp or driveway and rinse off loose dirt so you can clearly see the wire joints and bottom prongs. Wipe it down with the soapy water and rag, then let it dry for a few minutes.
2. Put on gloves and turn the cage upside down so the long bottom legs point up toward you. Check that the rings are still solid and that the cage shape is intact enough to use as a handle and loosening basket.
3. Use the wire cutters to clip each bottom prong off right where it meets the lowest circular ring. Work one wire at a time so the cut ends stay even and the bottom edge becomes a clean open circle.
4. Switch to the metal snips and trim any sharp points or jagged bits left after cutting. If needed, bend rough ends inward with the snips so the tool is safer to grip and drag through soil.
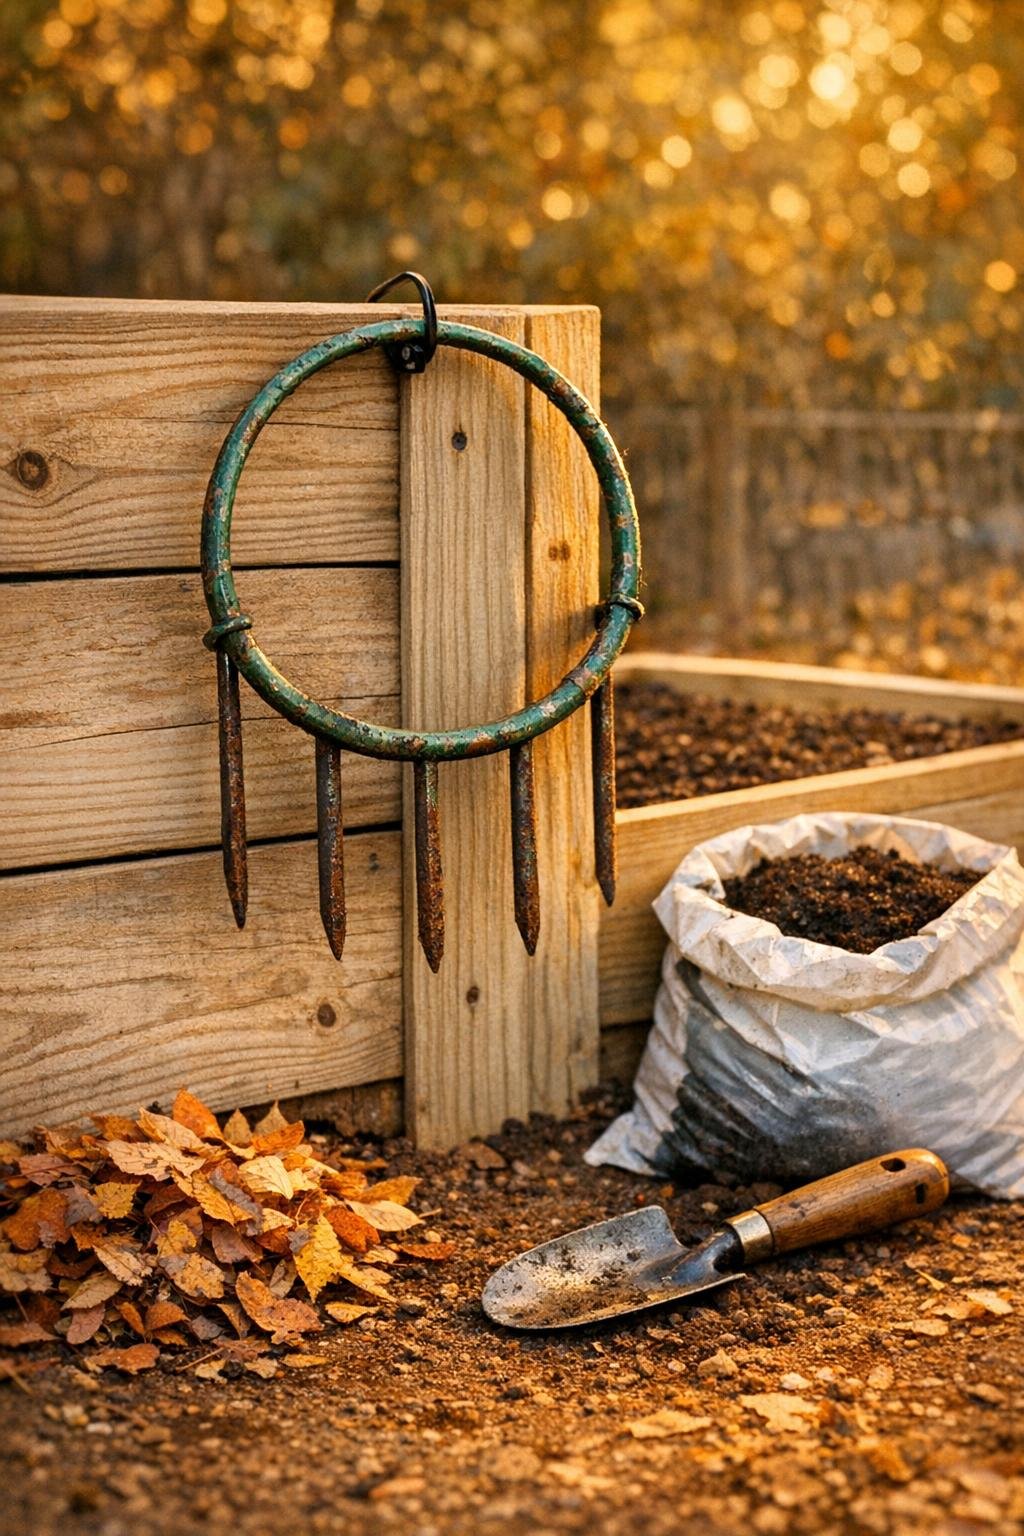
5. Test the open end by pressing it lightly into a raised bed. The wide circular base should sink in a few inches and lift crumbly plugs of soil as you twist and pull back, almost like a giant hand whisk for the top layer of the bed.
6. Tie the garden twine around the narrow top of the cage in a tight loop to make a hanging tie and a better grip point. I like to leave a 6-inch loop because it makes the tool easier to carry from bed to bed and keeps it off the damp garage floor.
7. To use it for fall cleanup, press the open end into compacted soil 3 to 4 inches deep, twist, and lift slightly to break up the surface without turning the whole bed over. Repeat every 6 to 8 inches across the bed, especially where summer watering or foot traffic packed the soil down.
8. For heavier spots, rock the cage gently side to side after pressing it in, then pull up and move on. The cut cage opens enough soil for compost, shredded leaves, or mulch to settle in better over winter.
9. After using it, rinse off mud, dry it, and hang it by the twine loop in the shed. If the rusty finish flakes a lot, give it a quick brush-off before storing so it stays easy to handle next season.
Variations & Tips
If your cage is very rusty: Surface rust is fine for this project, but if the wire is brittle or snapping at the rings, swap in a sturdier cage so it holds its shape while you twist it into the bed.
For deeper loosening: Use the aerator after watering the bed lightly or the day after a rain. I’ve found slightly damp soil breaks apart much more cleanly than bone-dry soil, especially in clay-heavy Midwestern beds.
To cover more ground fast: Work in rows from one side of the raised bed to the other, spacing each press about a hand-width apart. It keeps the pattern even and makes it easy to see where you’ve already loosened the soil.
To pair it with compost: Aerate first, then spread 1 to 2 inches of compost or chopped leaves over the bed. The loosened surface grabs and holds that organic matter better through winter.
For safer handling: If the top wires feel scratchy, wrap the grip area with a few extra loops of twine. It is a tiny finishing touch, but it makes the tool much nicer to use when you’re trying to get through cleanup before dinner.
Storage tip: Hang it on a shed hook instead of tossing it in a pile of stakes and cages. I started doing that after losing mine behind a stack of pots one spring, and it saves me from remaking the same simple tool every year.