
This paper towel holder is one of those projects I love because it solves a real kitchen problem and still looks warm and intentional sitting on the counter. The design is wonderfully simple: a wooden dowel slides through two leather loops mounted to a cutting board, which gives you a freestanding holder that feels custom without needing a whole afternoon or a workshop full of tools.
I’m always looking for little upgrades that make my kitchen work better without adding visual clutter, especially on busy weeknights when I’m cooking and cleaning at the same time. If you like practical projects with a clean rustic look, this is an easy one to knock out in an hour, and the finished piece looks far more polished than the effort it takes.
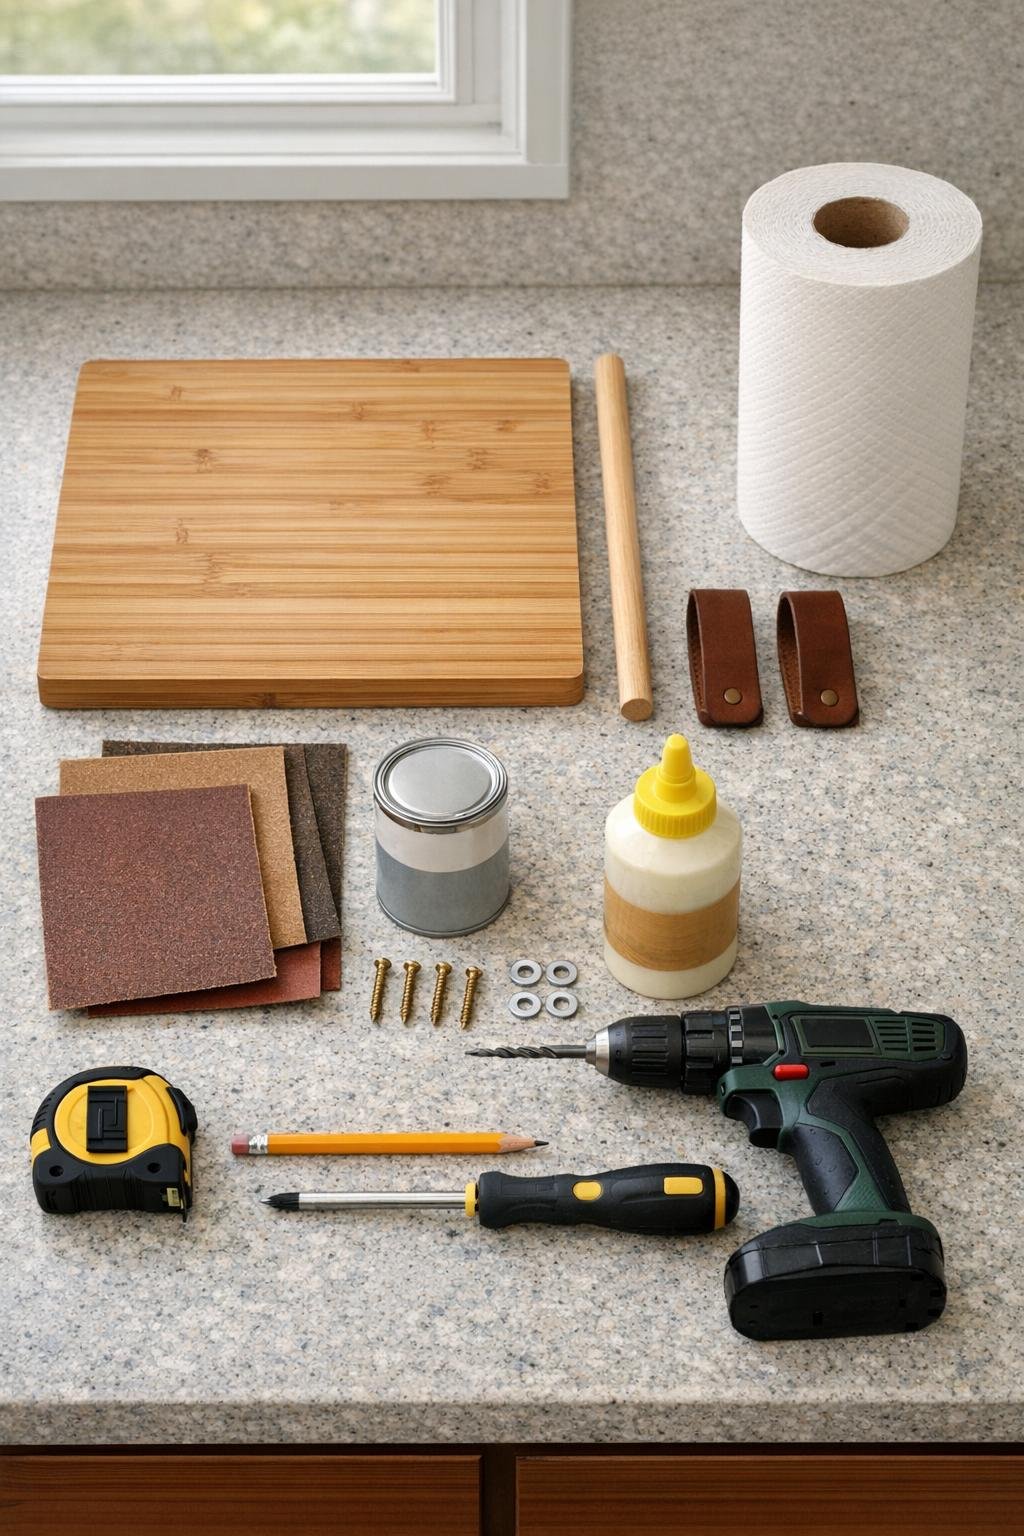
Materials
Instructions
1. Sand the cutting board lightly with 120-grit, then 220-grit sandpaper, focusing on the edges and any rough spots so the finished holder feels smooth and clean.
2. Wipe away dust and apply a thin coat of clear matte polyurethane or wax to the front, back, and edges of the cutting board; let it dry fully before assembly.
3. Cut two 8-inch leather strips from the belt if needed, and check that each strip wraps around the dowel with enough room to form a loop plus a 1-inch overlap at each end for screws.
4. Mark two mounting positions on the cutting board, centered left to right, with the loops spaced about 10 1/2 inches apart and placed 2 inches down from the top edge.
5. Fold each leather strip into a loop around the dowel to test the fit; the dowel should slide easily but not wobble excessively, so trim the leather length slightly if the loops are too loose.
6. Add a tiny dab of wood glue under each leather end to hold placement, then drill small pilot holes through the leather ends into the cutting board at all four screw points.
7. Fasten each leather loop with two screws and finishing washers, keeping the loop shape rounded and even so the dowel stays level across the board.
8. Slide the dowel through both mounted loops and make sure it moves smoothly; if needed, loosen one screw slightly and adjust the leather until the dowel glides without catching.
9. Slide a full paper towel roll onto the dowel from one side, then center it so the roll spins freely and the holder sits balanced on the counter.
10. Finish by rubbing a little mineral oil onto any dry wood edges and buffing the leather with a soft cloth, which gives the whole piece that simple polished look that makes it feel kitchen-ready.
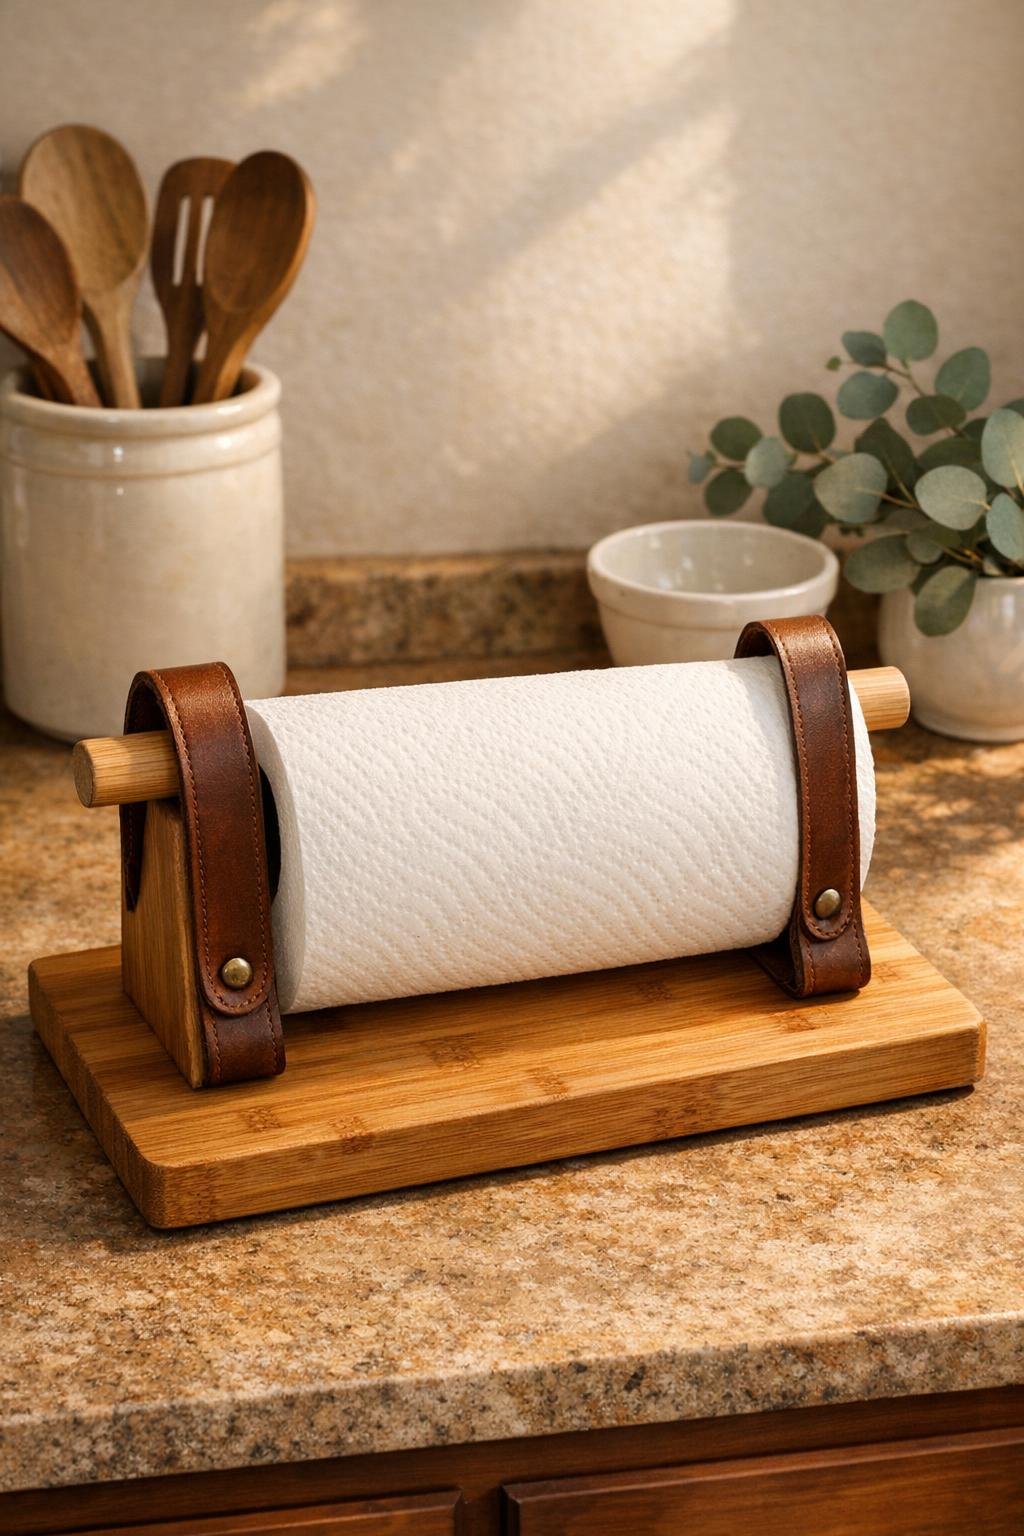
Variations & Tips
Use a darker finish: If your kitchen leans moodier or more modern, stain the dowel a medium walnut tone before sealing it. I’d still keep the cutting board natural so the contrast shows off the structure.
Try black hardware: Brass washers and screws give this a warm rustic look, but matte black hardware makes it feel a little more modern and works especially well with deep brown or black leather.
Check your roll size: Some extra-large paper towel rolls are wider than standard ones, so test your preferred brand before cutting the dowel. If needed, increase the dowel length to 14 inches and space the loops a little farther apart.
Make the leather neater: Rounded strap ends instantly make this look more finished. I usually trim the ends into a soft curve before attaching them, because that tiny detail makes a very homemade project look much more intentional.
Add non-slip feet: If you want the holder to stay put during one-handed tearing, stick 4 small rubber bumpers on the back corners of the cutting board. That’s especially helpful if your counters are slick stone or polished laminate.
Keep it countertop friendly: A matte sealer is best here because it protects the wood without making it look plasticky. In my kitchen, that low-sheen finish always looks cleaner and hides fingerprints better when I’m in the middle of cooking.