
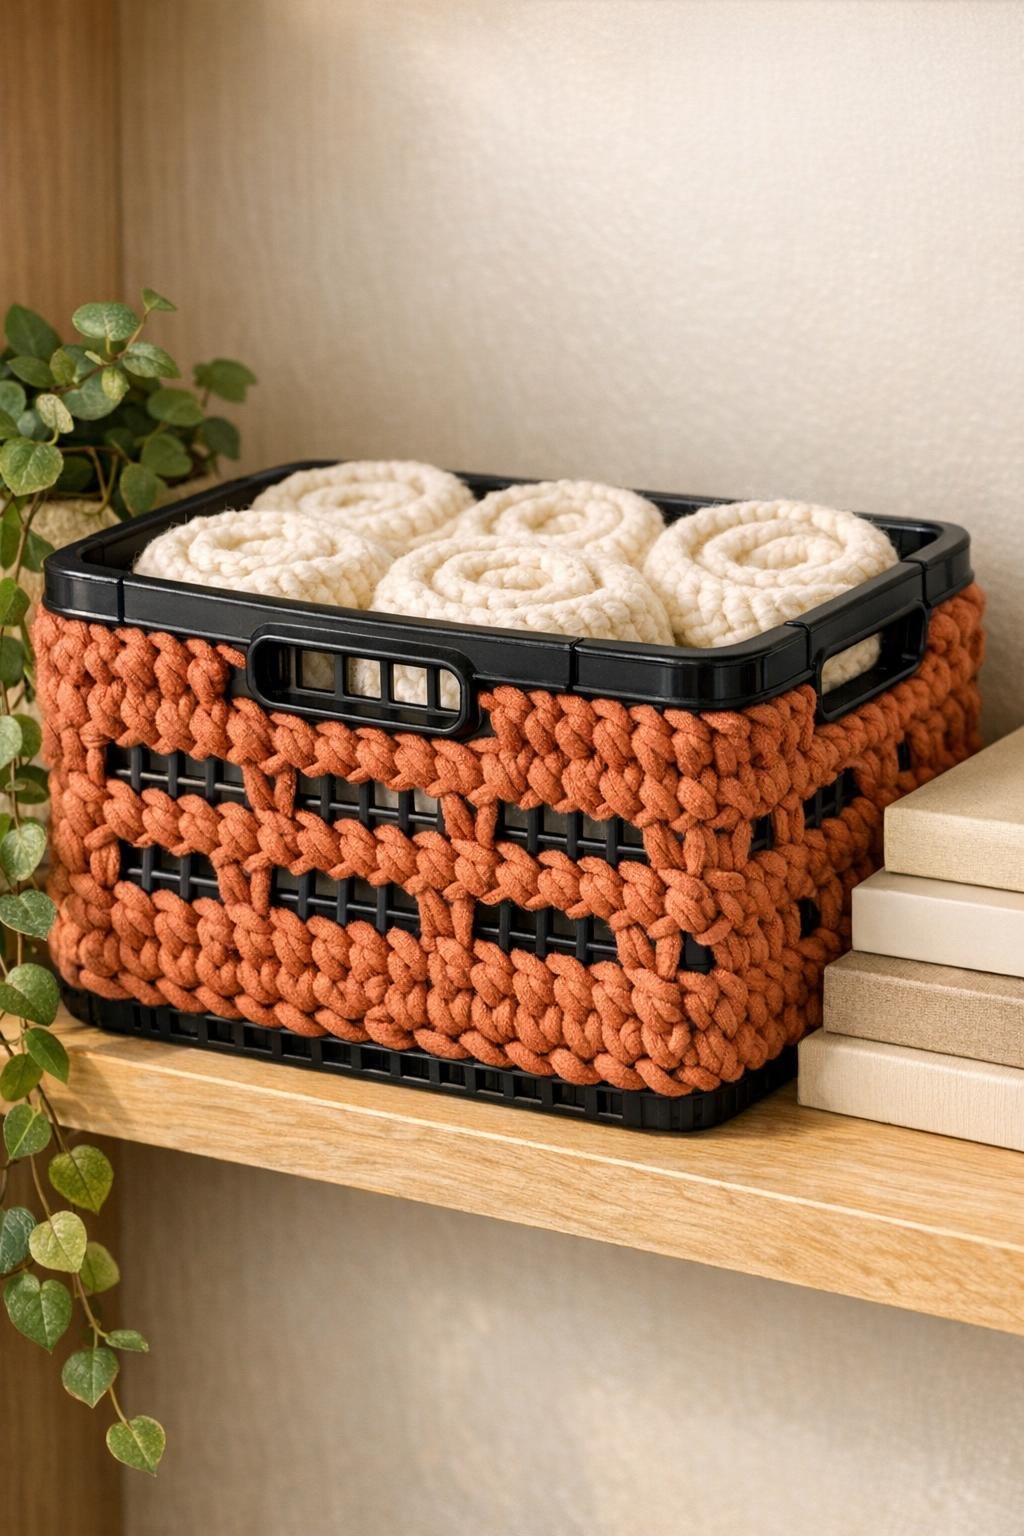
I love a project that solves two problems at once, and this one absolutely does. We’re taking a basic black dollar store bread crate and turning it into a chunky crochet storage basket by stitching straight through the plastic openings with thick terracotta yarn. It gives you the structure of a crate with the warmth of handmade crochet, and the finished basket looks so much more polished than you’d expect from such humble supplies.
This is a great project if you want something useful, fast, and beginner-friendly without having to crochet an entire basket from scratch. I’m always looking for storage that works hard but still looks nice enough to leave out on a shelf, and this is exactly that kind of project. It’s perfect for blankets, pantry goods, kids’ toys, or even rolled kitchen towels, and because the crate does the heavy lifting, the crocheting is surprisingly manageable.
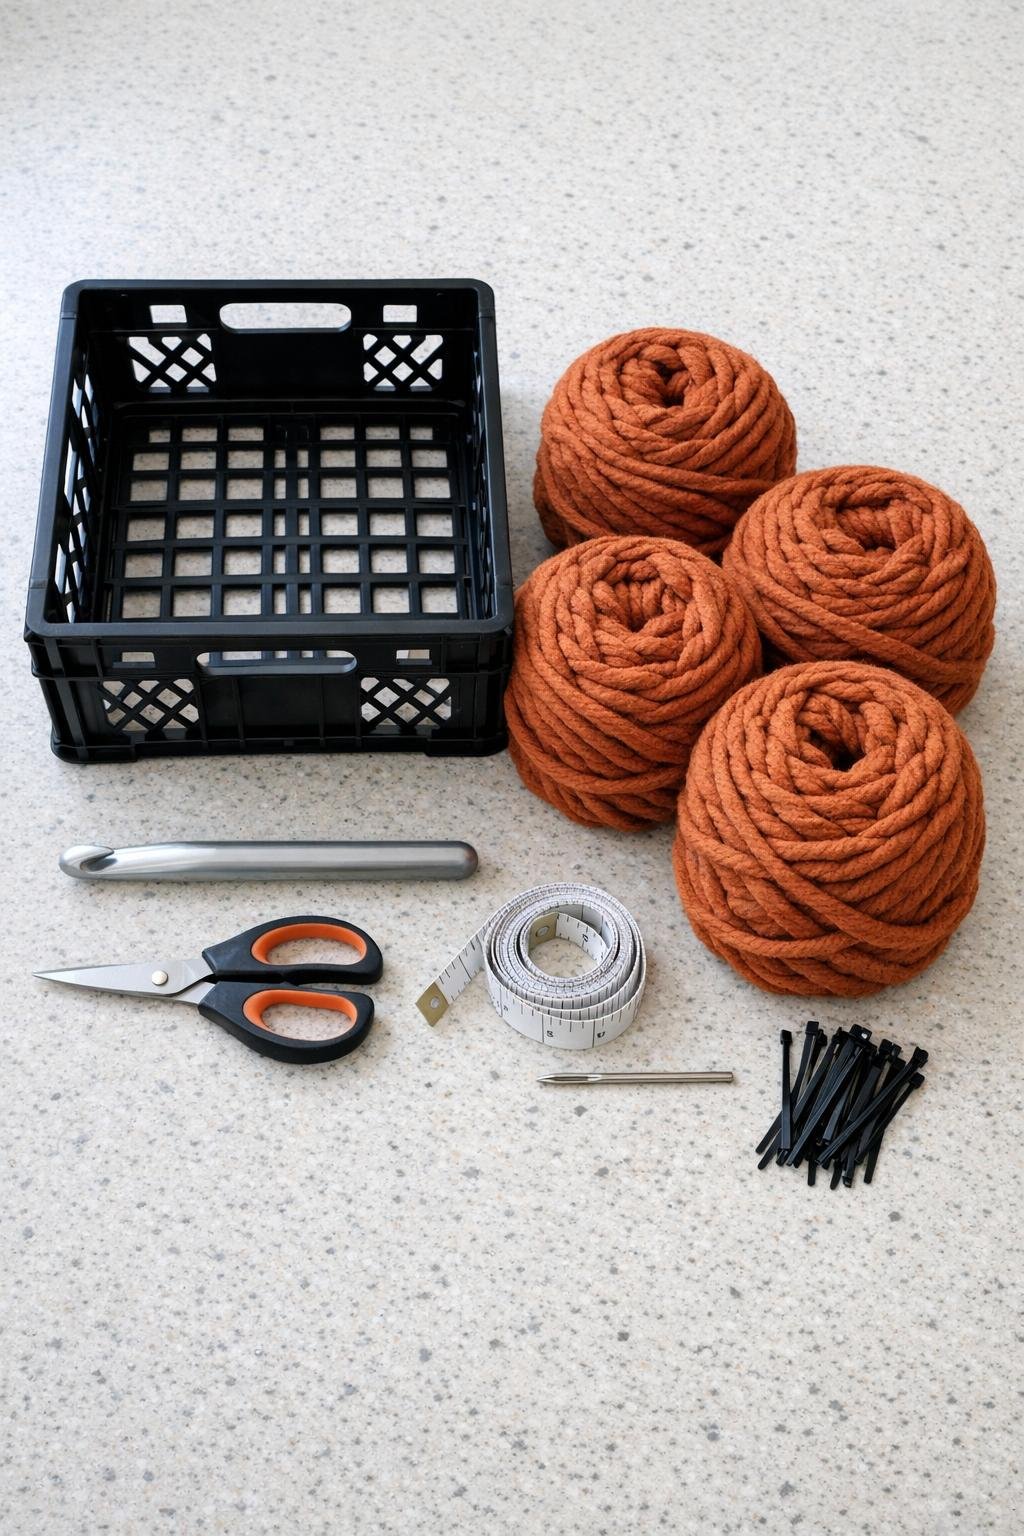
Materials
1 black plastic dollar store bread crate, approximately 13 inches x 11 inches x 9 inches
Instructions
1. Wipe the bread crate clean with a damp cloth and let it dry fully, then trim off any plastic burrs or rough spots so the yarn won’t snag.
2. Decide which side will be the front and place the crate upright on your work surface with the open top facing up, keeping the long side toward you.
3. Make a slip knot and anchor the yarn at one bottom corner by tying it securely through a lower grid opening, leaving a 4-inch tail to weave in later.
4. Work single crochet stitches directly through each opening along the bottom edge of one long side, pulling the yarn snug around the plastic so the crate starts to look wrapped instead of loosely laced.
5. Continue across that side, placing 1 single crochet in each opening and 2 single crochet stitches in corner openings so the yarn rounds the corner cleanly without pulling.
6. Crochet up the first short side, then across the second long side, and then the final short side, always using the crate openings as your stitch spaces and keeping the tension even.
7. Join the round with a slip stitch, then begin a second round one row higher, stacking your stitches through the next line of openings so the sides fill in with chunky texture.
8. Repeat the same method for each row, working upward through the grid one horizontal line at a time until all four sides are covered almost to the top rim.
9. When you reach the handle openings near the top, crochet around them rather than covering them completely, placing stitches into the surrounding grid so the basket stays functional and easy to lift.
10. Work one final round around the top rim by inserting the hook through top openings and making a dense edging of single crochet or slip stitches to visually finish the upper edge.
11. Cut the yarn with an 8-inch tail, thread it onto the yarn needle, and weave it through several back stitches on the inside, then repeat with the starting tail.
12. Add black zip ties on the inside at any spots that feel loose, especially near corners or handles, threading them through hidden stitches and the crate grid to keep the crochet snug and tailored.
13. If you want a fuller designer look, make a simple braided cord from three 36-inch strands of terracotta yarn and tie it through one handle as a soft accent.
14. Fill the basket to shape it and gently adjust the stitches with your hands so the coverage looks even, the corners look rounded, and the terracotta yarn sits neatly against the black crate.
Variations & Tips
For a softer inside: Add a simple fabric liner cut from 1 yard of canvas or cotton duck if you plan to store smaller items that might poke through the crate openings.
For beginners: Don’t worry about traditional stitch counting too much here; I treat each crate opening as the guide, which makes this feel more forgiving than standard basket crochet.
For a fuller look: If your crate has larger openings, work 2 stitches in every other opening on the second and third rows so the coverage looks denser and more plush.
For color changes: Terracotta is gorgeous against black, but mustard, cream, olive, or rust would also give this a warm collected look that feels very current.
For heavy-use storage: Reinforce all four top corners with zip ties on the inside before the final edging round; I’ve found that little extra support makes a big difference if the basket will hold pantry jars or toys.
For cleaning: Because the crate is plastic, this is easier to maintain than a fully crocheted basket; I spot-clean the yarn and wipe the inside of the crate with a damp cloth when needed.
Best places to use it: This basket works beautifully in a pantry, mudroom, laundry room, or living room, especially where you want practical storage that still feels handmade and intentional.