
There’s something deeply satisfying about taking what looks spent and brittle and giving it a second life that feels special enough for the holidays. Around here, I’ve always saved the sturdy flower heads that make it through late summer and fall, and dried hydrangeas are some of the prettiest to work with because they already have that generous, cloud-like shape. With a little paint, a little sparkle, and a simple base, they turn into something that looks far more expensive than it is.
This is a wonderful project if you want a winter arrangement that feels full and elegant without fussing with fresh greenery or tricky floral work. If you can use hot glue and don’t mind a bit of happy mess from spray paint and flocking, you can make this in an afternoon and enjoy it all season long.
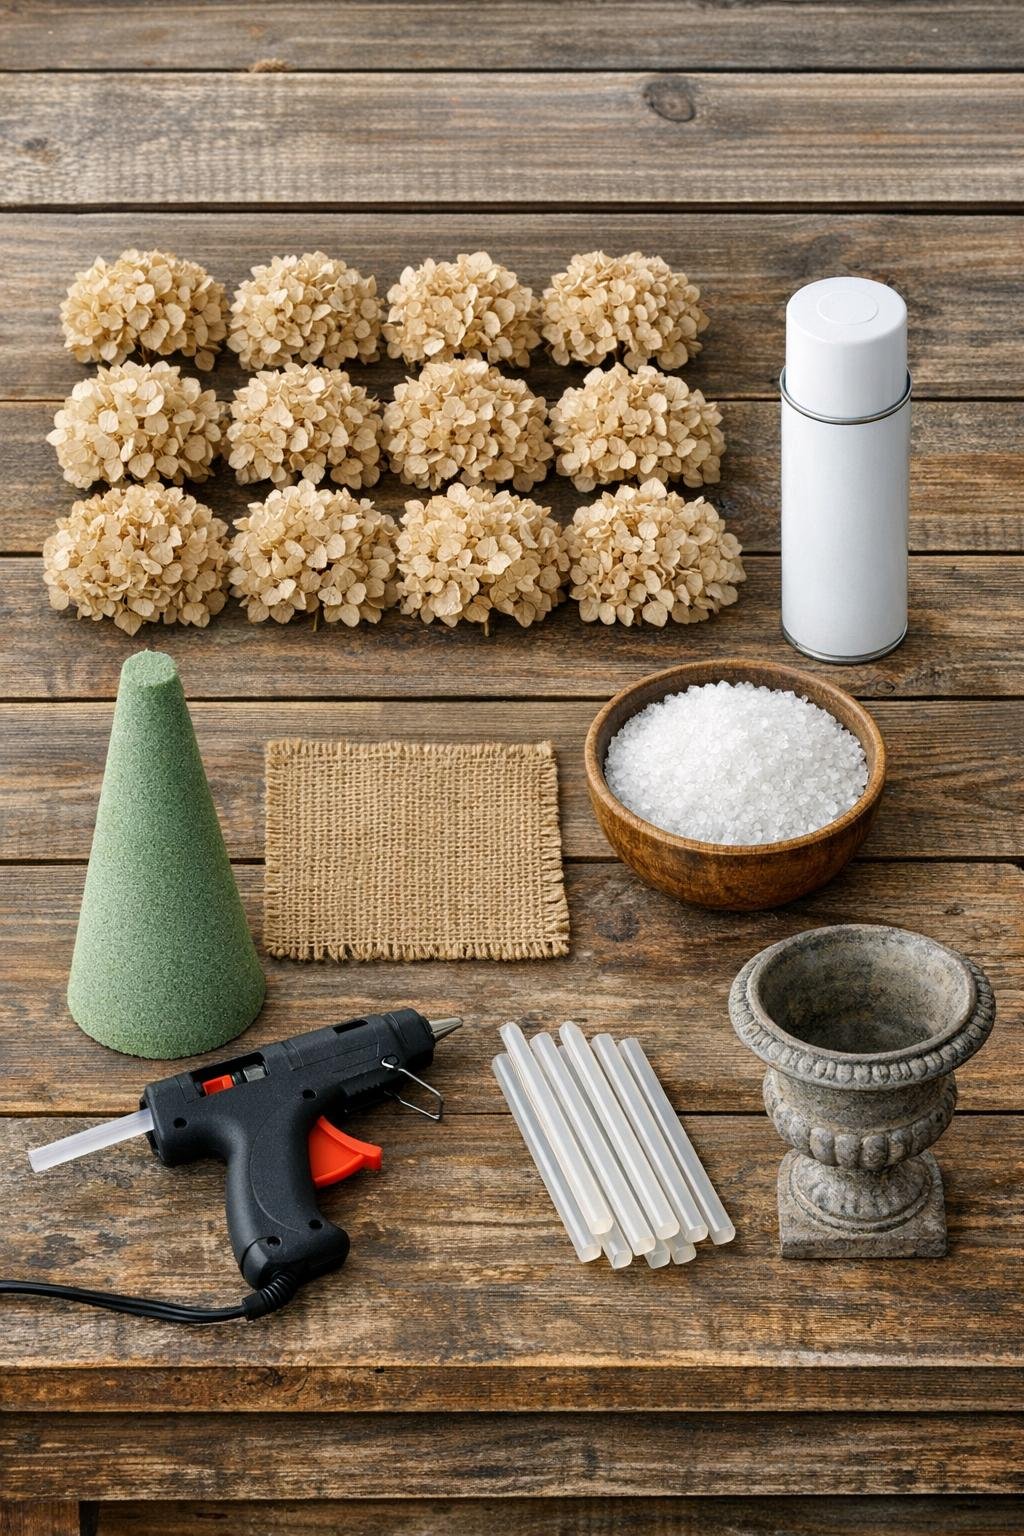
Materials
12 dried hydrangea heads, medium to large, stems trimmed to 1 to 2 inches
Instructions
1. Spread out kraft paper or a drop cloth in a well-ventilated area, and trim the hydrangea stems so each head has just enough stem left to grip while painting.
2. Spray all 12 hydrangea heads with white spray paint in light, even coats, turning them as you go so the tops and sides are covered but the petals stay open and airy.
3. While the paint is still tacky, sprinkle snow flocking or Epsom salt over the tops and outer edges of the blooms to give them a fresh, frosted look, then let them dry completely.
4. Set the foam cone into the small urn, wrapping the lower portion with the burlap first if the fit is loose, and glue the burlap in place so the cone sits centered and snug.
5. If the cone still shows above the urn, tuck and glue the extra burlap neatly around the base to cover any gaps and give the arrangement a finished look.
6. Starting at the bottom edge of the cone, add the largest hydrangea heads first, applying hot glue to the stem and underside of each bloom and pressing them close together so there are no bare spots.
7. Work upward in overlapping rows, turning each bloom slightly as you place it so the rounded flower heads build a full tree shape instead of a flat one.
8. Fill the middle section with medium blooms, gluing them tightly between the lower flowers and angling them outward just a touch for a generous, layered look.
9. Use the smallest or fluffiest bloom at the top, trimming it if needed so it sits neatly and finishes the point without looking bulky.
10. Step back and check for gaps, then tuck in any remaining petals or small broken clusters with hot glue until the cone is fully covered and looks lush from every angle.
11. For extra snow, lightly mist any sparse areas with a quick pass of spray paint and add one more dusting of flocking or Epsom salt over the outer surface.
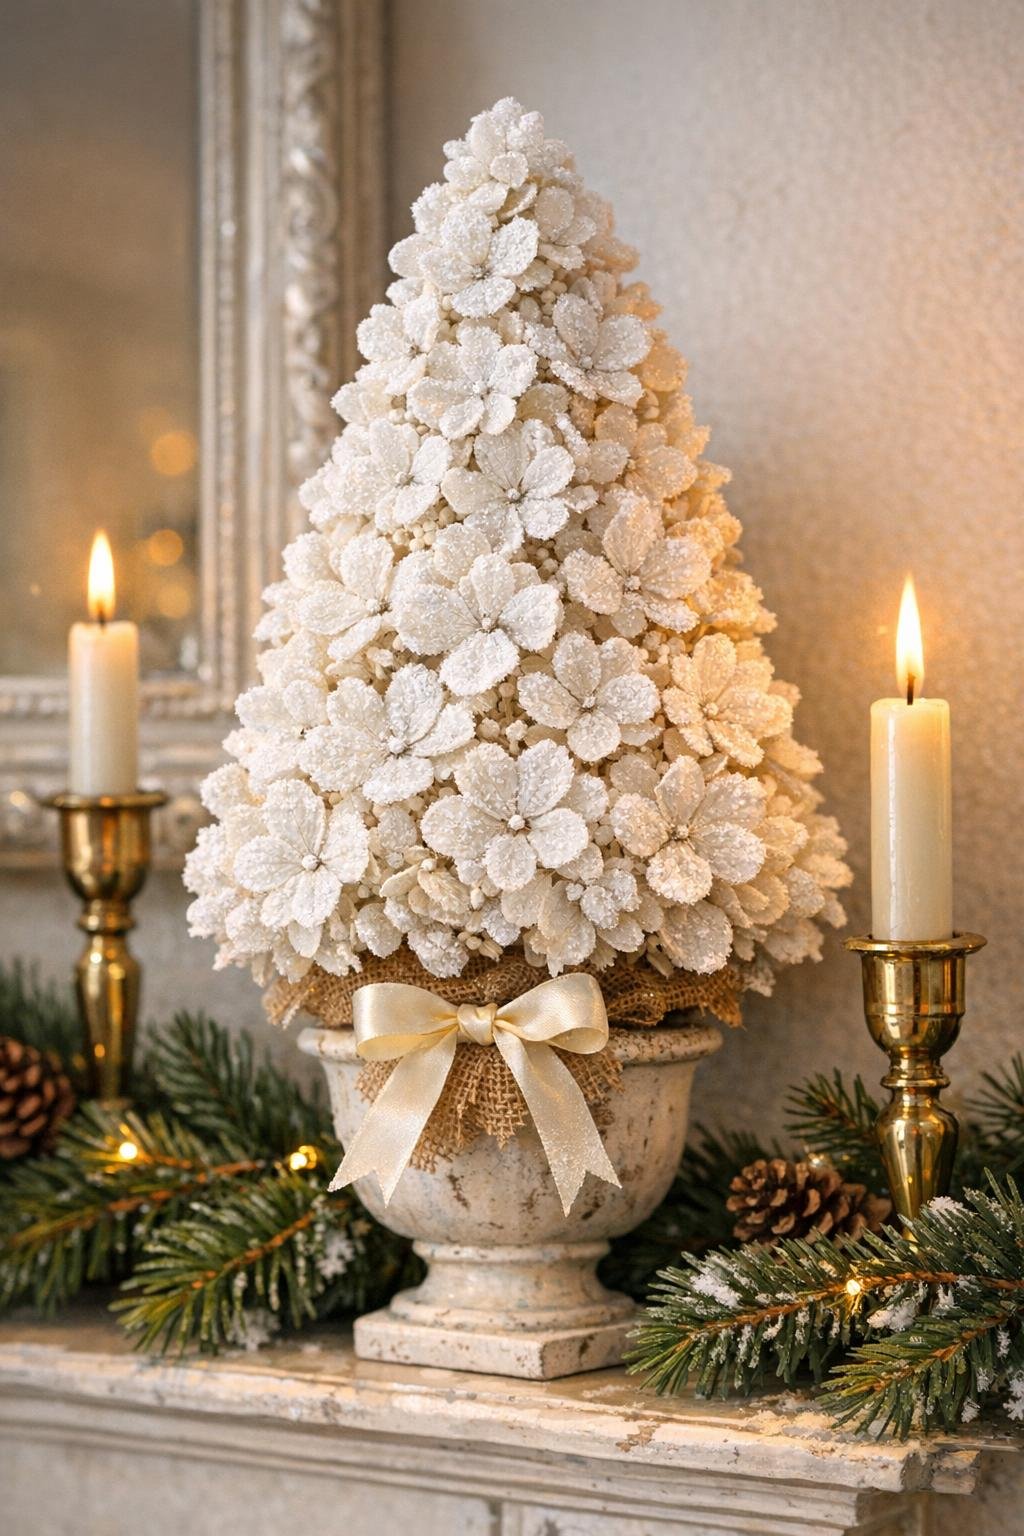
12. Let everything set for 15 to 20 minutes, then place the finished piece on a mantel, sideboard, or entry table where the soft white texture can catch the light.
Variations & Tips
Different finish: If you want a softer farmhouse look, use just a light mist of white paint so a bit of the natural hydrangea color peeks through under the snow.
More sparkle: Epsom salt gives a pretty icy glimmer, while commercial flocking looks fluffier and more like fresh snow; both work, so use what you can find.
Container options: A small ironstone pitcher, silver cup, or chunky candleholder can stand in for the urn as long as the base is sturdy and the cone fits securely.
Filling gaps: I always save broken hydrangea bits in a little bowl while I work, because those tiny clusters are perfect for covering seams near the top and around the bottom edge.
Make it last: Keep the piece indoors and dry, away from direct heat vents, and it should hold its shape beautifully through the whole winter season.
Display idea: These look especially lovely made as a pair in slightly different heights, one on each end of a mantel, the way old holiday centerpieces were arranged to make a room feel dressed for company.