
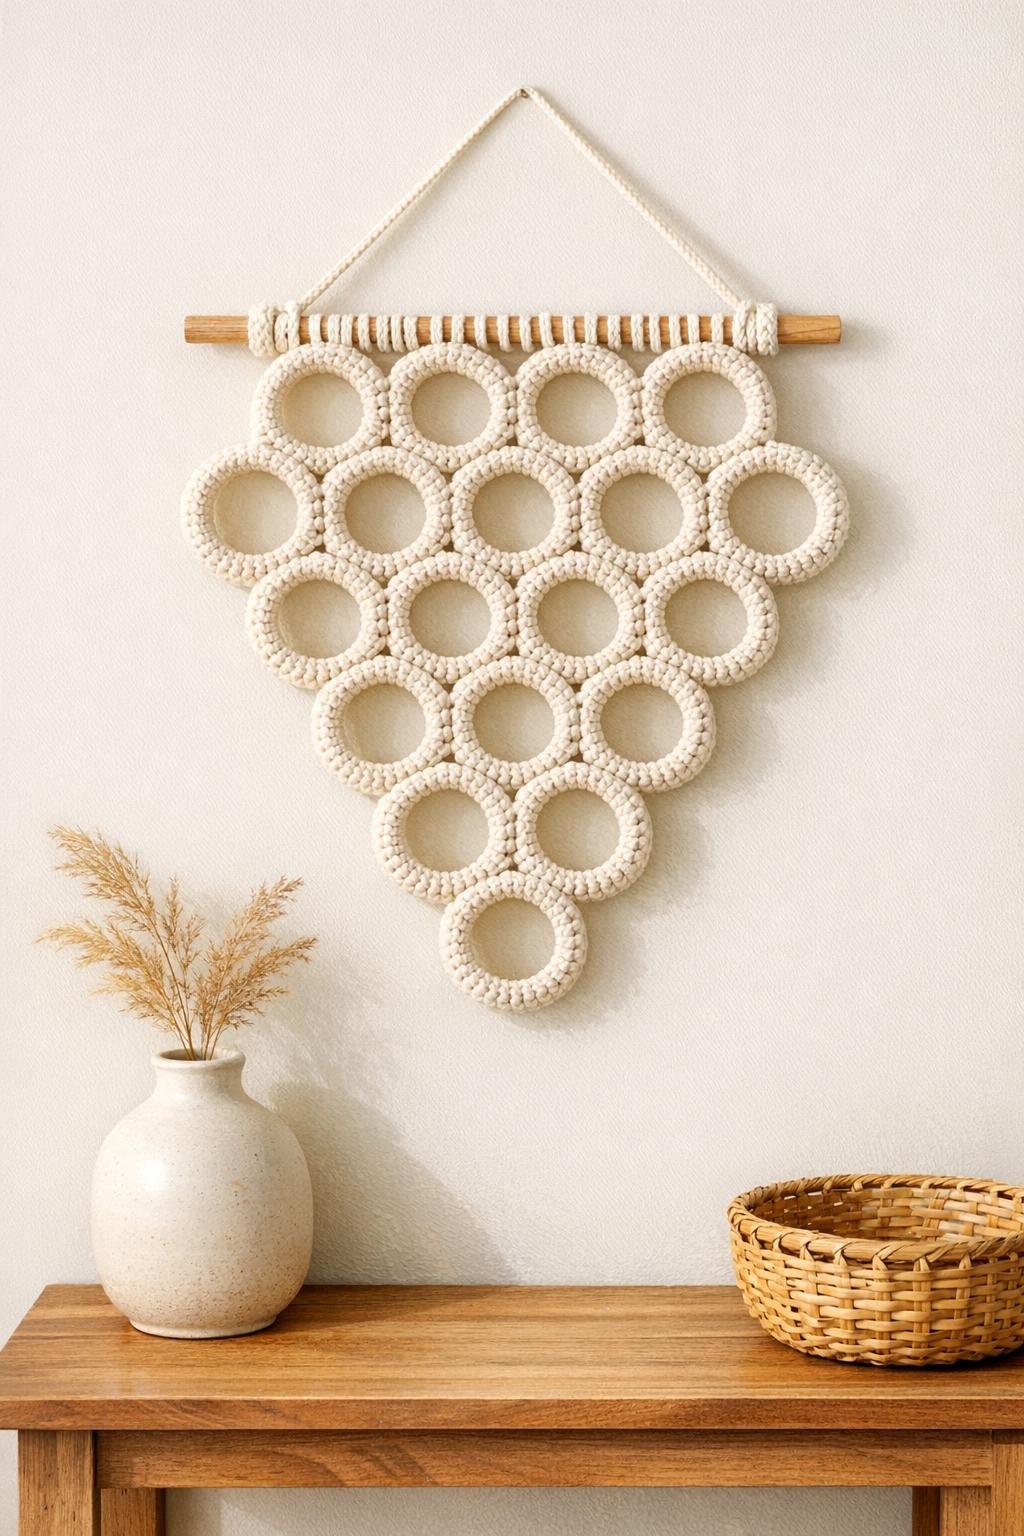
I have always had a hard time throwing away anything sturdy, and empty toilet paper rolls fall right into that category. Out here, where we’re used to making do and making things pretty with what we have, a plain cardboard tube starts to look less like trash and more like possibility. This crochet wall hanging turns those saved-up rolls into a soft, textured honeycomb panel that feels equal parts clever and homey.
If you know a few basic crochet stitches and can work with a yarn needle, this is a wonderful little project. The cardboard rings give you the structure, the cotton yarn gives you that clean, natural look, and once it’s hung up, it has the kind of handmade charm that makes a hallway, craft room, or guest nook feel thoughtfully finished.
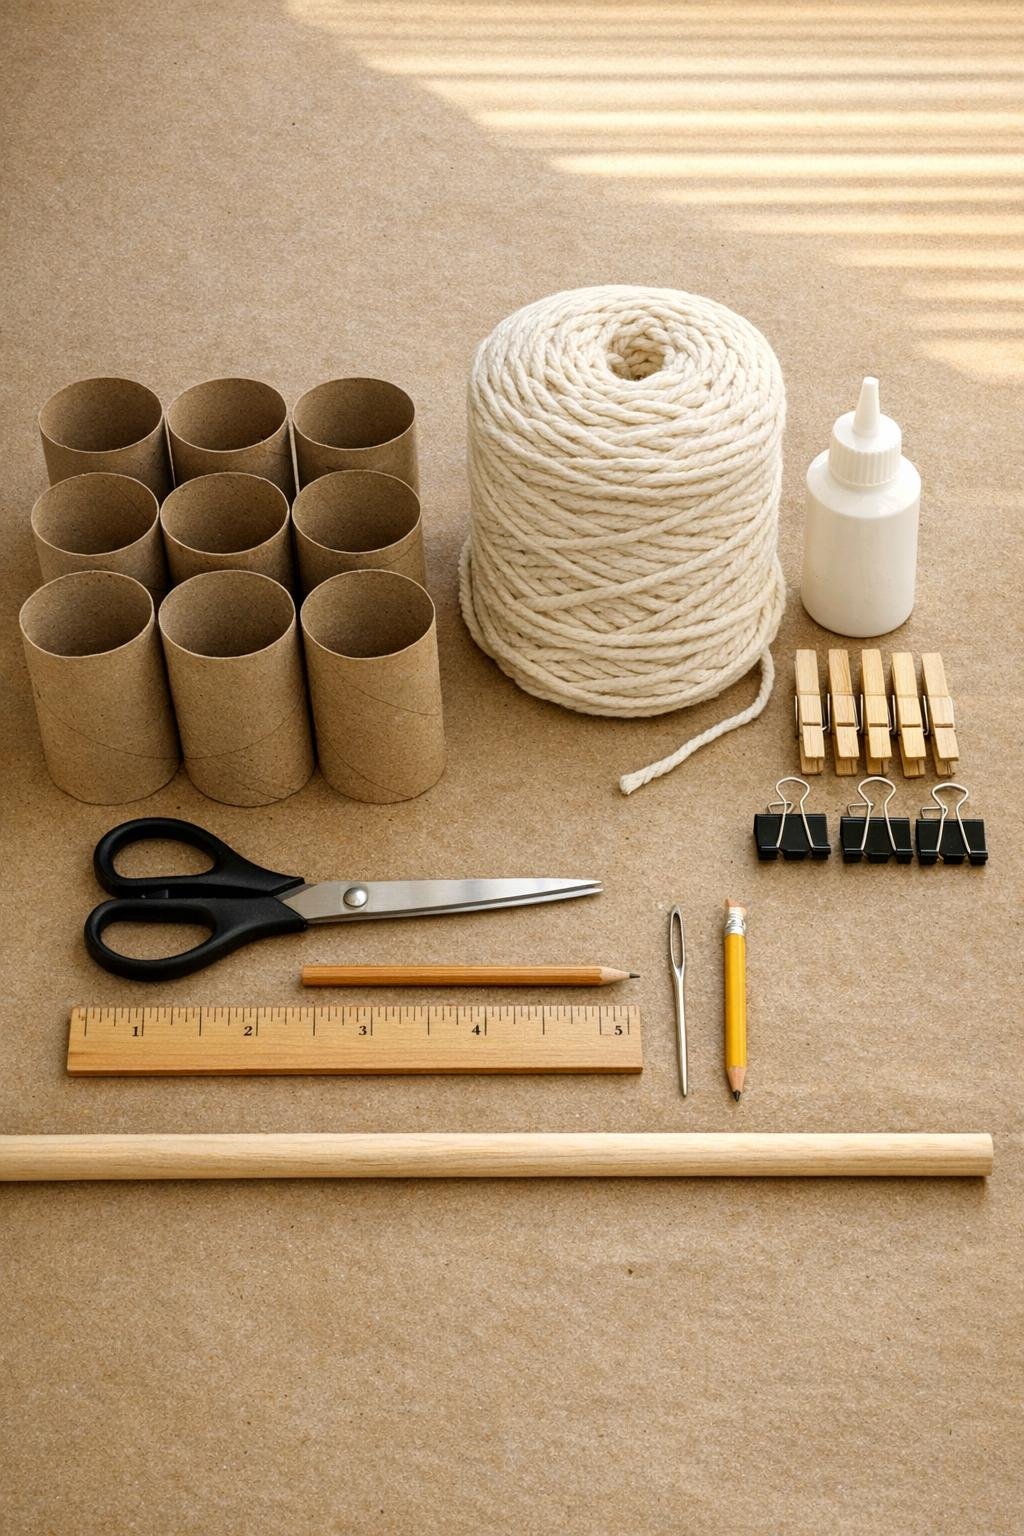
Materials
Instructions
1. Flatten each toilet paper tube gently, mark it into 1-inch sections, and cut across to make 48 cardboard rings. Open them back into round or slightly oval shapes with your fingers so they sit evenly.
2. Arrange the rings into a honeycomb pattern that is 6 rings across at the widest point, with the rows staggered so the cluster looks full and balanced. A good layout is 5 rings in the top row, 6 in the second, 6 in the third, and 5 in the bottom row.
3. Add a tiny dot of craft glue where each ring touches the next, then clip the touching spots to hold the shape while it dries. Let the honeycomb cluster dry for 20 to 30 minutes so it won’t shift while you cover it with yarn.
4. Thread the cream cotton yarn through a yarn needle and tie it securely around one ring. Work single crochet stitches tightly around the ring, packing the stitches snugly until the cardboard is fully covered, then knot the end on the back.
5. Cover every ring the same way, keeping the stitches firm and close so no brown cardboard shows through from the front. This takes a little patience, but it’s the step that makes the whole piece look polished instead of makeshift.
6. Join neighboring rings more securely by stitching through the crochet covering where the rings touch, making 3 or 4 tight whipstitches at each connection point. This keeps the wall hanging flexible but sturdy enough to hang flat.
7. Cut 18 strands of cream yarn at 14 inches each for the bottom fringe. Fold each strand in half, lark’s-head knot them onto the lower edge rings, and fill the width generously so the fringe looks full rather than skimpy.
8. Trim the fringe into a soft shallow point or gentle curve, whichever suits your space best. If you want a little extra detail, add 6 to 8 shorter accent strands in tan or soft mustard near the center of the fringe.
9. Lay the wooden dowel across the back of the top row and stitch the top rings onto it with matching yarn, spacing the stitches evenly so the hanging stays level. Tie the 24-inch hanging yarn to both ends of the dowel to make a simple hanger.
10. Turn the piece over, tuck in every loose end with the yarn needle, and give the rings a final gentle shaping with your hands. Hang it up and fluff the fringe so the honeycomb pattern shows clearly and the whole panel drapes neatly.
Variations & Tips
For a larger statement piece: Save up 16 to 18 tubes and make a taller honeycomb panel with two extra rows. I like a bigger piece for an entryway because it fills the wall beautifully without costing much at all.
For color variation: Work every third or fourth ring in a soft accent color like flax, mustard, sage, or dusty blue. Keeping most of it cream gives you that calm, clean farmhouse look while still adding interest.
For a neater finish: If your cut ring edges are rough, trim away fuzzy bits before crocheting. A clean edge underneath makes the yarn sit smoother and helps every ring keep its shape.
For beginners: If single crochet around the rings feels awkward, you can wrap the yarn tightly instead, then secure it every few wraps with a small stitch. It still gives a lovely covered look and is easier on the hands.
For sturdiness: Don’t skip the stitching at the ring connection points after the glue dries. The glue holds the layout, but the sewn joins are what make it reliable enough to move and hang year after year.
For hanging straight: Before knotting the hanging cord, hold the piece up by the dowel and adjust until both sides balance evenly. I learned long ago, whether with quilts or pantry curtains, that a small adjustment at the end saves a lot of fuss later.