
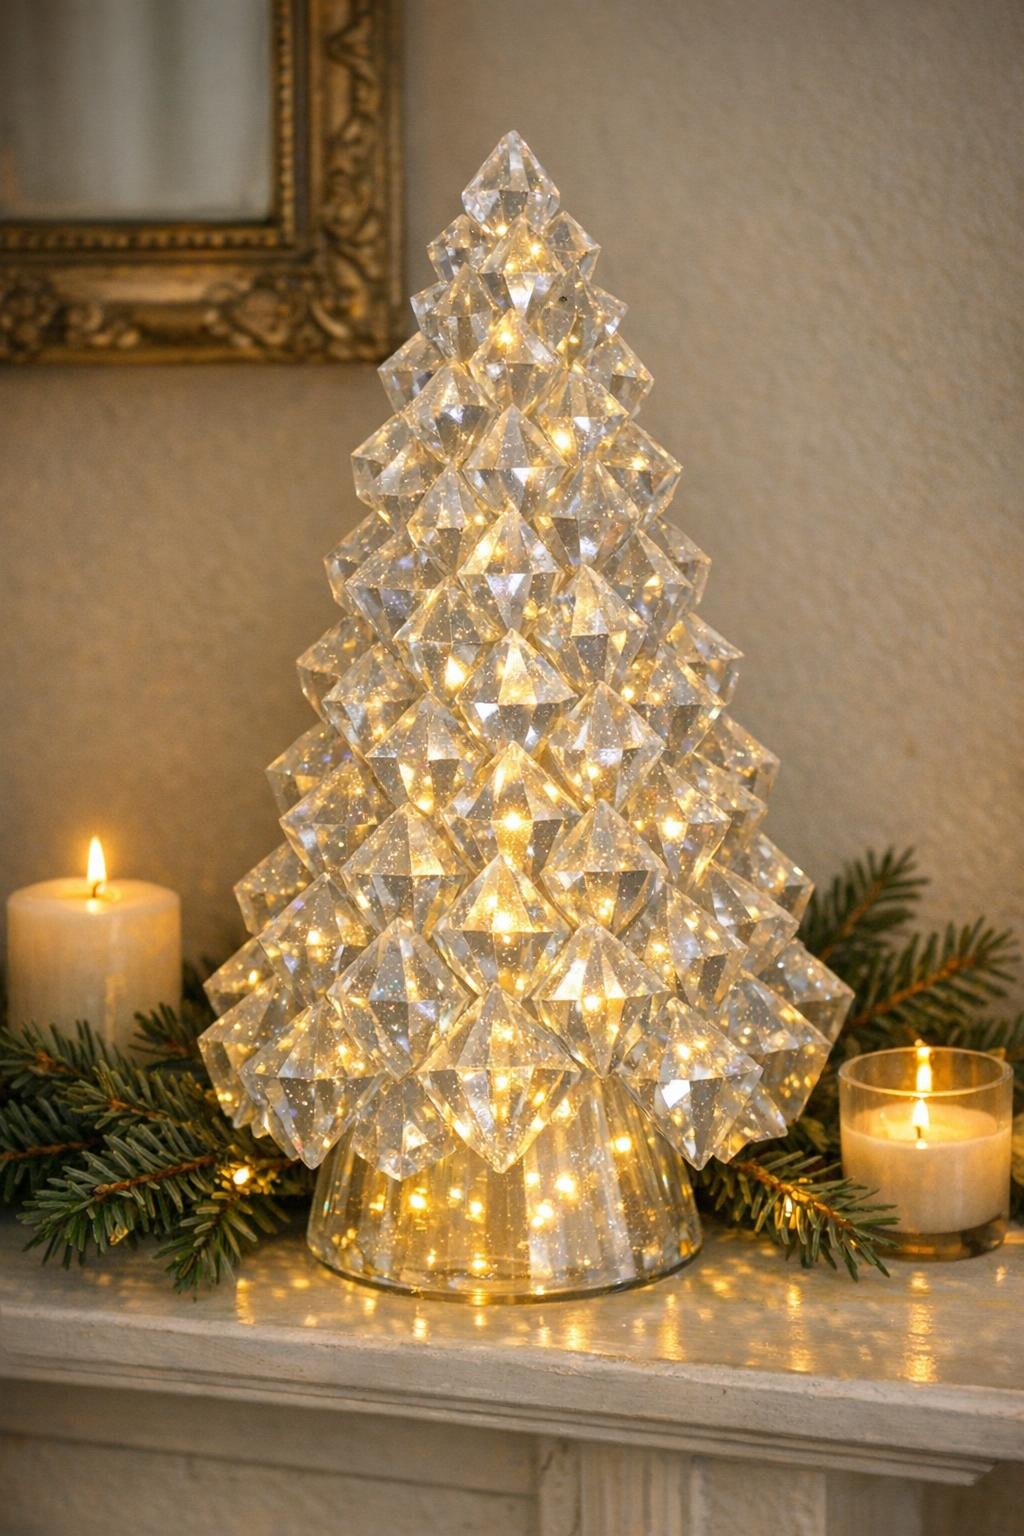
I love a project that takes a humble kitchen-aisle find and turns it into something that looks far more expensive than it has any right to. This one does exactly that. By using those faceted diamond ice cube trays from the dollar store as molds, you can make a whole pile of clear, jewel-like pieces that catch light beautifully and become the star of a truly magical little décor piece.
If you enjoy easy crafts with a big payoff, this is the sort of afternoon project that feels especially satisfying. The process is simple and repetitive in the best way, and the finished piece has that glowing, icy sparkle that makes a shelf, mantel, or holiday vignette feel special without requiring specialty tools or hard-to-find supplies.
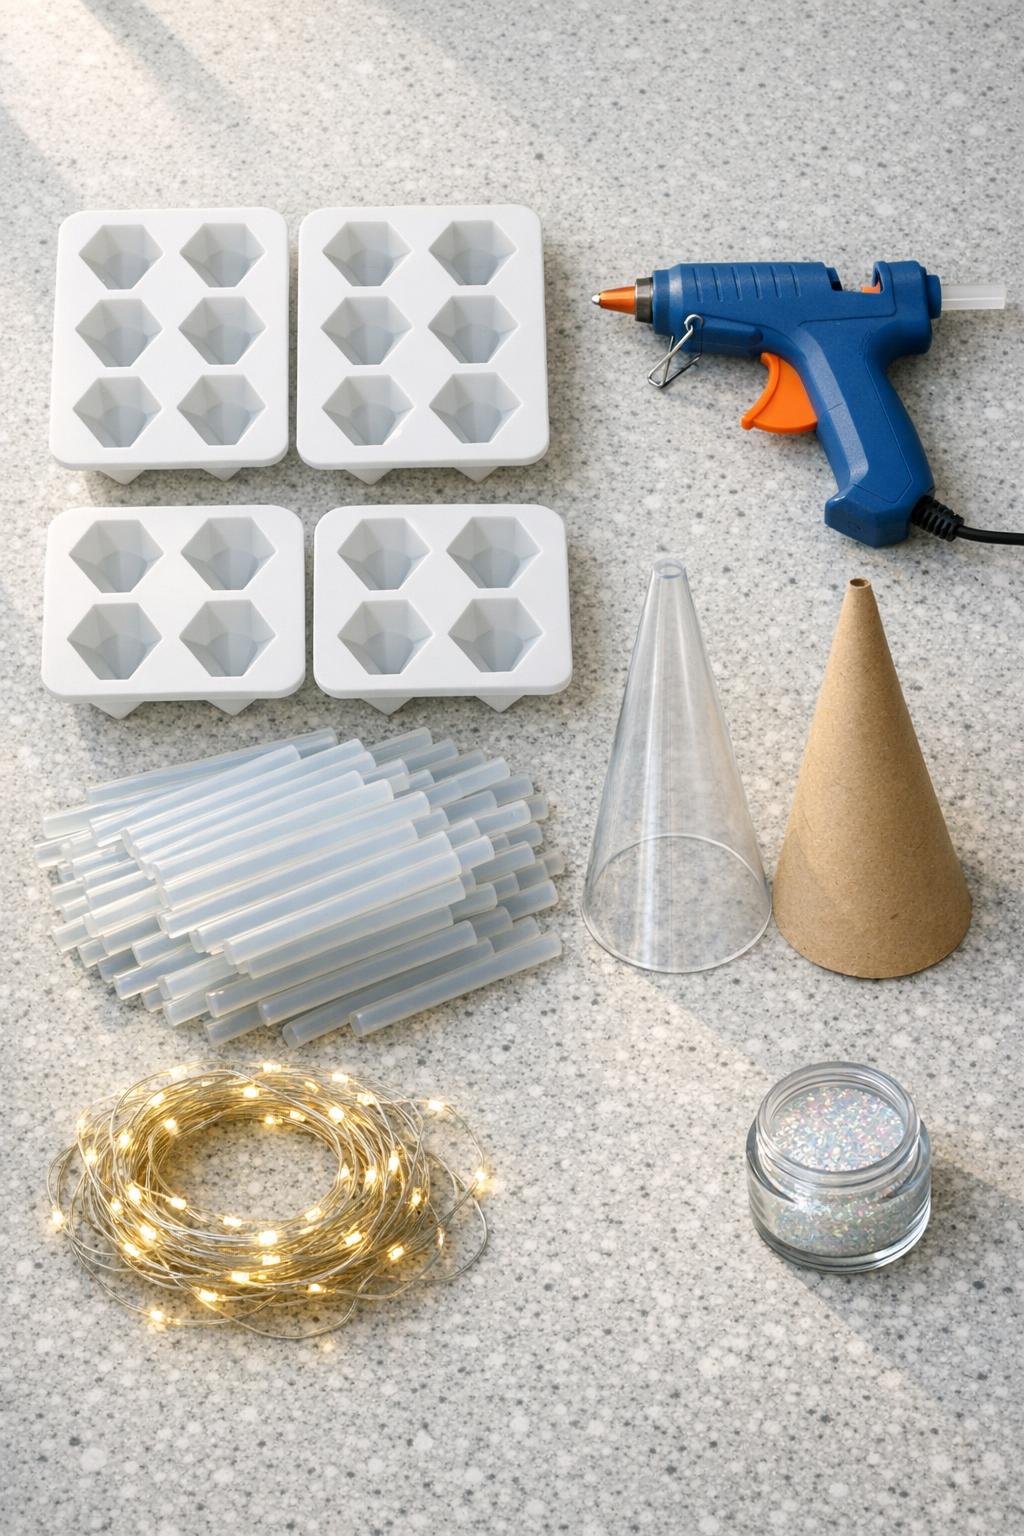
Materials
Instructions
1. Set the three diamond trays on a flat, heat-safe counter and plug in the high-temp glue gun until it flows smoothly and evenly.
2. Squeeze clear hot glue into each diamond cavity, filling it almost to the top but not overflowing, and work steadily so the glue settles into the faceted corners before it starts to skin over.
3. Let the filled trays cool completely for 15 to 20 minutes, then gently flex the silicone to pop out the clear gems onto parchment paper.
4. Trim away any thin glue strings or rough edges with detail scissors so each gem looks crisp and clean along the facets.
5. Repeat the filling and unmolding process until all three trays have been used enough times to make a generous pile of gems, aiming for enough pieces to densely cover a 12- to 14-inch cone with very little empty space.
6. If you are using a cardboard cone, wrap it loosely with parchment or clear plastic so the warm lights and gems reflect more cleanly and the base stays neat.
7. Starting at the bottom of the cone, attach the largest gems one at a time with mini glue dots or tiny dabs of hot glue, placing them point-out and edge-to-edge to build a full faceted surface.
8. Continue upward in staggered rows, mixing sizes and turning the facets in different directions so the surface looks lush and crystalline rather than lined up too evenly.
9. Tuck the warm white fairy lights inside and around the cone as you go, keeping the wire mostly hidden behind the gems and clustering a few bulbs near the front for a richer glow.
10. Fill any obvious gaps with smaller gems, then dust a very light pinch of iridescent glitter over a few fresh glue spots so you get shimmer without clouding the clear finish.
11. Add a final ring of neatly placed gems near the top, leaving just enough room for the cone tip to stay tidy and balanced.
12. Turn on the fairy lights and rotate the piece once, adjusting any gems or bulbs until the sparkle looks even from all sides.
Variations & Tips
For a frostier look: Use a cardboard cone wrapped in white parchment instead of a clear cone. The gems will still sparkle, but the center will look more icy and diffused.
For stronger shine: Keep the glitter light. I learned the same lesson I did years ago with sugared pastry finishes: a little sparkle enhances, but too much can dull the clarity you worked hard to create.
For easier assembly: Sort the gems into large, medium, and small piles before you start attaching them. That small bit of organization makes the layering go much faster.
If your gems look cloudy: The glue may have trapped bubbles from filling too quickly. Slow down slightly and let the glue flow into the cavity rather than forcing it in all at once.
To make it look fuller: Overlap some gems slightly instead of spacing them apart. Dense coverage is what gives this project its polished, magical finish.
For seasonal styling: This piece is lovely with winter greenery, but it also works on a party table, bedroom dresser, or entry console with silver ornaments or soft white candles nearby.
Battery pack placement: Hide the battery pack behind the tree or inside a small decorative box at the base. It keeps the setup clean and lets the sparkle take all the attention.