
There’s something mighty satisfying about turning a pile of broken terracotta into something useful and handsome. This root-protection collar is one of those practical little garden projects I wish I’d started making years ago, especially before a hard frost sneaks in and nips at the crowns of my perennials. By stacking pot shards in overlapping layers and tucking them into place with one common yard staple, you get a protective ring that helps insulate the soil, sheds some cold rain, and looks so charming folks assume it came from a garden center.
Out here, broken pots never really go to waste if I can help it. My mother saved every good shard in a bucket behind the shed, and I do much the same now. If you’ve got a tender perennial, a newly planted mum, a young lavender, or any plant crown that benefits from a little extra winter buffering, this is an easy afternoon job with a big payoff and almost no fuss.
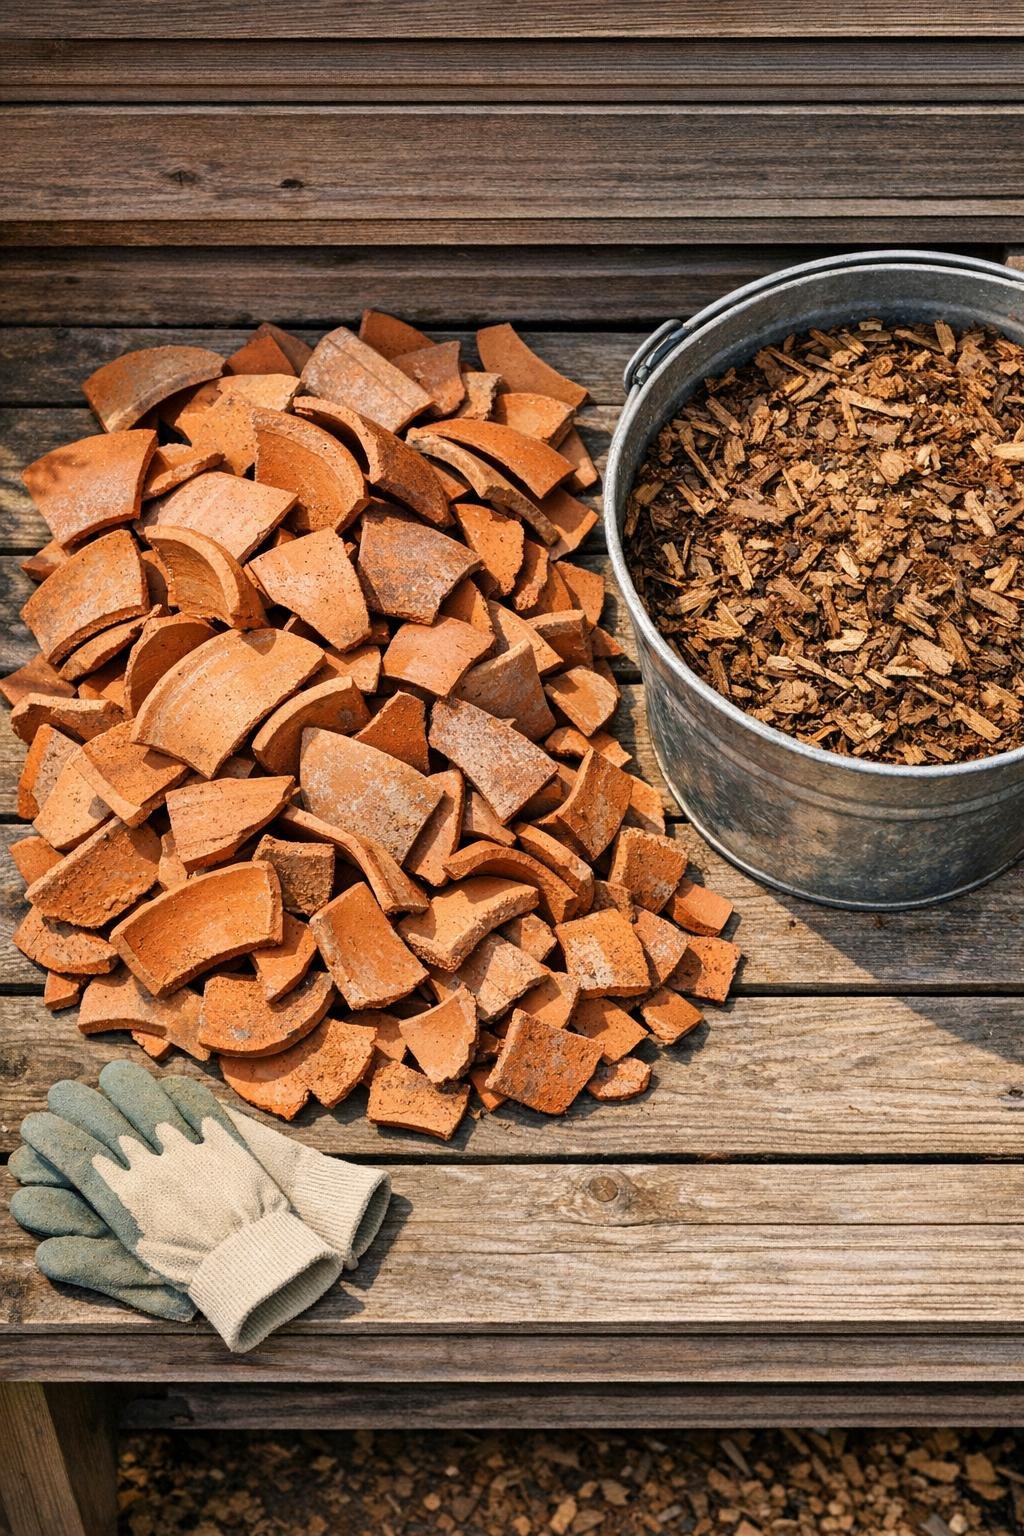
Materials
Instructions
1. Clean up the planting area by pulling weeds and brushing loose debris back from the perennial so you can clearly see the plant crown and the soil line.
2. Spread a 2 to 3 inch thick ring of mulch or shredded leaves around the plant, leaving a 1 inch open space directly around the crown so moisture does not sit against the stems.
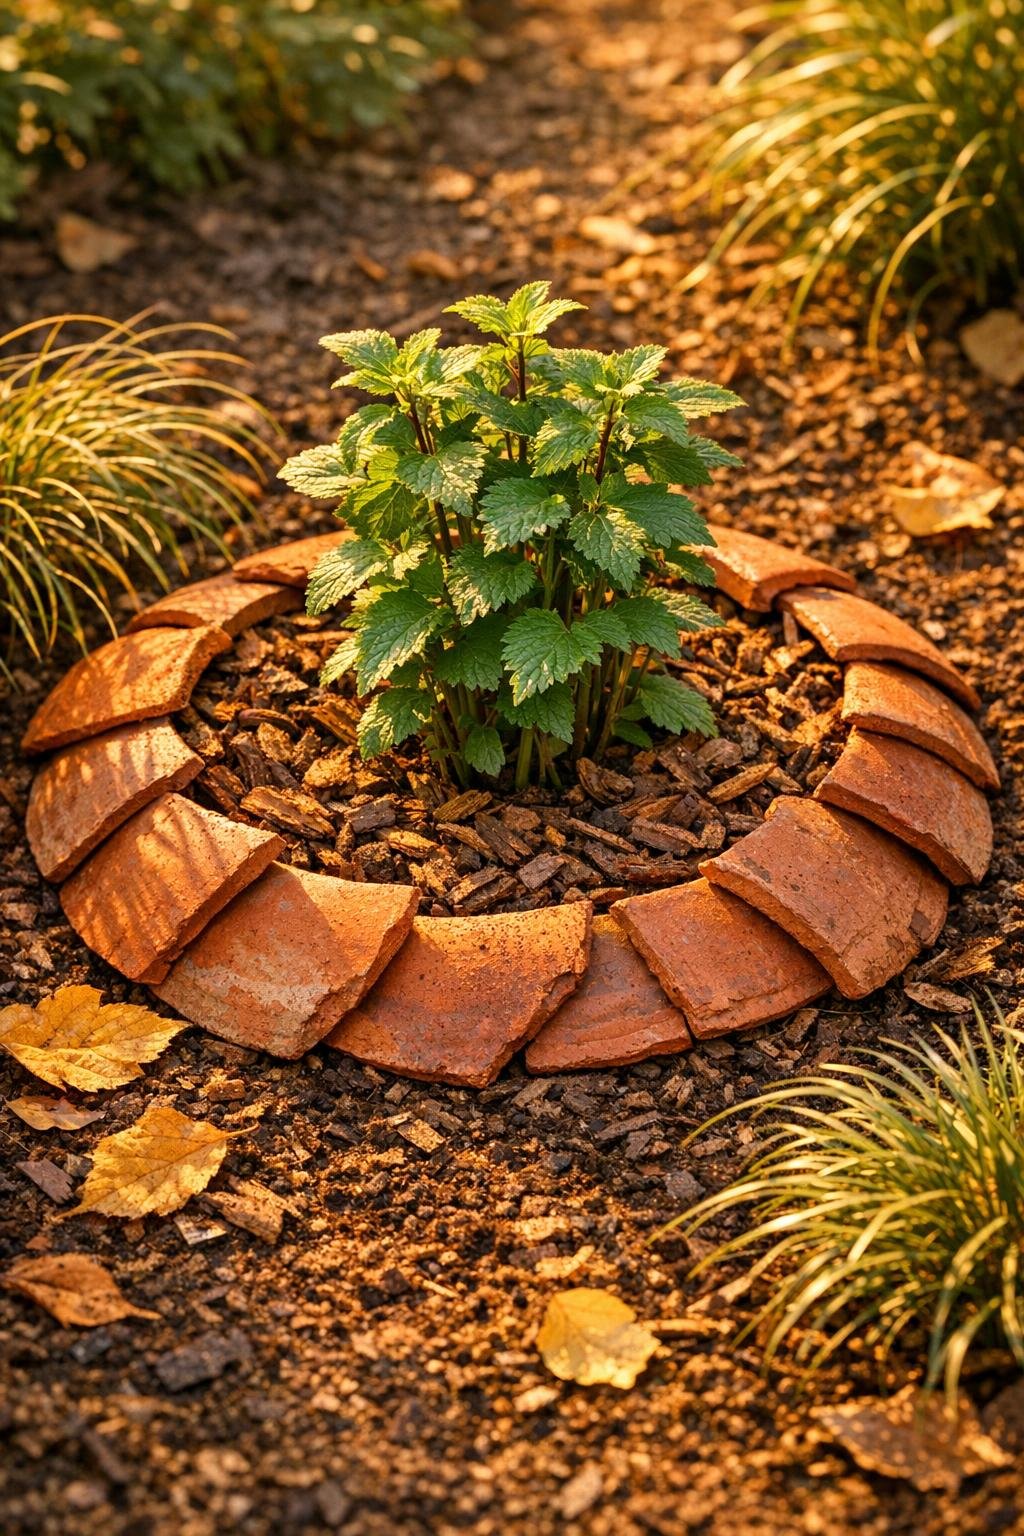
3. Choose the largest terracotta shards first and press them vertically into the outer edge of the mulch ring, curved sides facing inward, to form the first round of the collar.
4. Overlap the next layer of shards over the seams like shingles, angling them slightly inward so the collar holds together and helps shelter the mulch from wind and washout.
5. Continue adding medium and smaller pieces until the entire ring is 4 to 6 inches tall, with no large gaps, and gently tamp the soil at the outside base if any section feels loose.
6. Tuck an extra handful or two of mulch inside the collar to fill low spots, but keep that small breathing space open right at the center of the plant.
7. Check the collar from all sides and rotate a few pieces until the top edge looks evenly layered and snug, with the prettiest terracotta curves showing on the outside.
8. Leave the collar in place through frost season, and after heavy rain or a freeze-thaw cycle, press any shifted shard back into position so the ring stays dense and protective.
Variations & Tips
For extra-cold spots: Build the collar closer to 6 inches tall and make the mulch layer a full 3 inches deep for better insulation during repeated hard freezes.
For large perennials: Use more and bigger shards to make an oval or wider circle instead of a small ring, especially around mums, peonies, or broad crowns that need more coverage.
For windy beds: Push the bottom inch of each shard firmly into the soil and overlap them generously so the ring behaves like a little clay wall instead of a loose border.
For a tidier look: Put your largest matching curved pieces on the outside layer and save the odd little fragments for the inner layer where they help fill gaps but won’t show as much.
Best mulch choice: Shredded leaves are wonderful if that’s what you have, but bark mulch also works well and tends to stay put a bit better through winter rain.
Spring cleanup: Once the danger of hard frost has passed, lift the shards, brush them clean, and stack them in a crate or bucket so they’re ready for the next cold snap.