
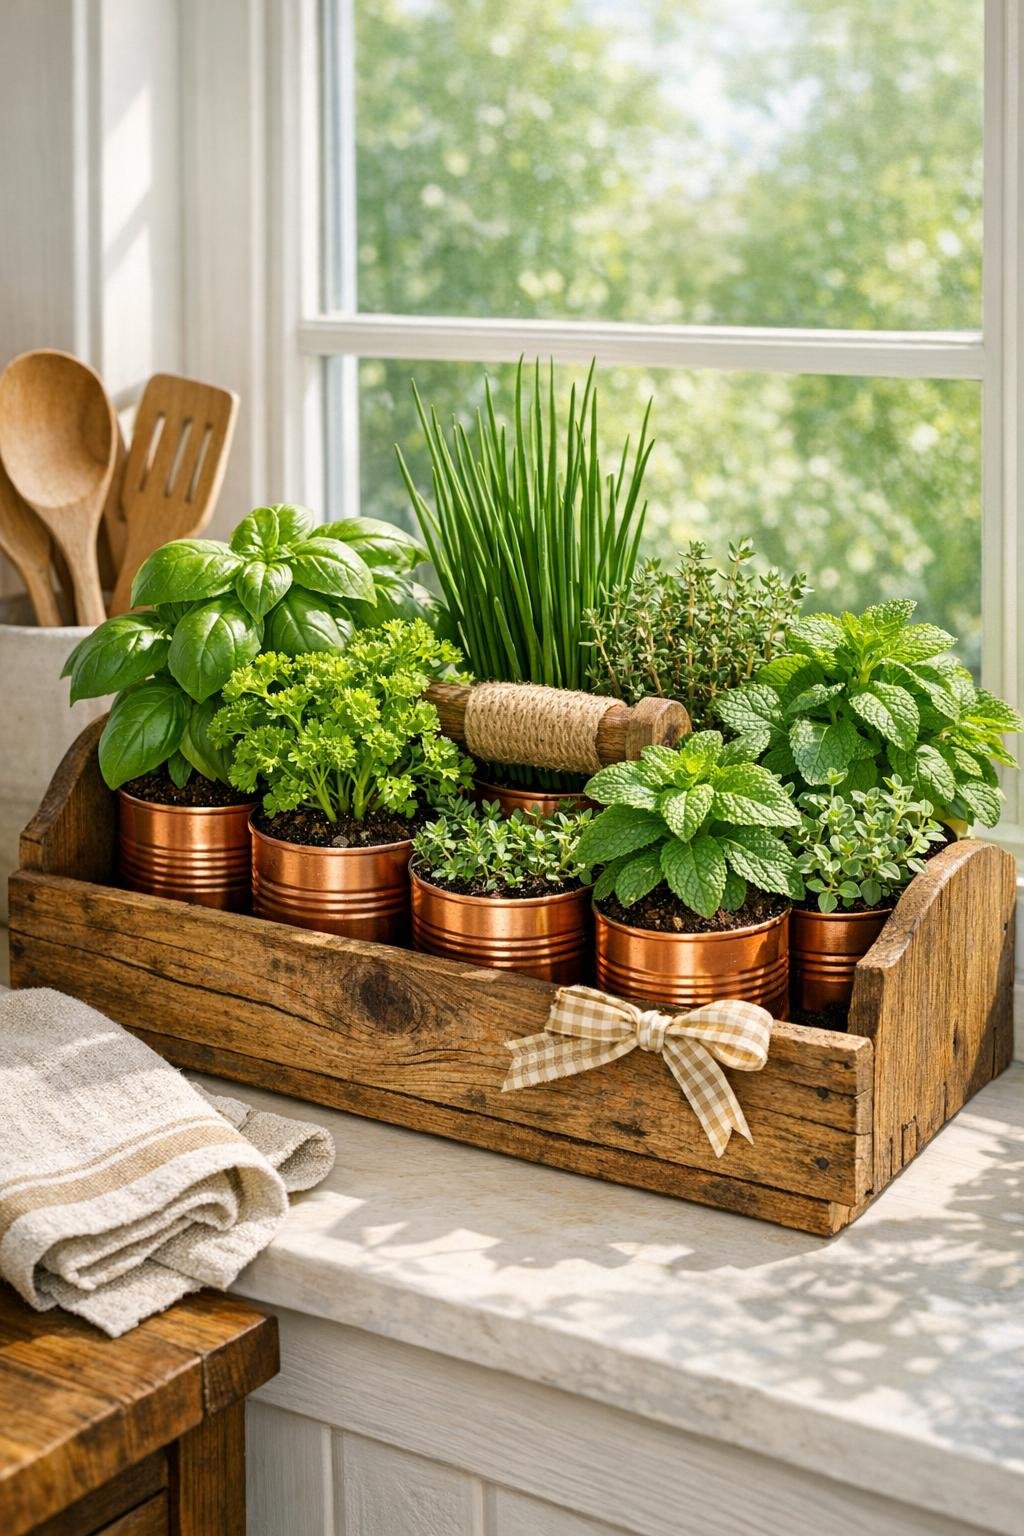
There’s something deeply satisfying about keeping fresh herbs within arm’s reach of the stove, especially in a city kitchen where garden space is more wish than reality. This windowsill herb planter turns a shallow wooden tool caddy and a row of small tin cans into a handsome, hardworking little herb garden that looks charming enough to spark conversation every single time someone leans on the counter.
I love projects like this because they sit right at the intersection of practical and beautiful. If you cook the way I do—snipping parsley into eggs, mint into tea, or basil over pasta—you’ll appreciate having a compact planter that keeps each herb contained, easy to water, and easy to swap out as the seasons change.
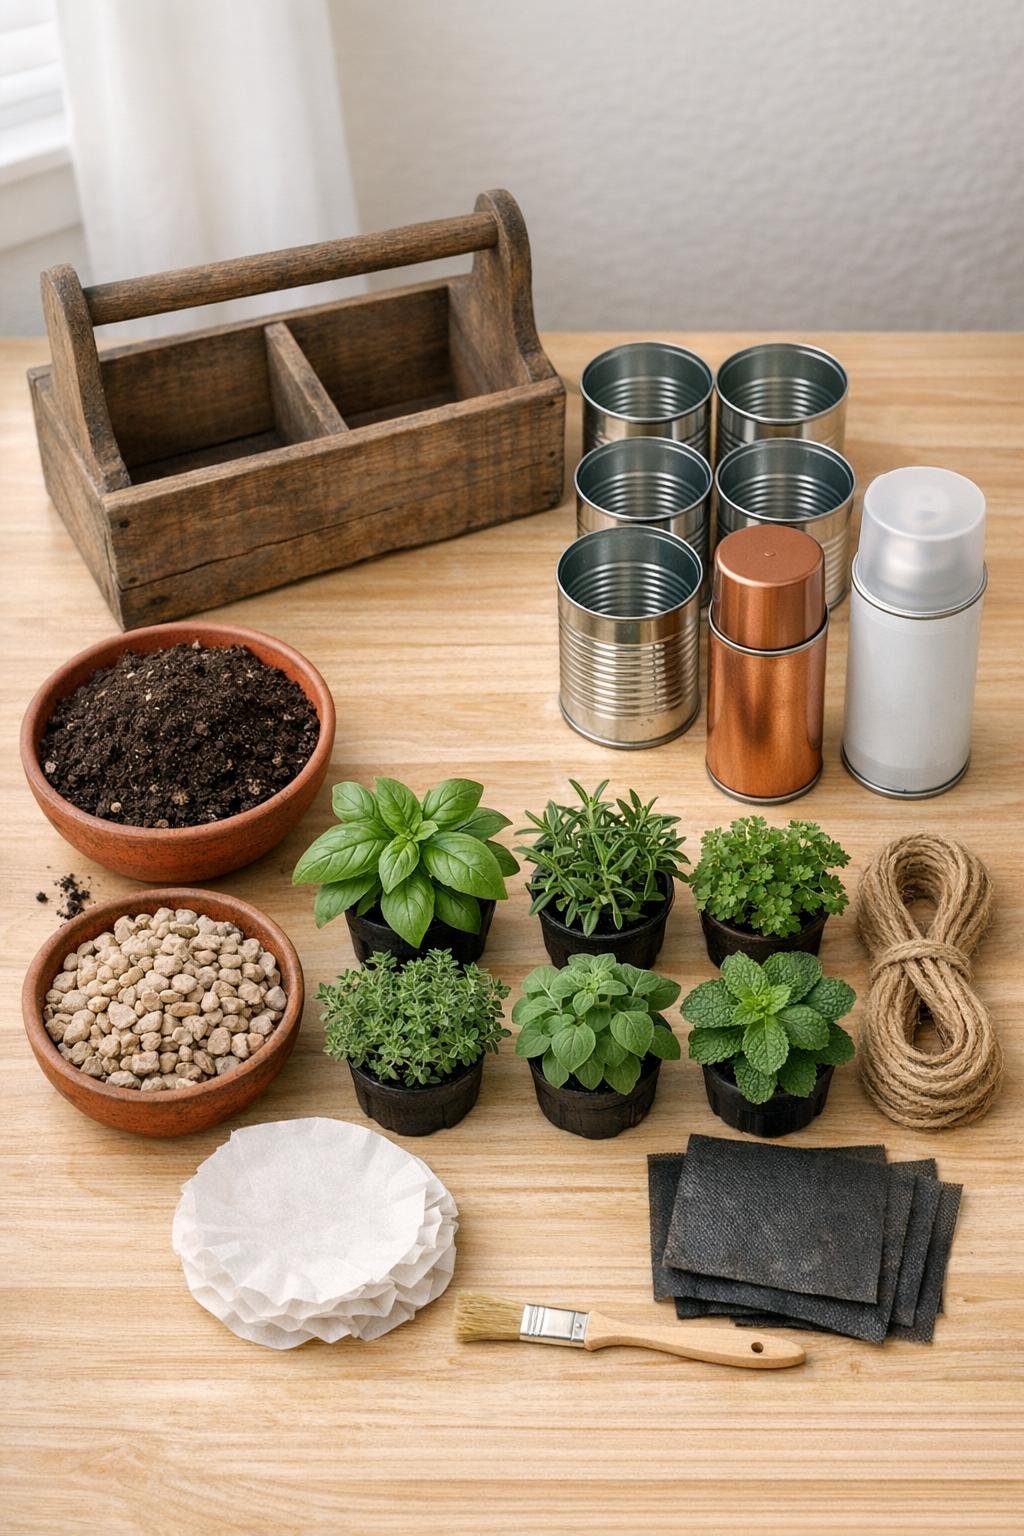
Materials
Instructions
1. Wash the tin cans with warm water and dish soap, remove any glue residue, and let them dry completely. Lightly sand the outside of each can so the paint grips evenly.
2. If your cans do not already have drainage holes, punch 3 to 4 small holes in the bottom of each one and gently flatten any sharp metal points. Cut a piece of landscape fabric or a coffee filter for each can to keep soil from washing out.
3. Spray the cans with thin, even coats of copper paint, letting each coat dry before adding the next, until the finish looks rich and fully covered. Seal them with a light coat of matte clear sealer so they hold up better to watering and window light.
4. Wipe down the wooden tool caddy and give it a quick sanding if it feels rough; leave it natural for a rustic look, or add a clear sealer if you want extra protection from damp pots. Wrap a little jute twine around the center handle and tie it off neatly for a finished touch.
5. Place a thin layer of pea gravel in the bottom of each can, then set in the fabric liner. Add enough potting mix so each herb will sit with its crown just below the rim of the can.
6. Gently remove each herb from its nursery pot, loosen the roots if they’re tightly packed, and plant one herb per can. Fill around the roots with more potting mix, pressing lightly so the plant stands upright but the soil stays fluffy.
7. Water each can lightly until the soil is evenly moist but not soggy, then let any excess drain fully before placing the cans in the caddy. This keeps the wood from sitting under dripping containers.
8. Arrange the planted cans snugly inside the wooden tool caddy, mixing leaf shapes and heights so the whole piece looks full and abundant. I like to put basil and parsley near the center, with trailing or finer herbs like thyme and oregano toward the ends.
9. If you want labels, write each herb name on a wooden marker and tuck one into every can. Add the optional ribbon or muslin tie to the handle, then set the caddy on a bright windowsill where it will get at least 6 hours of light.
10. Rotate the caddy every few days so the herbs grow evenly, and harvest often by snipping the outer stems first. The more you use it, the fuller and prettier it becomes—which is my favorite kind of kitchen decor.
Variations & Tips
Best herb mix: Choose herbs you actually cook with often. I usually keep basil, parsley, thyme, and chives together, then give mint its own can so it stays enthusiastic without taking over.
For a fuller look: Use slightly mature nursery herbs instead of tiny starts. A project like this really shines when the cans look lush from day one rather than sparse and waiting to fill in.
Watering tip: Lift each can out of the caddy to water if you want to protect the wood over the long term. It’s a small extra step, but it keeps the caddy looking nice much longer.
Paint finish option: Copper is warm and handsome in a kitchen, but matte white, soft sage, or charcoal also look beautiful. Just keep all the cans the same finish so the caddy feels intentional and polished.
Windowsill reality check: If your kitchen window gets weak light, add a small grow light above the planter. Fresh herbs are generous when they have enough light, and stubborn when they don’t.
Easy seasonal swap: Replant the cans as the year changes. In cooler months, I often refresh with sturdier herbs like thyme, oregano, and parsley when basil starts to sulk.
Kitchen cleanup tip: Set a slim tray liner or a piece of cork inside the base of the caddy before adding the cans if you’re worried about moisture. It’s not glamorous, but it’s the sort of practical trick that saves you trouble later.