
I love a kitchen helper that solves a real problem without taking up much space, and this little cookbook stand does exactly that. By setting a wooden plate rack on top of a cork placemat, you get an easy, sturdy place to hold an open recipe book while protecting the counter from scratches and a bit of cooking mess at the same time.
This is the kind of project that is perfect for busy home cooks, beginner DIYers, or anyone who likes making everyday routines feel a little more put together. I’m all for clever kitchen shortcuts in my house, especially ones that make dinnertime smoother, and this one looks polished with hardly any effort.
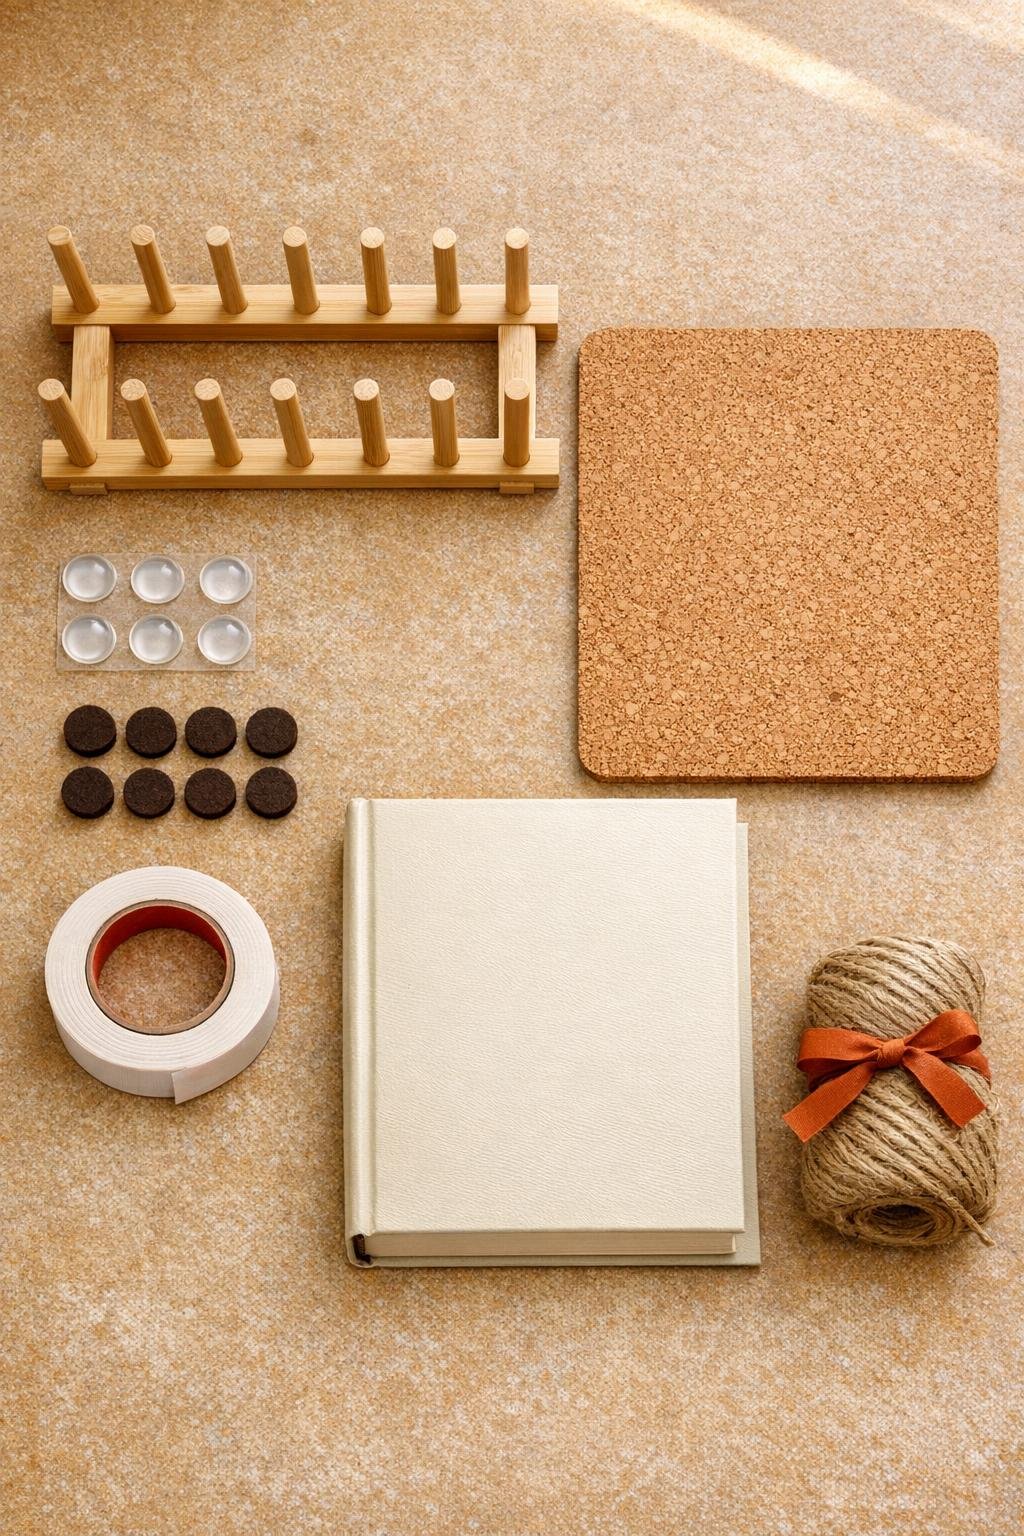
Materials
1 bamboo plate rack, approximately 12 inches wide x 4 1/2 inches deep x 5 inches high
Instructions
1. Wipe the bamboo plate rack and cork placemat with a dry cloth so both surfaces are clean and ready for assembly.
2. If you want a slightly richer finish, brush or wipe a thin coat of clear matte finish onto the bamboo rack and let it dry fully before moving on.
3. Turn the plate rack upside down and place one felt pad near each corner on the bottom edges to soften contact and help the rack sit evenly on the cork.
4. Add one strip of double-sided mounting tape along each bottom side of the rack, pressing firmly so it will grip the cork without making the stand permanent.
5. Center the rack on the cork placemat with a little extra cork showing at the front and sides, then press it down firmly to anchor it in place.
6. Flip the assembled stand right side up and place the four clear rubber bumpers at the outer corners underneath the cork placemat so the whole piece stays put on the counter.
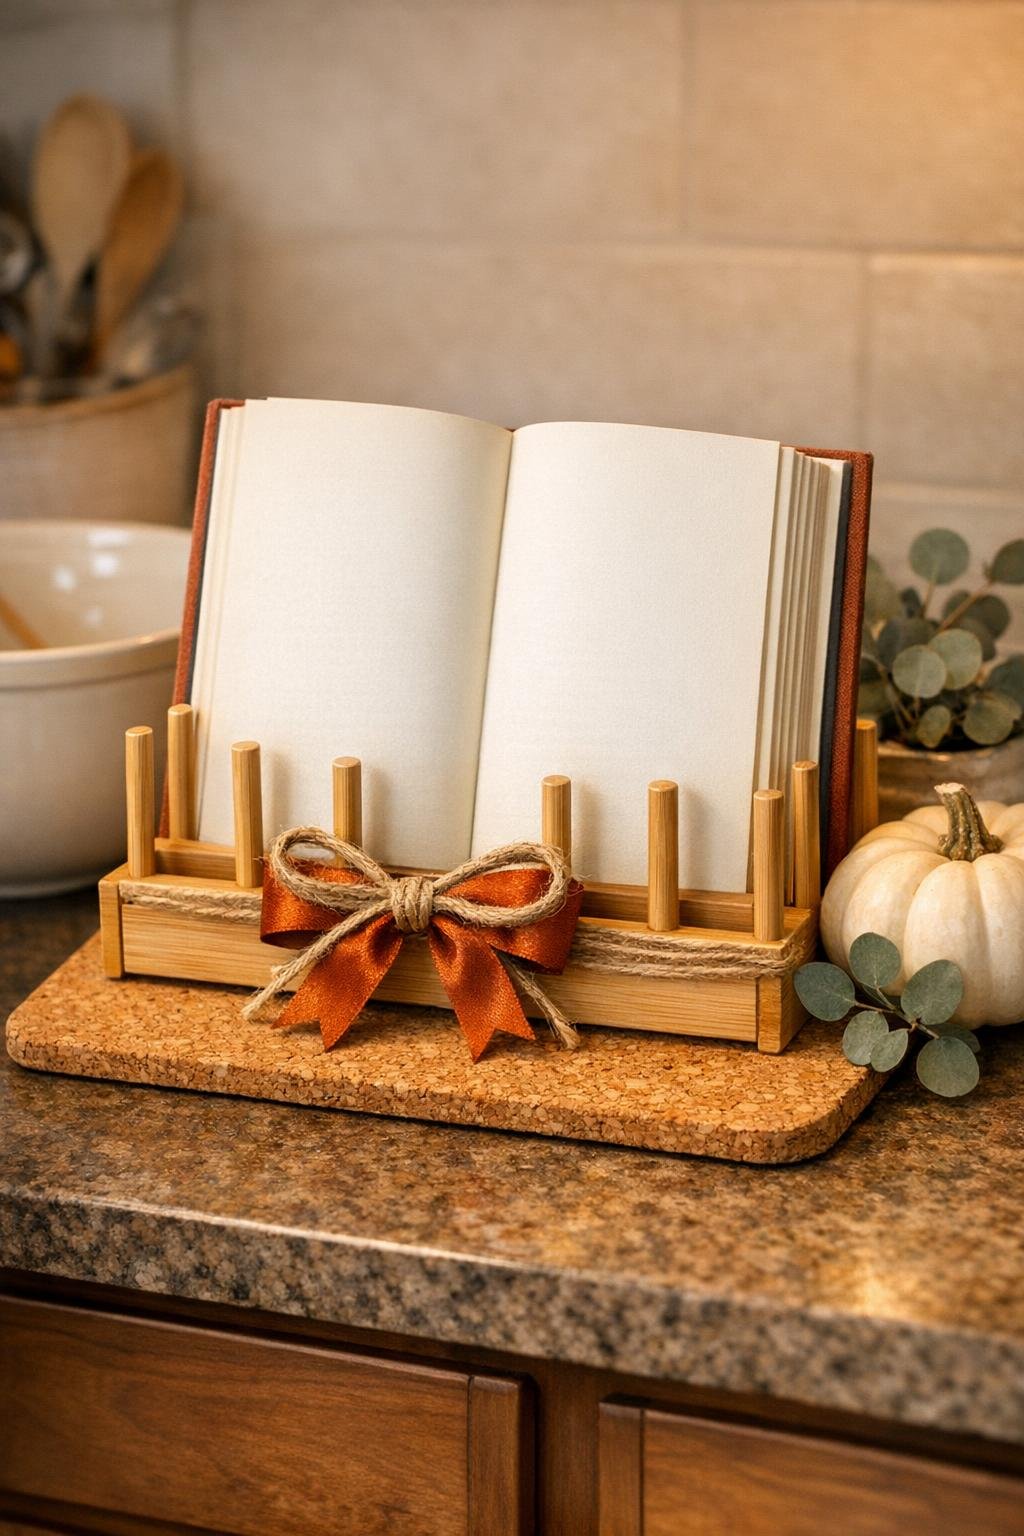
7. Slide your hardcover recipe book into the back groove of the plate rack, then open it and rest the lower edge on the cork so the pages lean at an easy reading angle.
8. Test a few page positions and choose the slot that holds the book most securely; for a thicker book, use a wider section of the rack so the covers can settle naturally.
9. Tie the jute twine and rust-orange ribbon into a simple bow around one side of the rack for a soft autumn touch that still keeps the stand practical.
10. Set the finished stand beside your prep area and add your favorite cookbook whenever you cook, bake, or meal-plan.
Variations & Tips
For larger cookbooks: Choose a plate rack with slightly wider spacing between slats so thick family cookbooks or binder-style recipe collections sit down into the groove more securely.
For picky-page books: If your book likes to spring shut, tuck a small clip-on page weight or two clothespins nearby to hold pages open while you cook.
For easy cleanup: Use a cork placemat that is sealed or wipe the surface with a very light coat of food-safe sealer so flour and splashes brush off more easily.
For a warmer look: Swap the ribbon color with deep mustard, olive, or cranberry depending on your kitchen and the season.
For gift giving: Pair the finished stand with a favorite family recipe book, a wooden spoon, and a jar of soup mix for a sweet housewarming or holiday present.
For daily use: Keep the stand close to your mixing area rather than right next to the stove, which helps protect both the book and the cork from extra heat and grease.