
I love a project that turns something headed for the recycling bin into front-porch decor that actually looks special, and this one absolutely does that. If you’ve got a stack of empty milk jugs, a free hour or two, and you want something big, bright, and a little unexpected, this is one of those crafts that gives you a lot of wow for very little cost.
It’s also perfect for busy people like me who want seasonal decorating to feel fun instead of complicated. The cutting is repetitive but easy, the assembly is straightforward, and the finished piece has that cozy glow that makes a porch feel pulled together the second the sun goes down.
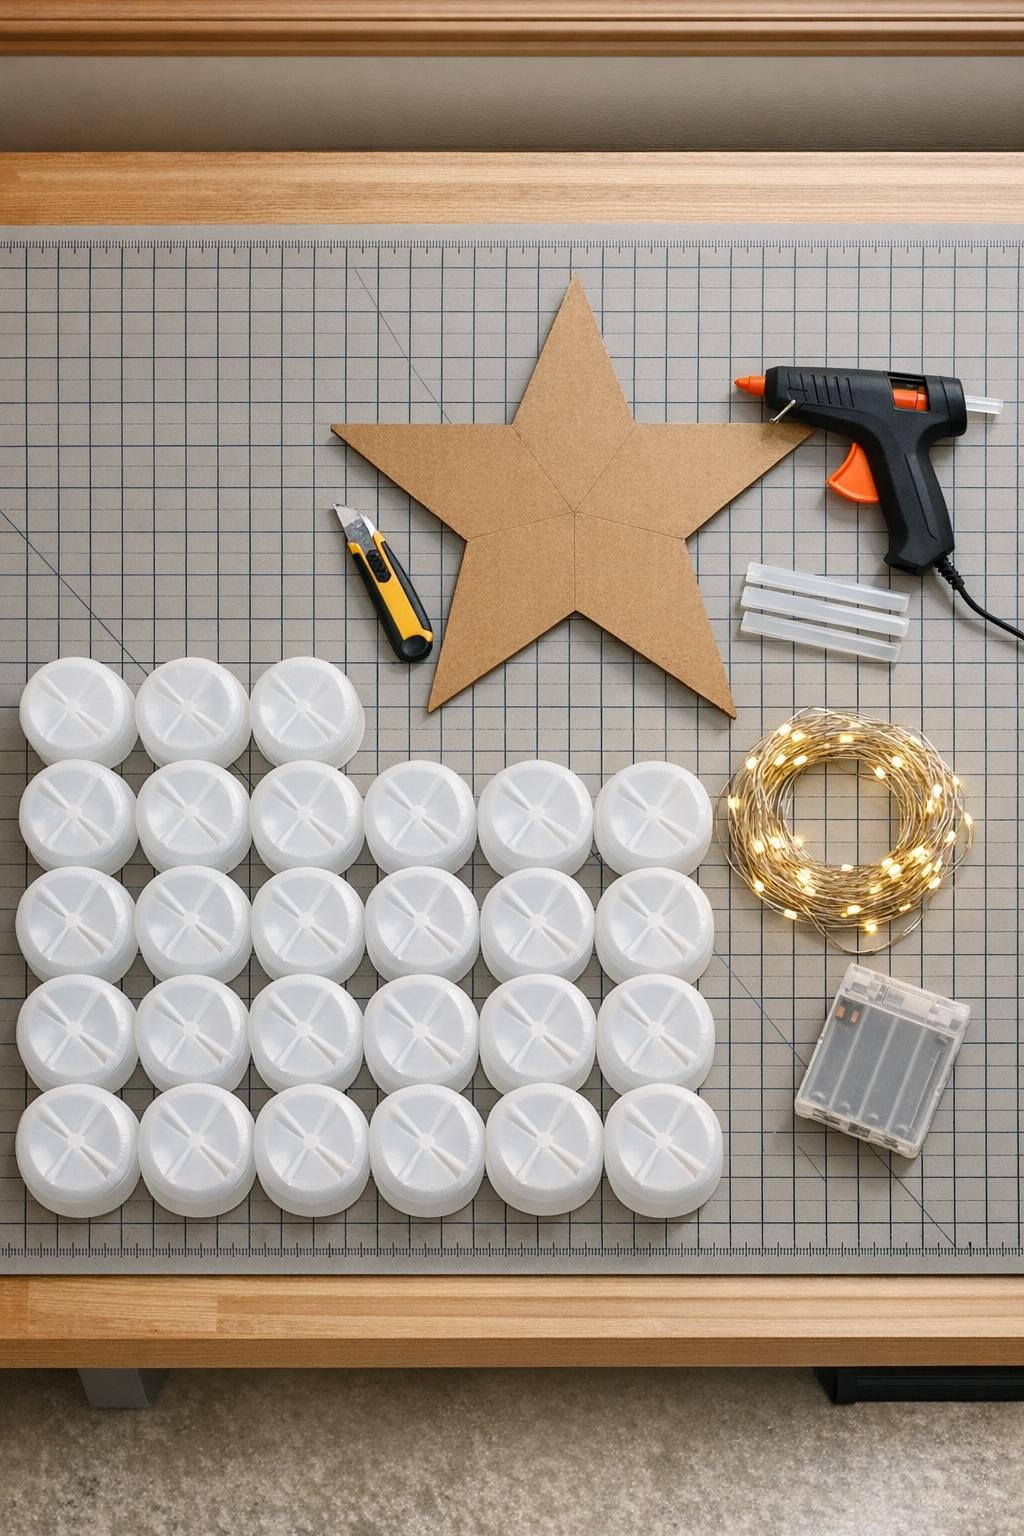
Materials
Instructions
1. Rinse the milk jugs well, remove the caps, and let them dry completely so the plastic is clean and the glue will hold properly.
2. Use the utility knife to cut the bottom off each milk jug about 2 to 2 1/2 inches up from the base, keeping the flower-shaped bottoms as even as possible.
3. Trim any ragged plastic edges with scissors so each cut piece sits flat and looks neat from the front.
4. Draw a large five-point star onto the cardboard backer, making it 24 to 30 inches across so there’s room for all 25 jug bottoms without crowding.
5. Cut out the cardboard star, then reinforce the back with strips of packing tape if your cardboard feels soft or bends easily.
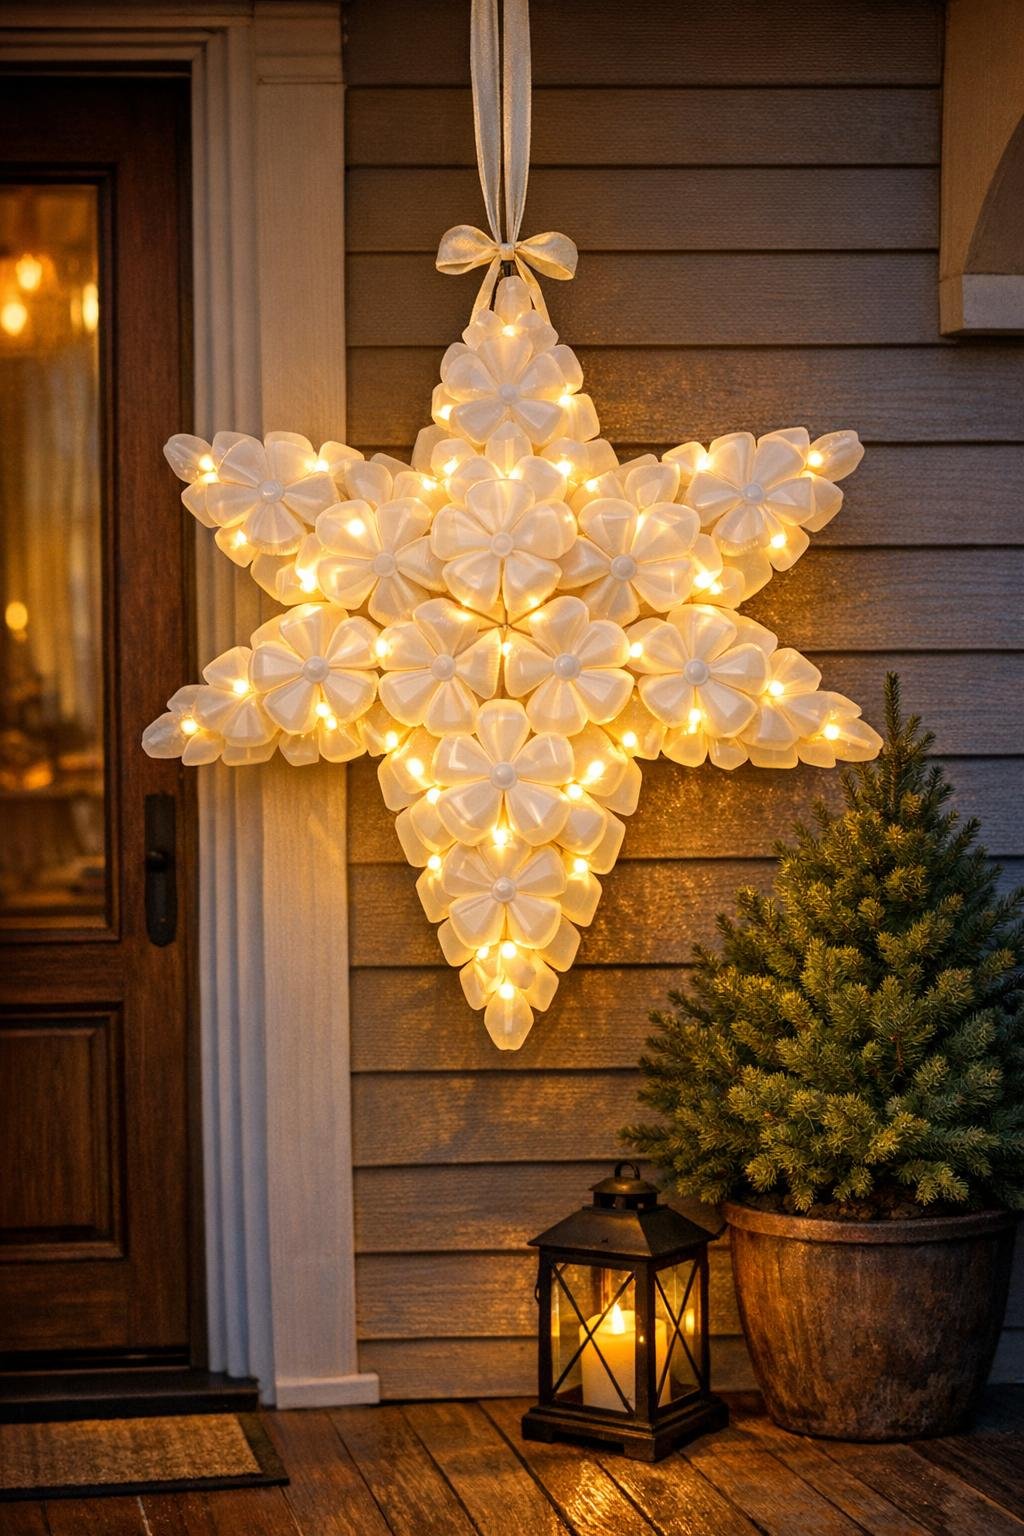
6. Dry-fit the 25 jug bottoms on the star before gluing, placing one at the center and building outward so the points of the star look full and balanced.
7. Overlap the pieces slightly as you arrange them, using more pieces along the outer points to create dense coverage and a full, layered look instead of gaps.
8. Trace a few guide marks around the outermost pieces with pencil so you can return them to the same layout once you start gluing.
9. Hot-glue the center piece first, then glue the remaining jug bottoms one at a time, working from the middle outward and pressing each piece down for a few seconds.
10. Tuck smaller overlaps into the star points and along the inner corners so the cardboard is barely visible from the front.
11. Flip the star over and use a hole punch or skewer to make small holes through the cardboard in the center of most jug-bottom pieces, aiming for 18 to 25 light placements across the design.
12. Push the LED bulbs through the holes from the back so the lights nestle into the milk jug bottoms and spread the glow evenly across the whole shape.
13. Tape the light wire neatly across the back so it stays in place, then secure the battery pack near one upper arm where it will be easy to reach.
14. Glue or tape a 10-inch ribbon or twine loop to the top back point for hanging, adding an extra strip of packing tape over it for strength.
15. Turn the lights on, check for dark spots, and shift any bulbs or add a little extra glue where needed so the star looks evenly full and polished when it’s glowing.
Variations & Tips
Use all-white lights: Warm white LEDs give this the prettiest soft glow and make the milk jug plastic look almost frosted at night.
Make it fuller: If your jugs have smaller bottoms, use 30 instead of 25 and overlap them more heavily around the outer points for an extra lush look.
Weather-conscious hanging: If your porch is exposed, hang the star in a covered spot so the cardboard backer stays dry and the project lasts longer.
Try a sturdier base: Foam board or corrugated plastic can replace cardboard if you want a version that holds up better from season to season.
Keep the battery pack accessible: I like placing it near the top edge so I’m not taking the whole piece down every time the batteries need changing.
Save time on cutting: When I’m squeezing a craft in after work, I wash and dry the jugs one day, then do all the bottom cuts the next so the project feels quick instead of overwhelming.
Add a finishing touch: A narrow neutral ribbon bow at the top looks sweet, but keep it small so it doesn’t compete with the glow and texture of the star itself.