
I have a soft spot for projects that rescue something headed for the trash and turn it into something sturdy enough to use every single day. This crochet storage basket does exactly that. By working chunky wheat-colored yarn right through connected plastic six-pack rings, you get a basket with hidden structure built right in, so it stands up beautifully without fussy shaping or a lot of advanced crochet know-how.
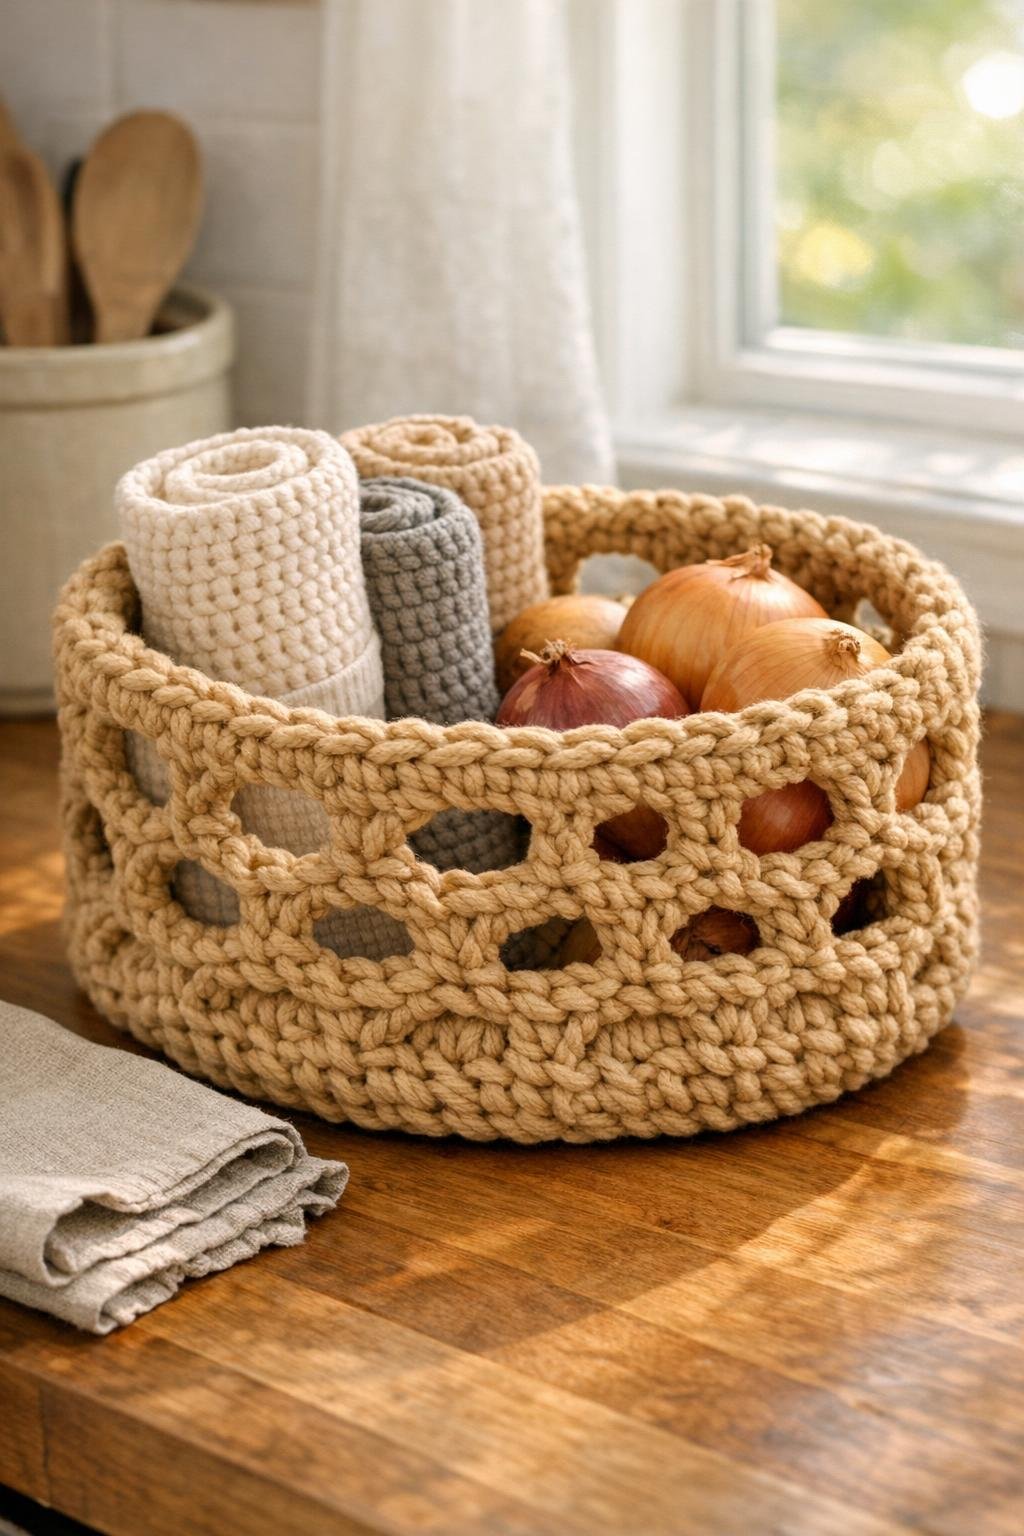
This is a fine little project for anyone who likes practical handmade things, especially if you already crochet and keep a drawer of odds and ends “just in case,” the way I do. The finished basket is roomy, nicely rounded, and strong enough for onions and potatoes, dishcloths, craft supplies, or all those bits and pieces that seem to gather on a kitchen counter by supper time.
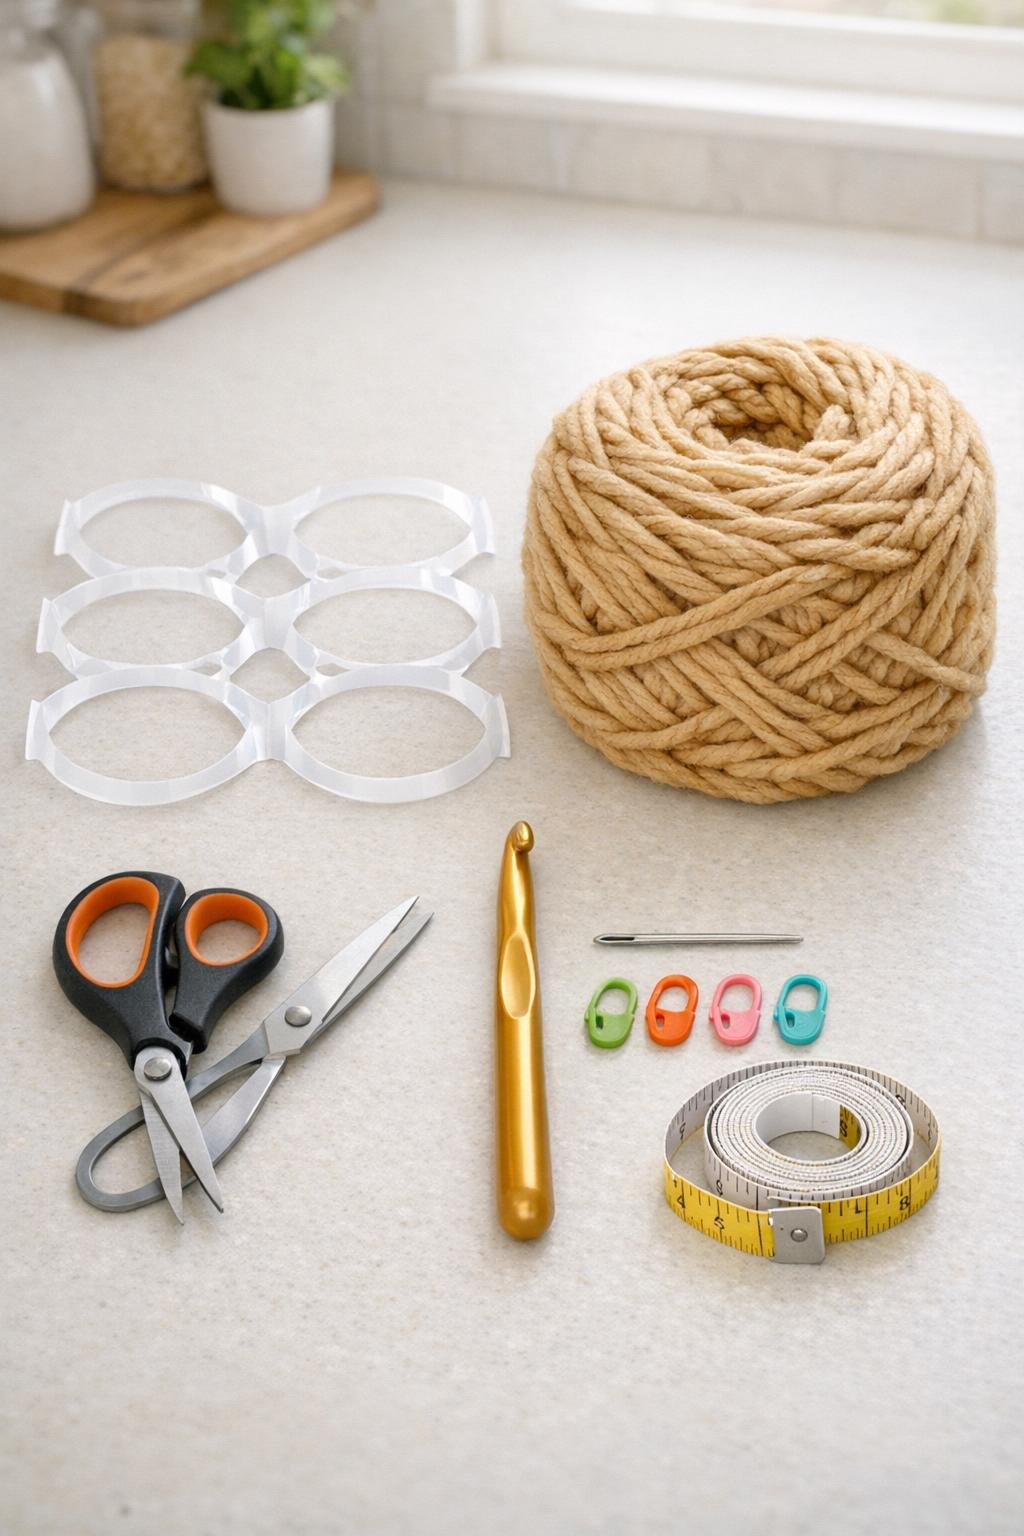
Materials
Instructions
1. Wash the six-pack rings in warm soapy water, rinse them well, and dry them completely with a dish towel. Trim off any ragged plastic bits so every opening is smooth and easy to crochet through.
2. Arrange 7 ring sections into a flat honeycomb for the basket base, overlapping the edges slightly so the overall shape stays round: 1 section in the center and 6 around it. Set the remaining 5 sections aside for the side walls.
3. Make a slip knot and single crochet directly around the outer edge of one center hole, placing 8 single crochet stitches evenly around the plastic. Join with a slip stitch to the first stitch to anchor your work firmly to the rings.
4. Continue working single crochet through the neighboring holes and around the plastic bridges, using 6 to 8 stitches around each ring opening and 2 stitches over each narrow join where sections meet. Keep the stitches snug so the plastic begins to disappear under the yarn.
5. Crochet across the whole 7-section base in one continuous pass until every exposed edge and hole on the top side is covered, then add a second pass anywhere the plastic still peeks through. By the end, the base should feel thick, even, and fully bound together.
6. Once the top of the base is covered, work one round of single crochet evenly around the outer perimeter of the base, placing 2 stitches in each wider curve so the edge lies flat. This gives you a clean foundation round for building the sides.
7. Bring in the remaining 5 ring sections and curve them around the base to form the walls, overlapping the ends just enough to make a continuous circle. Use short lengths of yarn and your yarn needle to lash the ring sections to each other and to the base at several points so the frame holds its shape while you crochet.
8. Attach your yarn at one side seam and single crochet through each side opening and around every exposed plastic edge, just as you did on the base. Work steadily around the basket, covering the side rings from bottom to top so the walls become soft-looking but remain sturdy underneath.
9. Add a second round over the upper side openings anywhere the coverage looks thin, especially along the top third of the basket. This extra stitching gives the basket a fuller, more finished look and helps the walls feel substantial.
10. When all side plastic is covered, crochet 1 full round of single crochet into the top edge, then 1 round of half double crochet to create a thicker rim. If you’d like handles, chain 6 over two opposite sections and skip the same space below, then work back over those chains with single crochet on the next round.
11. Finish with 1 final round of slip stitches all the way around the rim to firm it up and neaten the edge. Cut the yarn, pull the tail through, and weave in every end securely with the yarn needle.
12. Shape the basket gently with both hands, pressing the base flat and rounding the sides so it sits evenly. Fill it right away so it settles into shape nicely; I like to start with rolled dish towels or a heap of onions, because a useful basket always looks happiest when it’s already at work.
Variations & Tips
For a taller basket: Add 2 or 3 more six-pack ring sections to the side walls and cover them the same way. That makes a nice deep basket for yarn, mittens, or pantry produce.
For a softer look: Use two strands of worsted-weight yarn held together if you do not have bulky yarn. It covers the plastic well and gives the basket a cozy, farmhouse feel.
For the neatest finish: Keep your stitches fairly tight and push them close together with your fingers every few inches. That one habit does more than anything else to hide the plastic and make the basket look polished.
For easier stitching: If a hole edge feels awkward, insert the hook under the yarn first and then angle it under the plastic ring. I learned long ago that with unusual materials, a little hand repositioning saves a lot of muttering.
For kitchen use: Stick with washable synthetic or cotton-blend chunky yarn if you plan to use the basket near food prep or the sink. Then you can spot clean it without worrying overmuch.
For extra strength: Do not skip the slip-stitch finishing round at the rim. It cinches the top edge just enough to help the basket keep that handsome, upright shape.