
I’m always a little too excited when a piece of recycling turns into something that actually looks intentional, and this wall hanging is one of those projects. By cutting evenly spaced slots into a large white plastic milk jug and crocheting directly through them, you get a clean geometric base with soft texture layered over it. The contrast between the smooth plastic and chunky cotton yarn is what makes it feel surprisingly modern instead of “made from a milk jug.”
This is a great project if you like crochet but want something quick, decorative, and a little unexpected. I love projects like this for weeknights, because I can make steady progress in short bursts after work, and by the end I have something big enough to fill a blank wall without spending much at all.
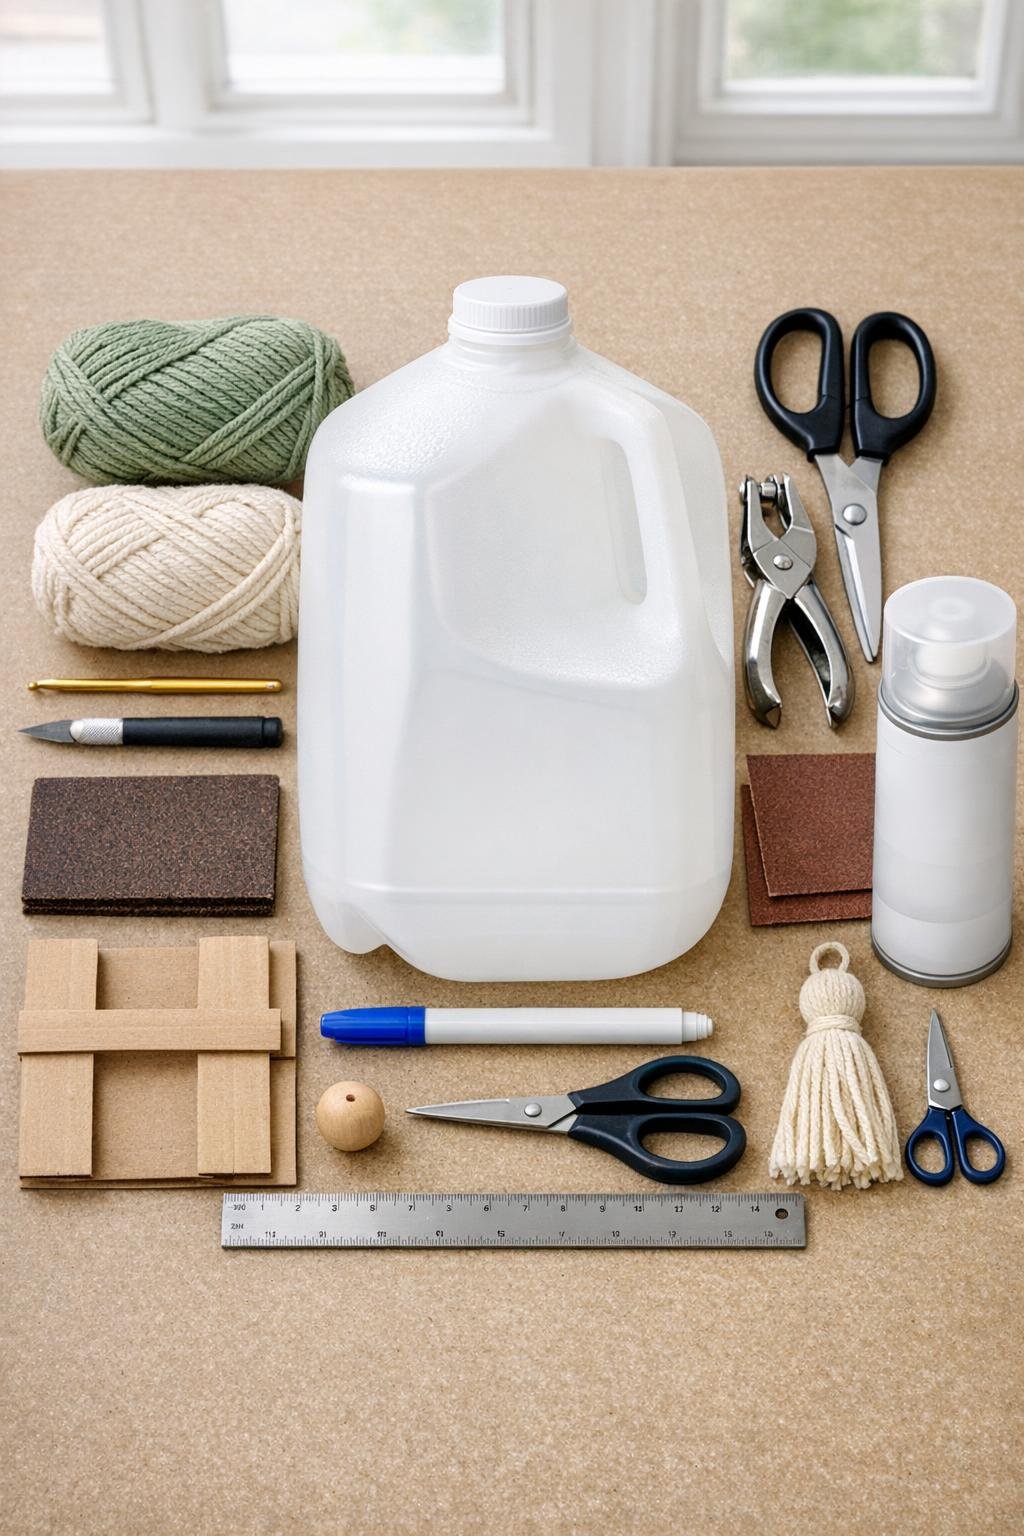
Materials
Instructions
1. Wash the milk jug well, remove any label residue, and let it dry completely. Cut off the top neck section and the bottom base so you’re left with a smooth plastic cylinder.
2. Press the cylinder gently so it curves into a flatter panel, then trim it into a rectangle about 10 inches tall by 12 inches wide. Sand all cut edges lightly so the plastic is smooth and safe to handle.
3. Along the top long edge, mark 12 evenly spaced slots, each 1/2 inch tall and about 1/4 inch wide, leaving about 3/4 inch between slots. Cut the slots carefully with the craft knife so they line up straight across.
4. Punch one hole near each upper corner, about 1/2 inch below the top edge, for the dowel and hanging support. If you want a cleaner finished look, brush or spray a thin coat of matte sealer over the plastic and let it dry.
5. Join the sage yarn in the first slot with a slip knot, then work one single crochet through each slot across the row. This first pass anchors the yarn and gives the top edge a tidy, finished border.
6. Chain 2, turn, and work one half double crochet into each stitched slot across for 5 more rows, keeping the tension snug but not tight. The crochet section should start forming a soft band that sits neatly against the plastic.
7. Switch to cream yarn for 1 row of half double crochet, then switch back to sage for 3 more rows. This color break gives the hanging a layered, finished look without making the design complicated.
8. In the center 4 stitches of the next row, work 2 double crochets in each stitch to create a gentle fan shape; work the rest of the row in half double crochet. Follow with 2 plain rows in sage to lock that decorative shaping in place.
9. Make 12 cream strands into 6 lark’s head knots along the lower edge of the crocheted section, spacing them evenly. Add the 24 sage strands between them so the fringe looks full and generous rather than stringy.
10. Wrap a small bundle of cream yarn around the top center of the fringe row or attach the wood bead there for a subtle focal point. Trim the fringe into a wide V or shallow arc so it hangs evenly and looks polished.
11. Slide the wooden dowel through the two upper holes behind the crocheted top edge, then tie a 12-inch length of cream yarn to both ends to make a hanging loop. Add a tiny dot of hot glue to any stubborn yarn tails on the back if needed.
12. Hang the piece and make a final trim to the fringe once it settles. Fluff the yarn with your fingers so the cotton softens and fills out the shape.
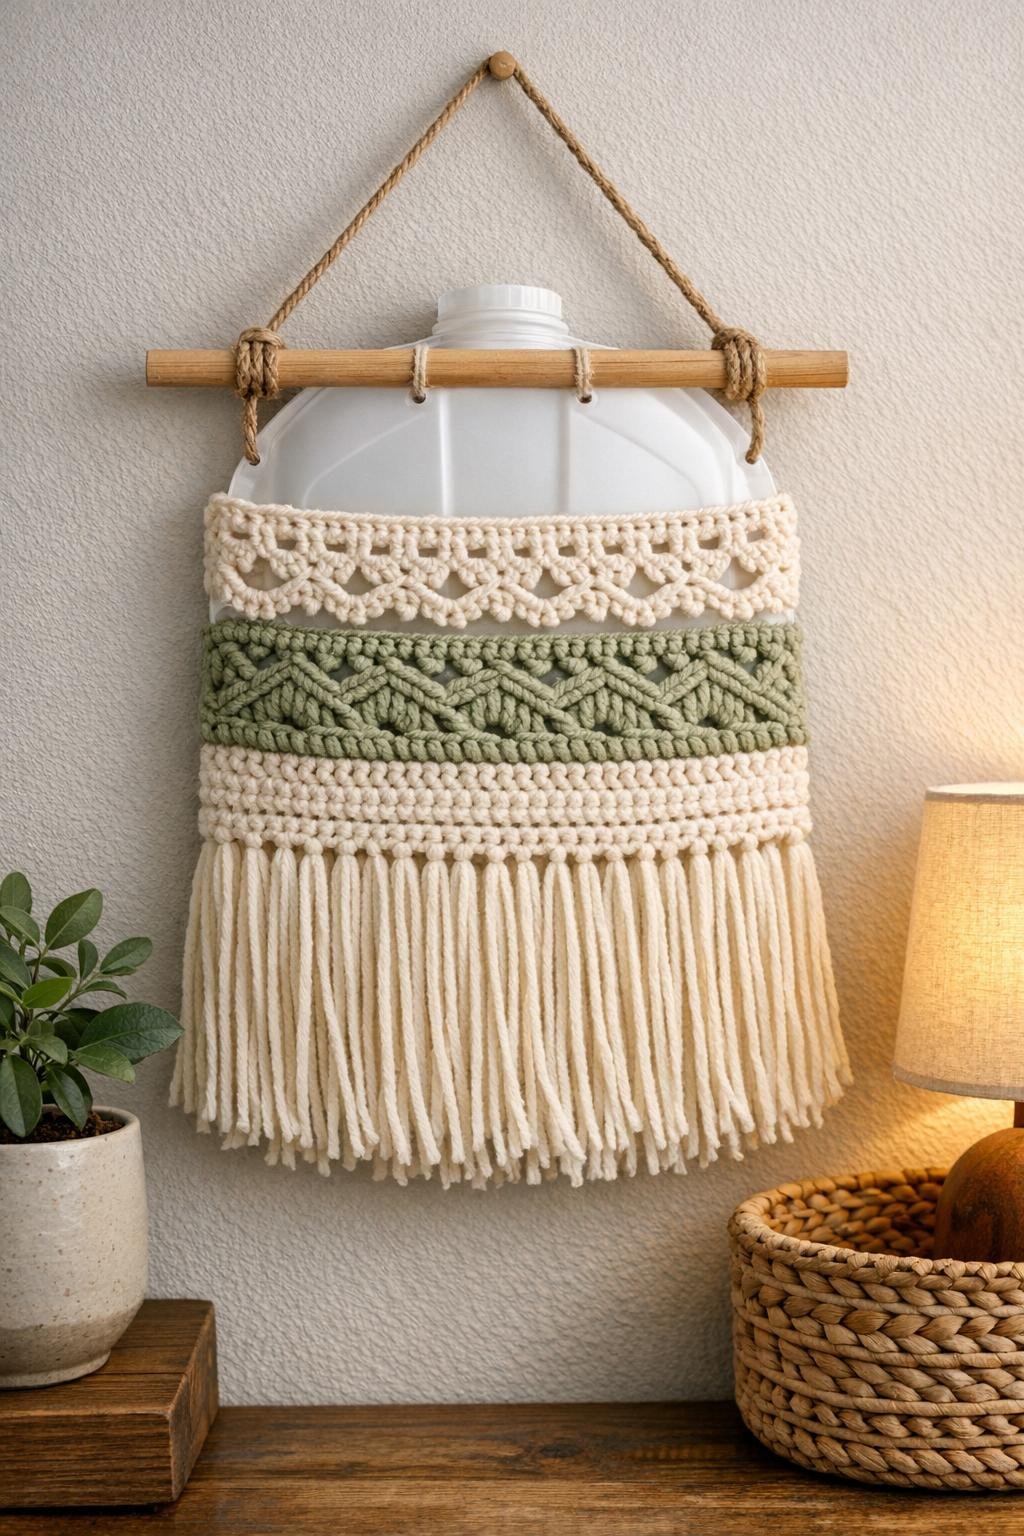
Variations & Tips
Color swap: If sage isn’t your thing, terracotta, mustard, dusty blue, or soft black all look beautiful against white plastic. I’d still keep one lighter contrast stripe so the crochet detail stands out on the wall.
Make it larger: Use the widest section of the jug body and add a few more crochet rows before the fringe. A fuller fringe and a slightly deeper crochet panel make the finished piece look much more high-end.
Best yarn choice: Cotton yarn works better than acrylic here because it has more structure and gives cleaner stitch definition. It also helps the fringe hang straighter, which is nice if you’re making this in short evening sessions and want it to look finished fast.
Keep slots even: Measure before cutting, because evenly spaced slots are what make the crocheting look intentional. When I rush this part, I always regret it later, so I treat it like prep work in the kitchen: ten careful minutes now saves a lot of fuss later.
Edge finishing: If any cut edge still feels sharp after sanding, round the corners slightly with scissors and sand again. That little extra cleanup makes the project feel crafted instead of improvised.
Try a boho version: Add longer fringe, a few wooden beads, and an off-center cream stripe for a softer bohemian look. You can also knot a few fringe strands together in pairs for extra texture.