
There’s something so satisfying about taking a handful of simple craft-store basics and turning them into something that looks much more special than the price tag would suggest. This project uses silk leaves, clear hot glue, and a balloon to create a delicate-looking light cover with lots of shimmer and texture, but the process is straightforward and very forgiving.
I especially love projects like this for a quiet afternoon at the kitchen table, because they feel a little magical without asking for fancy tools or complicated skills. If you’re comfortable working slowly with a glue gun, you can make a beautiful glowing accent piece that looks lovely on a mantel, entry table, or as part of a seasonal centerpiece.
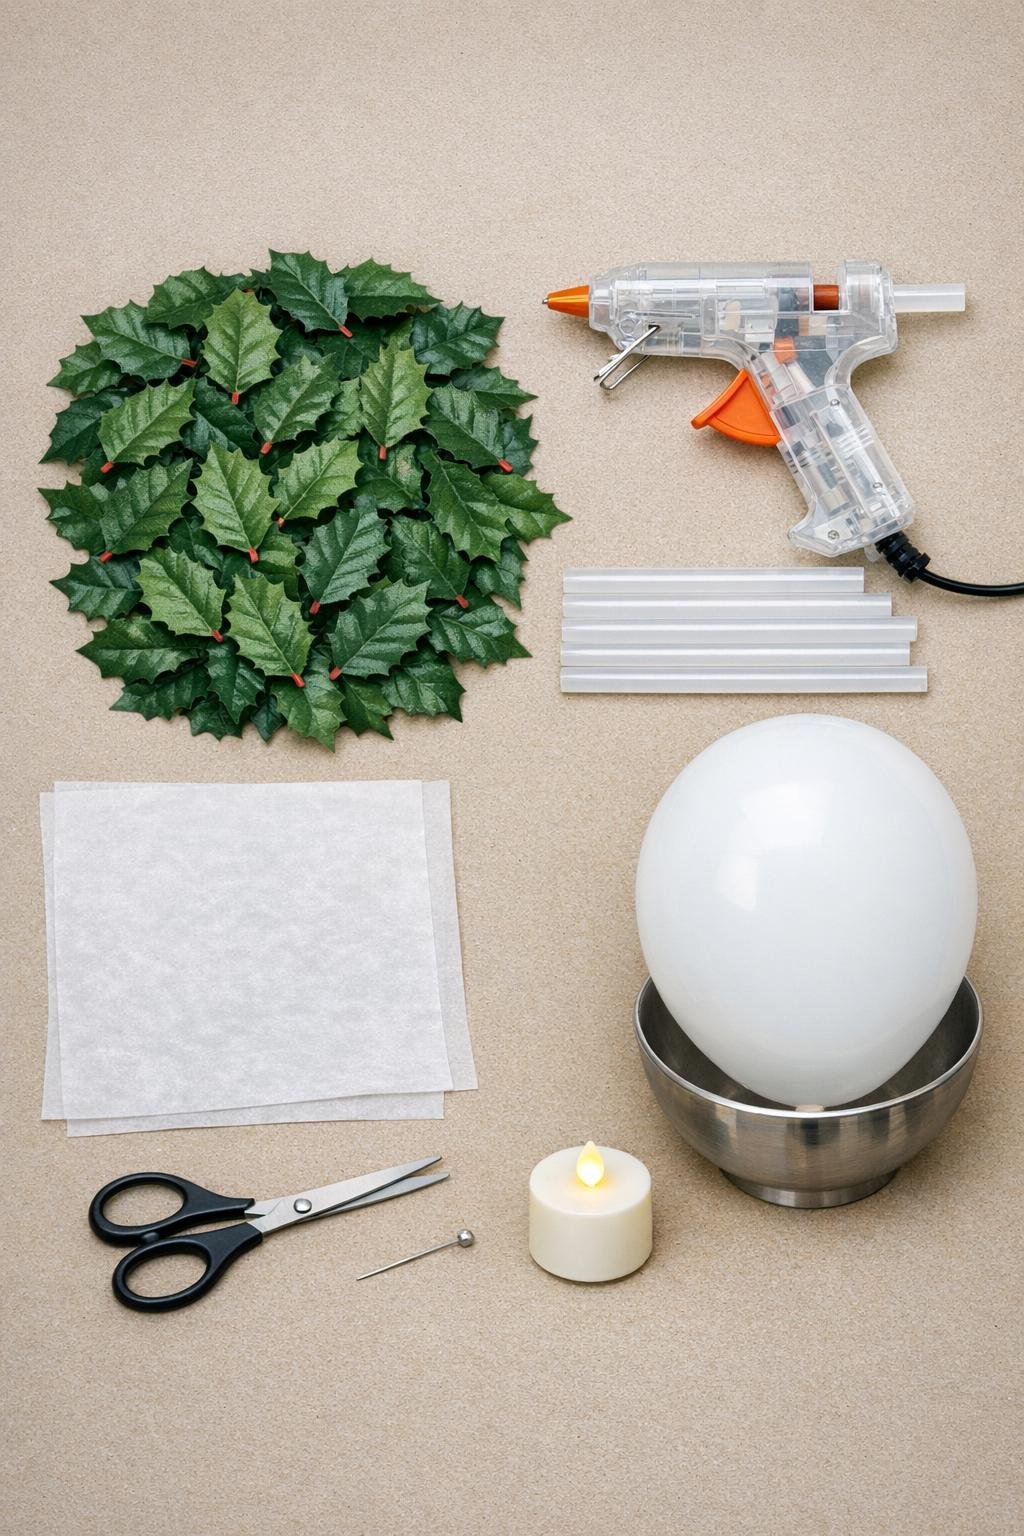
Materials
Instructions
1. Trim any plastic stems off the 30 silk leaves so each leaf can sit flat, and set aside the neatest, fullest leaves for the top visible layers.
2. Inflate the balloon to about 10 to 12 inches across, tie it off, and stand it knot-side down in a bowl or mug so the round top stays steady while you work.
3. Cover your table with parchment paper and plug in the glue gun, letting it heat fully so the glue flows smoothly in clean lines.
4. Press the first ring of silk leaves edge to edge around the lower half of the balloon, slightly overlapping the sides, and tack each one in place with a tiny dot of hot glue near the center vein.
5. Add a second layer of leaves above and between the first ones, overlapping just enough to remove gaps and create a full, rounded orb shape that still leaves the top half of the balloon mostly open.
6. Once all 30 leaves are attached and the shape looks balanced, run clear hot glue along every outer edge and trace the center veins and a few side veins on each leaf to create a crystal-like framework.
7. Add extra glue where two leaves meet so the whole structure connects leaf to leaf instead of relying only on the balloon underneath.
8. Let the glue cool completely for 10 to 15 minutes, then gently press around the lantern to check that the leaf shell feels firm and holds its shape.
9. Carefully pop the balloon with a pin near the top open area, let it pull away from the glue shell, and slowly remove all balloon pieces from inside.
10. Trim away any long glue strings with scissors, and if needed, add one more thin line of hot glue around the bottom edge to help the lantern sit evenly and look polished.
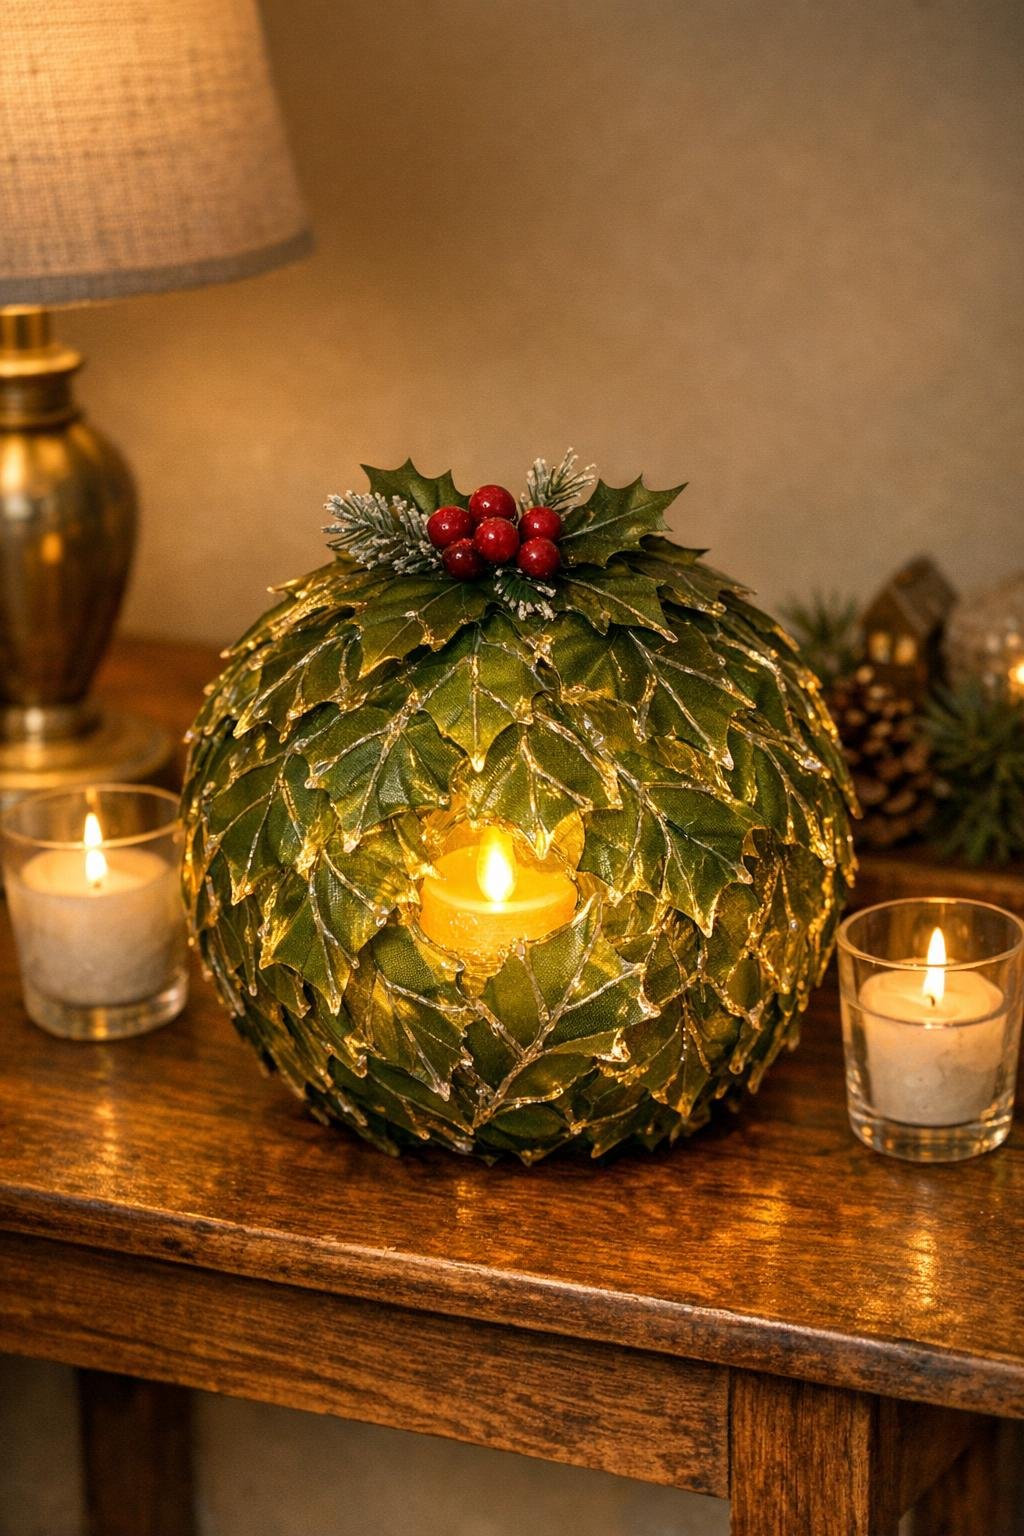
11. Place the LED tealight candle inside through the top opening, then turn off the room lights a bit and check that the glow shines through the glue-traced veins and between the layered leaves.
12. Set the finished lantern on a safe flat surface and fluff the leaf layers gently with your fingers so the orb looks full, even, and nicely rounded from every side.
Variations & Tips
For a fuller look: If your dollar store leaf pack runs small, add 6 to 10 extra leaves in a third partial layer around the middle. That extra overlap makes the lantern look lush and gives the glow more depth.
For picky decorators: In my house, everybody has an opinion about holiday colors, so I like to make one in classic green and another with frosted or metallic-edged leaves. The shape stays the same, but the mood changes completely.
Leaf choice tip: Holly leaves work beautifully because the points and veins show up so well in glue, but magnolia, ivy, or maple-shaped silk leaves can also work if they are fabric-covered and flexible rather than stiff plastic.
Glue control: Use steady pressure and keep the glue gun tip just above the fabric surface instead of dragging it hard across the leaf. That gives you raised, glossy lines that catch the candlelight better.
Best lighting: Always use a battery LED candle, never a real flame. The hot glue and silk leaves need cool, safe light only.
If the shell feels flimsy: Add more glue at every leaf overlap and trace a few extra side veins on the largest leaves. The lantern becomes much sturdier once those connection points are reinforced.
Seasonal styling: I love setting this in the middle of a tray with mini pumpkins in fall, pine sprigs in winter, or a little moss and faux eggs in spring. It’s such an easy way to make the table feel special without starting from scratch.
Storage tip: Keep the lantern in a roomy box with tissue paper around it so the leaf points do not get crushed. Because it’s lightweight, it stores surprisingly well if nothing heavy sits on top.