
There’s something awfully satisfying about taking the simplest little supplies and repeating one easy motion until suddenly you’ve made something that looks far more expensive than it ought to. That kind of project always reminds me of the church bazaar crafts I admired years ago—humble materials, patient hands, and a finished piece that catches the light like a treasure.
This one is especially nice for anyone who wants a holiday mantel piece that looks elegant and polished without needing fancy tools or advanced crafting skills. If you can press in pins and keep a steady rhythm, you can make this. The real secret is generosity: plenty of pearl pins, close spacing, and a few classic finishing touches so the whole thing feels rich and magical when it’s set out.
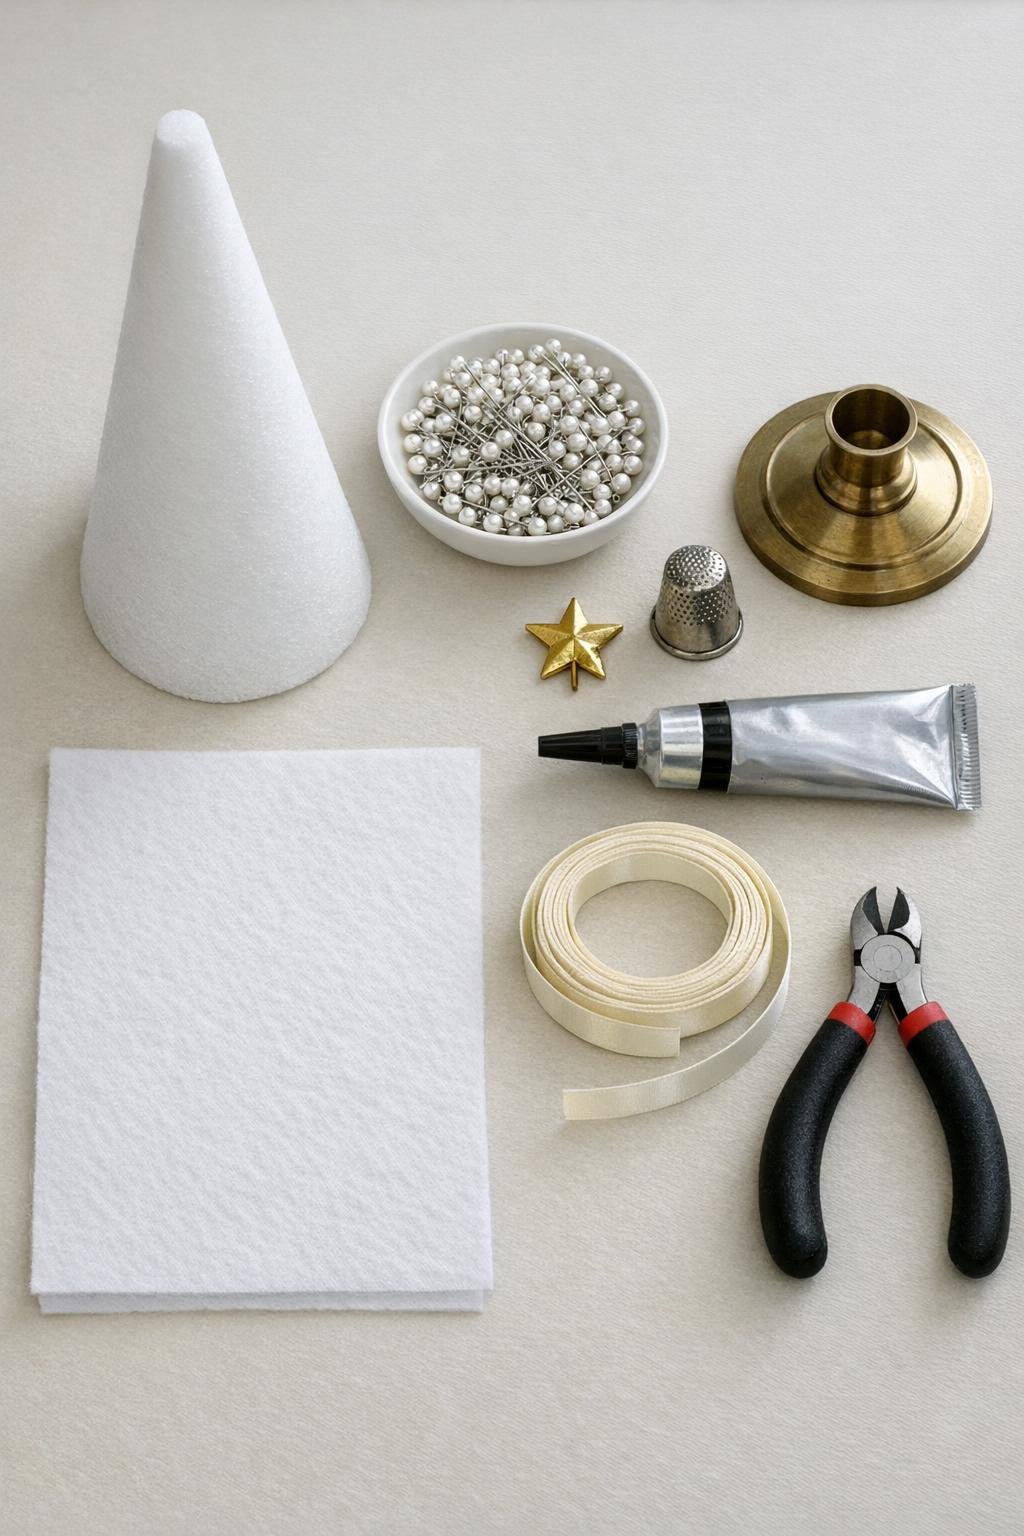
Materials
Instructions
1. Cut a circle of white felt to fit the bottom of the foam cone, and glue it in place so the finished piece looks tidy from every angle.
2. Test the foam cone on the candlestick base, then glue the cone centered on top and let it set until it feels stable and upright.
3. Start pinning about 1 inch up from the bottom edge, pressing the pearl pins straight into the foam in tight horizontal rows with the pearl heads nearly touching. Use a thimble to protect your finger and keep the pins going in evenly.
4. Continue working around the cone one row at a time, staggering the pins slightly between rows so there are no obvious gaps and the surface looks full and scaled like clustered pearls.
5. As the cone narrows, keep the same close spacing and shorten the distance between rows just a bit so the coverage stays dense all the way to the top.
6. Fill in any tiny bare spots by tucking extra pins between existing ones until the foam is no longer visible from the front or sides.
7. Trim the pick on the gold star topper if it is too long, then press and glue it securely into the top center of the cone.
8. Tie the satin ribbon into a small neat bow and glue it where the cone meets the candlestick base, or just under the star if you prefer a dressier top accent.
9. Turn the tree slowly in your hands and add a few final pins anywhere the rows look loose or uneven so the whole surface catches the light evenly.
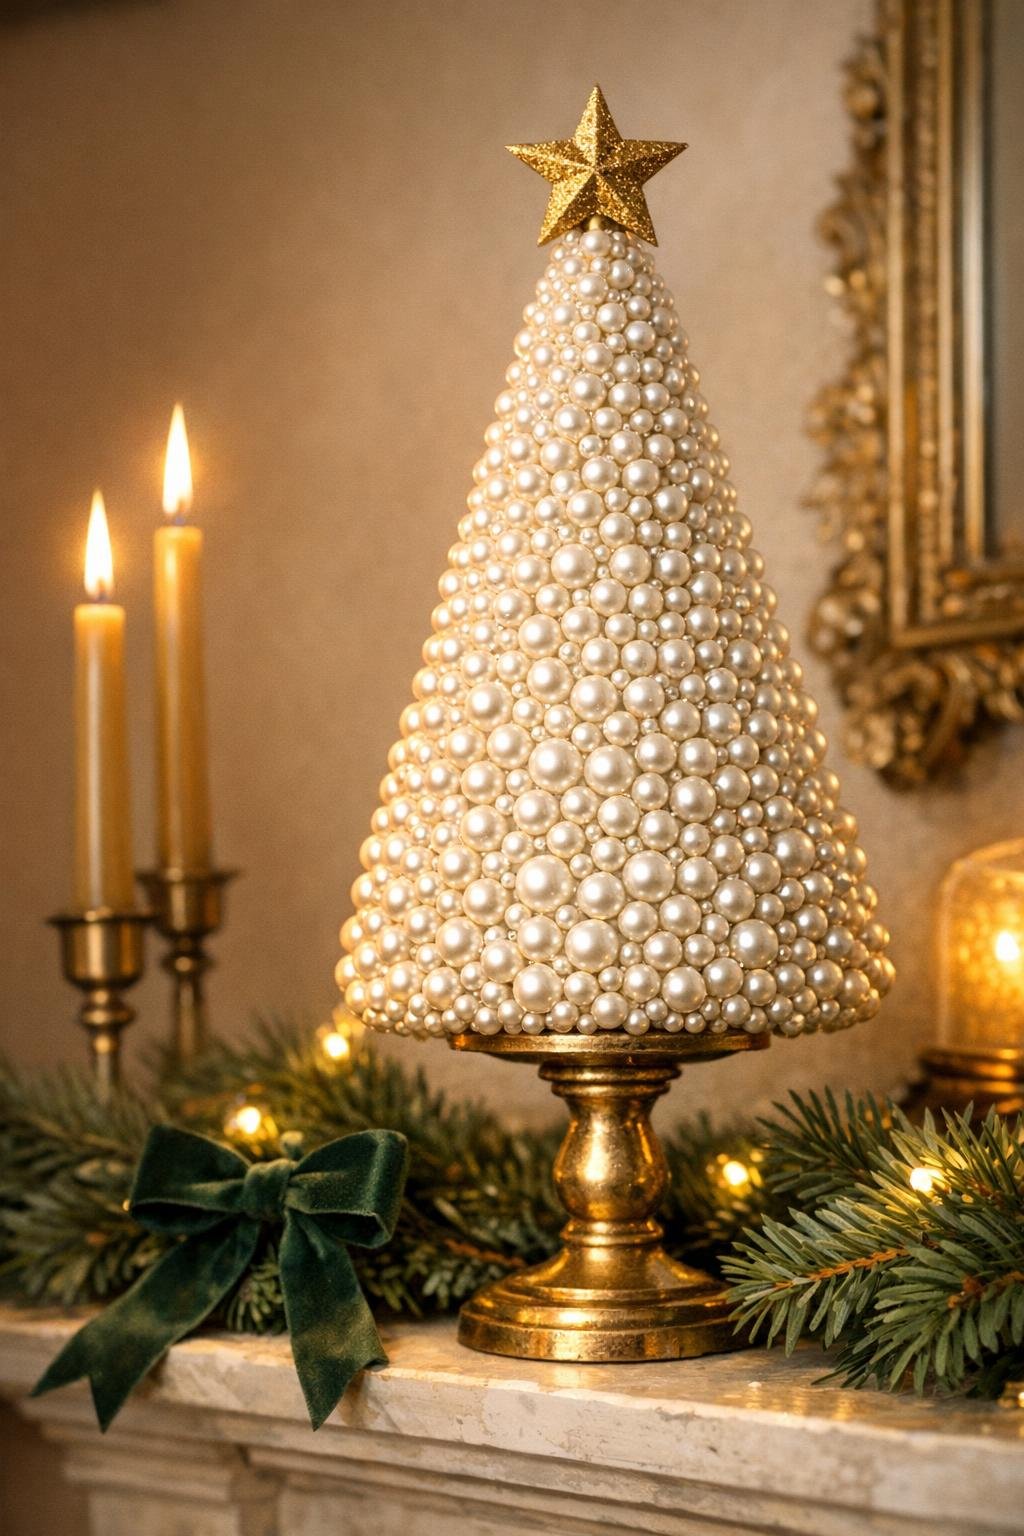
Variations & Tips
Champagne Look: Use ivory pearl pins with a brushed gold candlestick base for a warmer, old-fashioned holiday feel.
Silver Version: Swap in a silver star topper and a pewter or mirrored base if your Christmas decorations run cooler and brighter.
Pin Placement Tip: I like to work in small bands instead of jumping around the cone, because it helps me keep the rows snug and prevents thin patches.
Finger-Saving Trick: Don’t skip the thimble. After a couple hundred pins, that little bit of protection makes all the difference.
Make It Fuller: If your pins have slightly smaller pearl heads, you may need 450 to 500 pins for complete coverage on a 12-inch cone.
Base Option: A small wooden spool, mini pedestal, or chunky candle holder can stand in for the candlestick base as long as it gives the cone a lifted mantel-worthy look.
Storage Tip: Store it upright in a box with tissue around the star so the pins stay neat and the pearl surface doesn’t get knocked out of alignment.