
There’s something deeply satisfying about taking a plain, utilitarian material and coaxing it into something unexpectedly charming. That’s exactly what happens here: a humble coil of dollar store jute rope gets pulled apart, fluffed up, shaped, and finished into a display piece that looks far more special than the supply list suggests. I love projects like this because they lean on texture instead of precision, so they’re forgiving even if you’re not especially crafty.
If you enjoy easy seasonal decorating, rustic-natural materials, or little tabletop projects that come together in one sitting, this is a wonderful one to try. The unraveling is the main event, and from there it’s mostly assembly and simple embellishing—my favorite kind of craft, honestly, because the payoff looks polished without needing a whole afternoon of measuring and fussing.
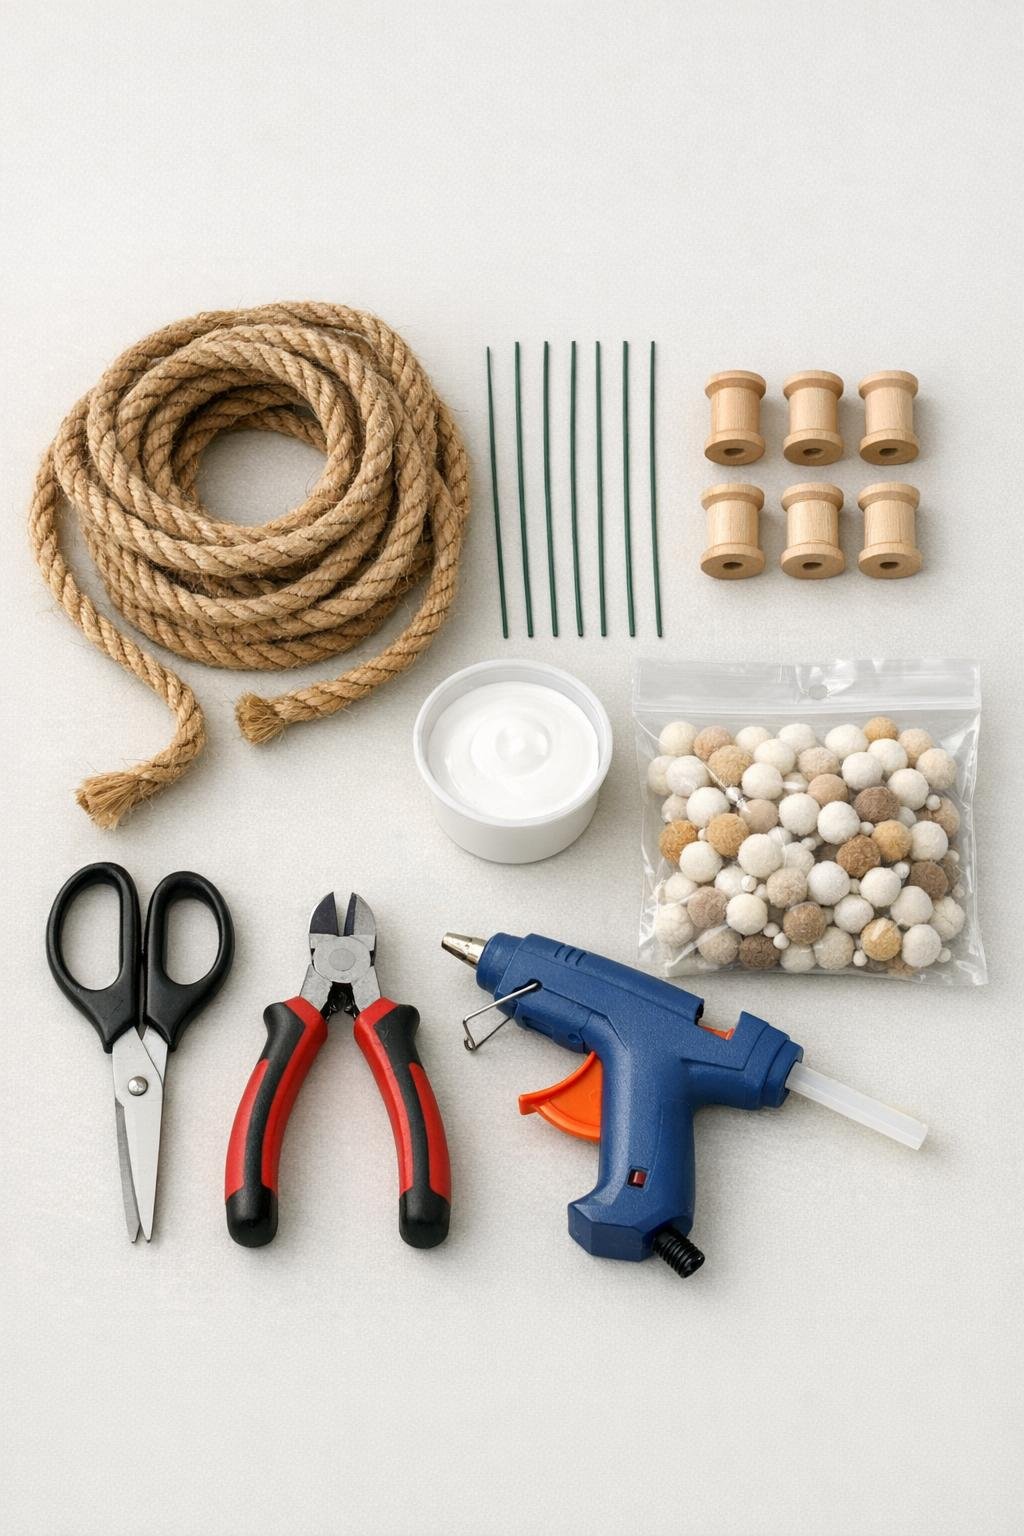
Materials
Instructions
1. Cut the rope into 24 pieces, each about 12 inches long, so you’ll have enough fullness to make six dense mini trees with four rope sections per tree.
2. Untwist each 12-inch rope piece completely into its smaller strands, then separate those strands into loose fibers with your fingers until you have a fluffy pile of crinkly tan fibers.
3. Fold one piece of floral wire in half loosely if you want a slightly sturdier center, or leave it straight for a taller, slimmer shape; either way, keep one wire ready for each tree.
4. Gather a thick bundle of unraveled fibers around one wire, centering the wire inside the bundle so the fibers extend evenly on both sides like an oversized tassel.
5. Twist the top 1 inch of the wire tightly to trap the fibers at the center, then pinch and smooth the fibers downward so they begin to resemble a narrow tree shape.
6. Repeat with the remaining wires and fibers, using four rope sections’ worth of fibers per tree to make all six trees full rather than skimpy.
7. Trim each fiber bundle with scissors, starting at the bottom and working upward, to create a tapered bottle-brush silhouette with a broad base and pointed top.
8. If you want a snowy look, lightly brush or dab white craft paint onto the outer tips of the fibers, keeping the center mostly tan so the texture and rope origin still show through.
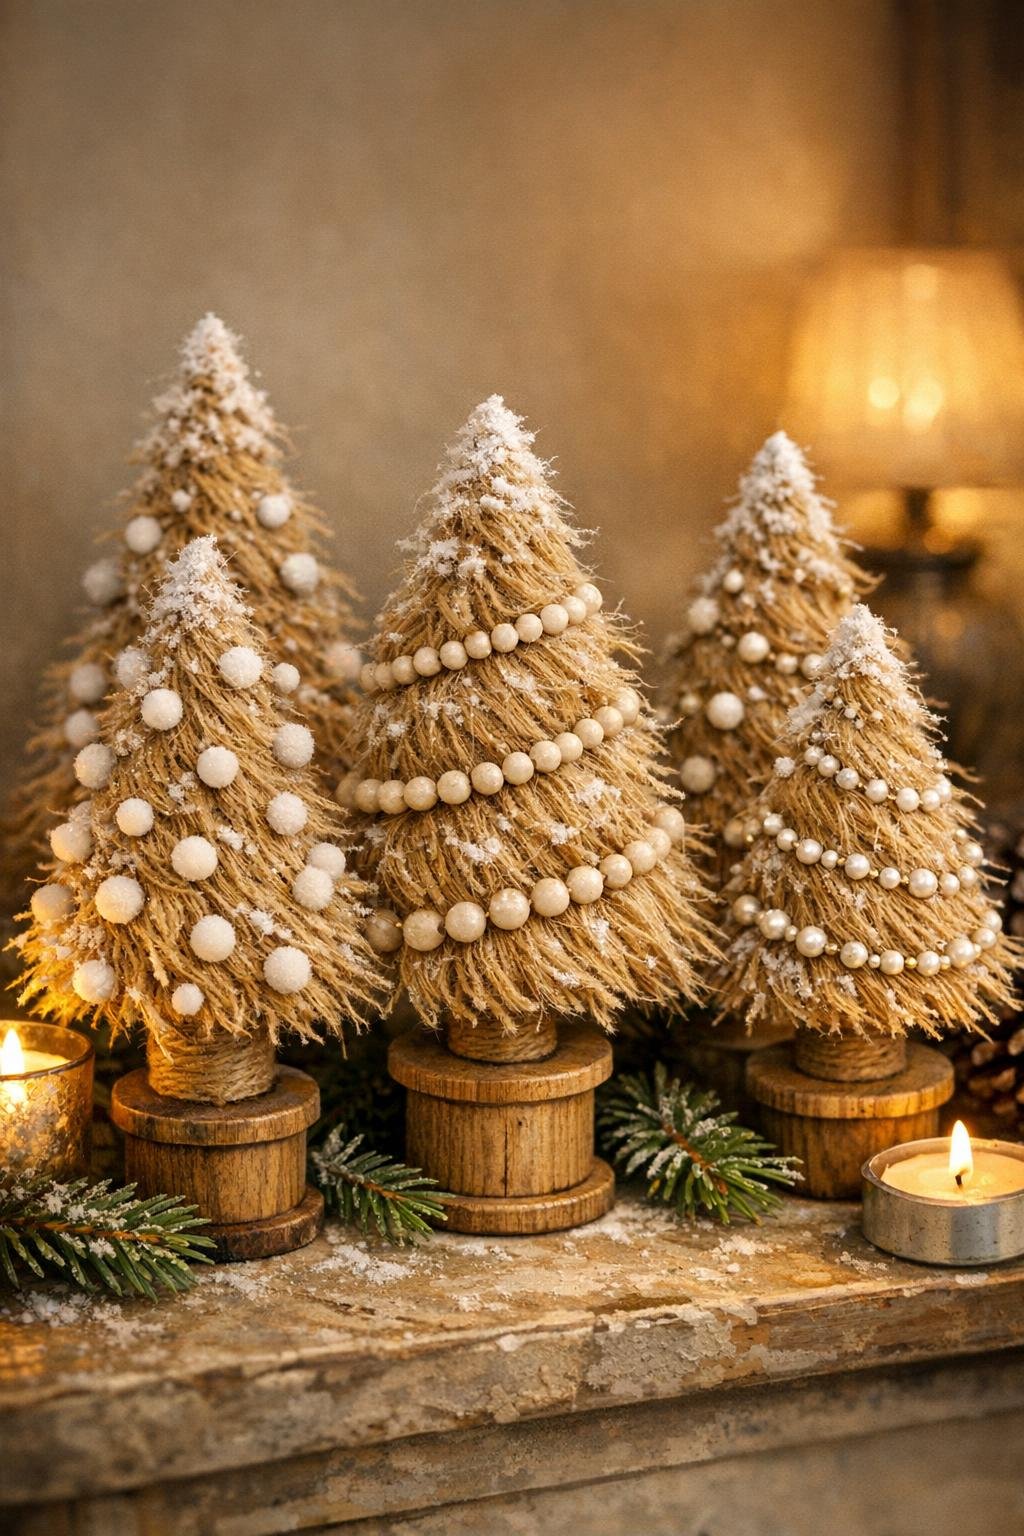
9. Add a tiny bead or mini pom-pom near the top of each tree with a dot of hot glue, then wrap or tuck a few more beads or pom-poms into the branches sparingly so the natural texture stays the star.
10. Snip the wire stem at the bottom to about 1/2 inch if needed, add hot glue into the center hole of a wooden spool, and press the wire stem in place until the tree stands upright.
11. Fluff the branches with your fingers, trim any uneven spots, and slightly bend the tops or spread the lower fibers so each tree looks full, balanced, and a little whimsical.
12. Arrange the finished pieces as a grouped display, varying the heights and spacing so the set looks lush and collected rather than lined up too stiffly.
Variations & Tips
Natural look: Skip the white paint entirely if you want a warmer, more rustic finish. The plain tan fibers paired with the wooden spool bases already look wonderfully cozy.
Snowy finish: For a softer frosted effect, dry-brush the paint on with very little product at a time. I’ve found this gives a prettier result than soaking the fibers, which can make them clump.
Fuller trees: If your rope unravels into thinner fibers than expected, use five cut rope sections per tree instead of four. This is one of those projects where extra volume really improves the final look.
Base options: If your spools have larger center holes, fill part of the hole with hot glue first and hold the stem steady for an extra few seconds. You can also wrap the spool with a bit of leftover rope for a more finished base.
Decoration balance: A little embellishment goes a long way here. I like just enough beads or pom-poms to catch the eye without burying the lovely scruffy texture that makes the project special.
Display idea: These look best grouped in odd numbers on a tray, mantel, bookshelf, or holiday table. Cluster them close together and mix heights so they read as a little forest instead of six separate pieces.