
There is something so satisfying about taking an everyday vegetable and turning it into a sweet little holiday craft. This project starts exactly the way the headline promises—with a dozen okra pods lined up on a baking sheet—but by the end, you’ll have a batch of charming handmade decorations that look thoughtful, whimsical, and completely giftable.
I love projects like this because they’re affordable, easy to do in one afternoon, and fun for families who want a homemade holiday touch without dragging out a mountain of supplies. If you enjoy simple seasonal crafts with a big payoff, this one is a keeper.
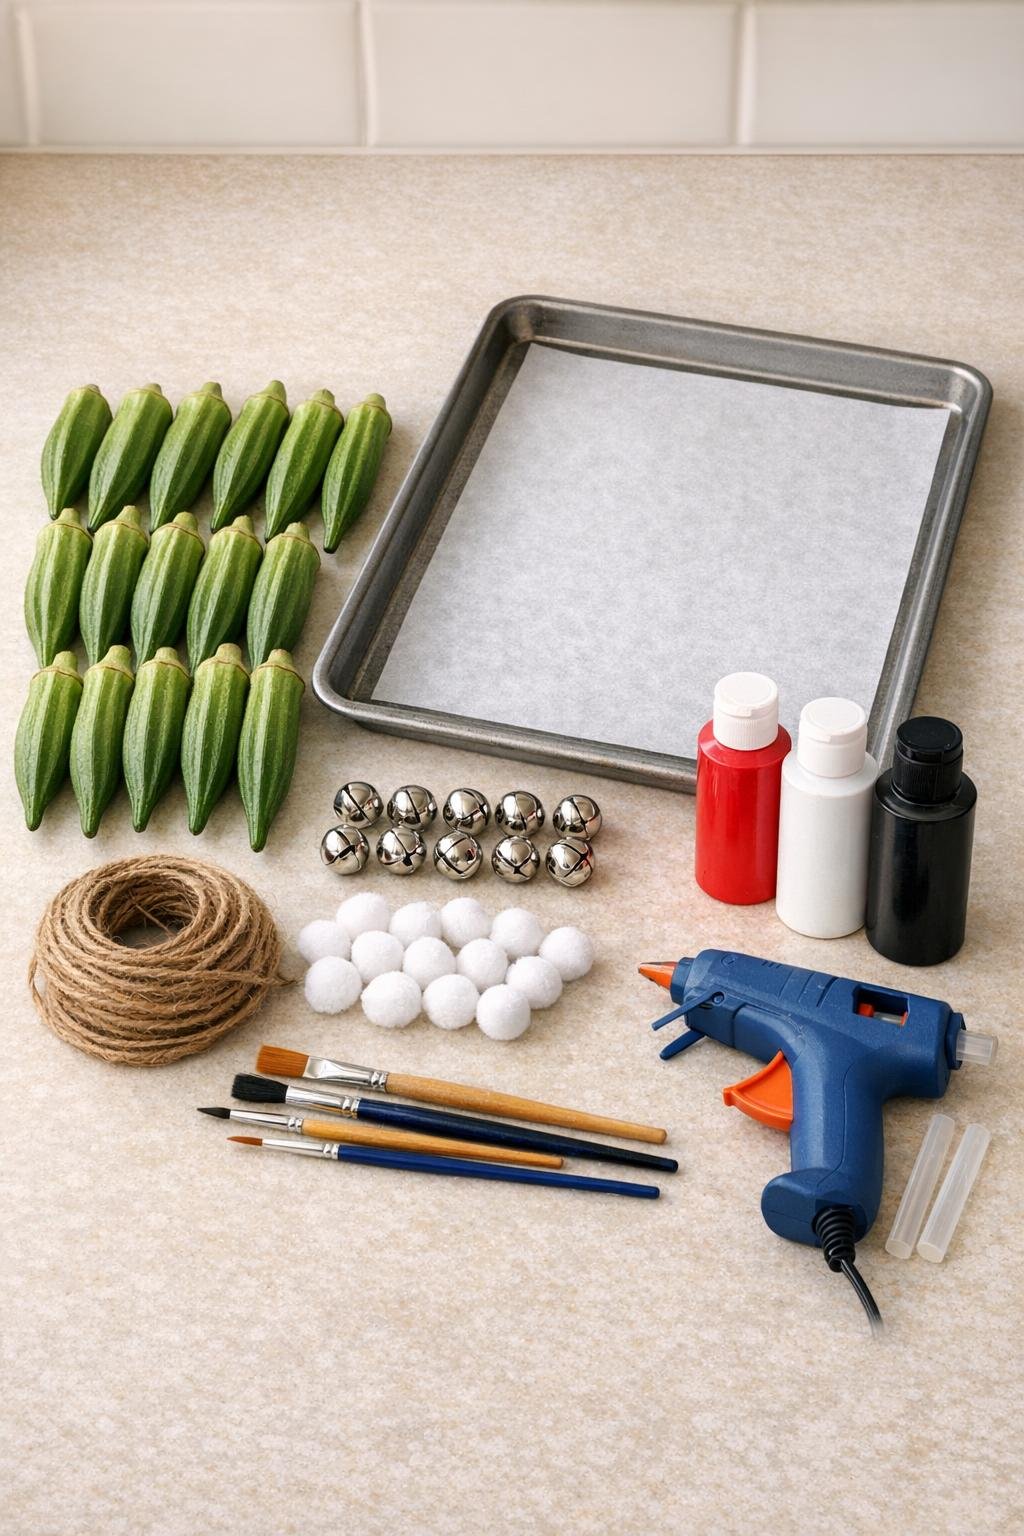
1. Preheat your oven to 200°F and line the baking sheet with parchment paper.
2. Arrange the 12 okra pods in neat rows on the baking sheet so they are not touching, then bake them for 2 to 3 hours until dried and firm.
3. Remove the tray from the oven and let the okra cool completely; the pods should feel lightweight and dry, not soft or damp.
4. Paint the bottom two-thirds of each okra pod red, leaving the narrow pointed tip unpainted for now, and let the paint dry.
5. Paint the pointed tip of each pod white and add a white band where the red section meets the top, creating a hat trim and beard area; let everything dry fully.
6. Use black paint and a fine brush to add two tiny eyes in the white beard area on each pod.
7. Tie each 6-inch piece of jute twine into a loop, then hot glue one loop to the back top of each okra pod for hanging.
8. Hot glue one tiny pom pom or a small piece of cotton ball to the very tip of each white hat.
9. Hot glue one small jingle bell onto the front lower section of each ornament to add a polished finishing touch and a little holiday sparkle.
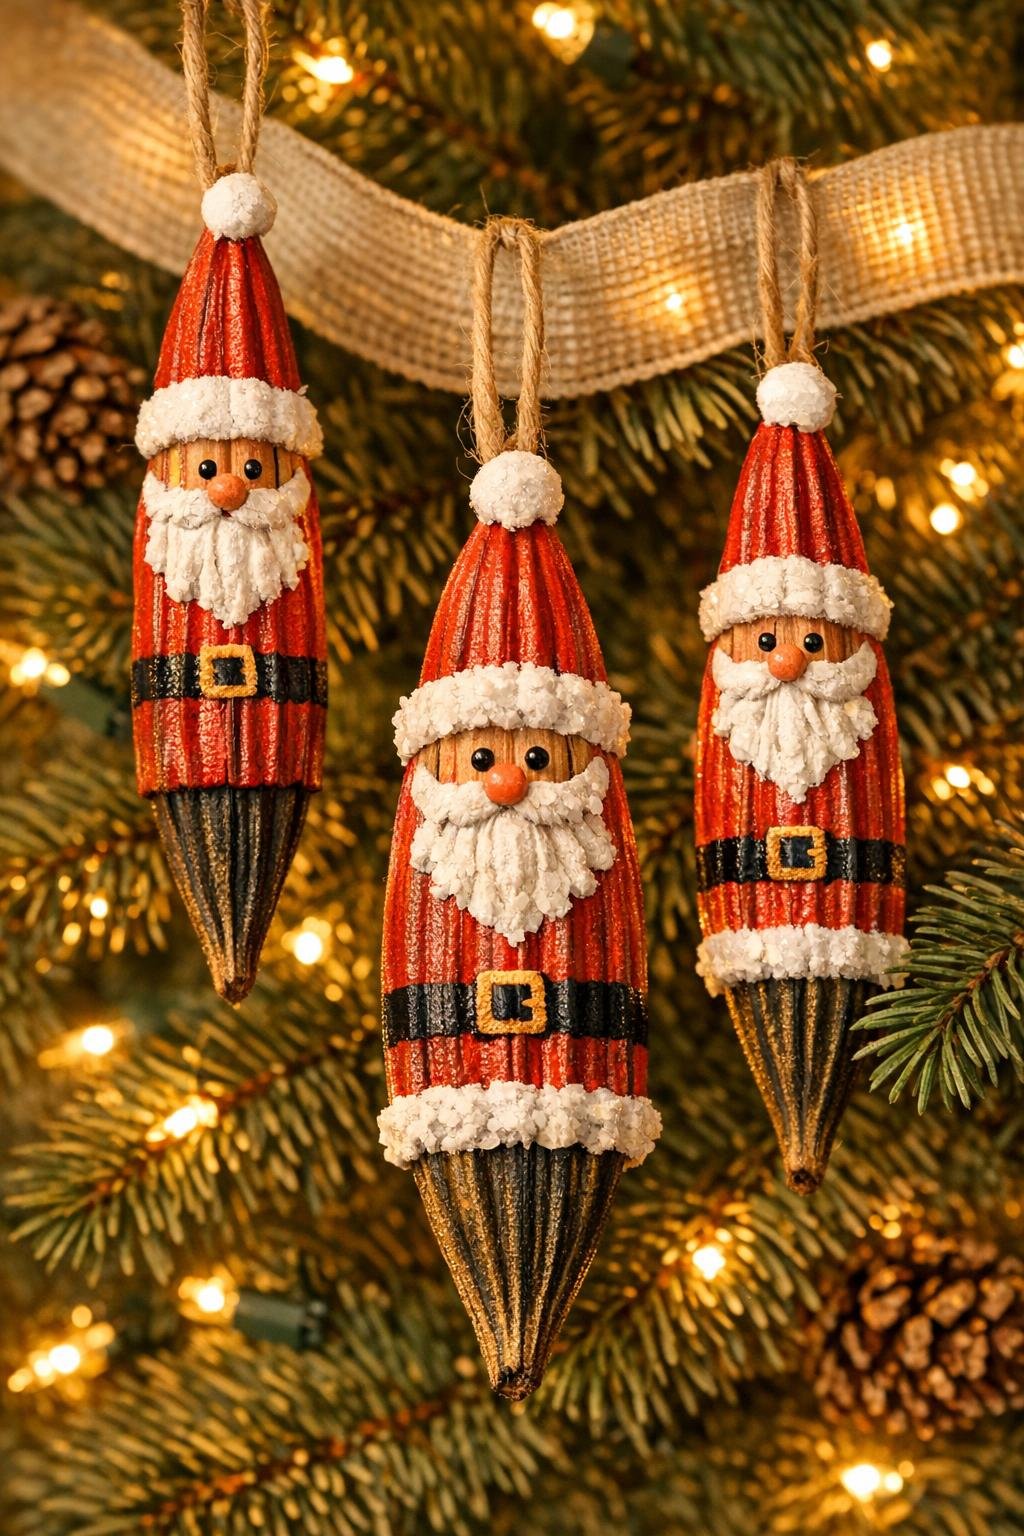
For a fuller beard look: If you want the faces to stand out more, dab a little extra white paint in a scalloped shape below the eyes before adding the bell.
For kid-friendly crafting: I like to handle the hot glue and let kids do the painting. It keeps the project relaxed and still gives them plenty of ownership.
For picky perfectionists: Choose okra pods that are similar in size and fairly straight so the finished set looks cohesive on the tree. It makes a big difference when you’re making a dozen at once.
For longer-lasting ornaments: Make sure the okra is completely dried out before painting, and store the finished ornaments in a box lined with tissue paper after the holidays.
For extra polish: A thin coat of clear craft sealer can help protect the paint once everything is fully dry. Use a matte or satin finish so they still look handmade and cozy.
For display ideas: These are darling on a Christmas tree, but they also look sweet tied onto wrapped gifts, tucked into a wreath, or hung from a garland across a mantel.