
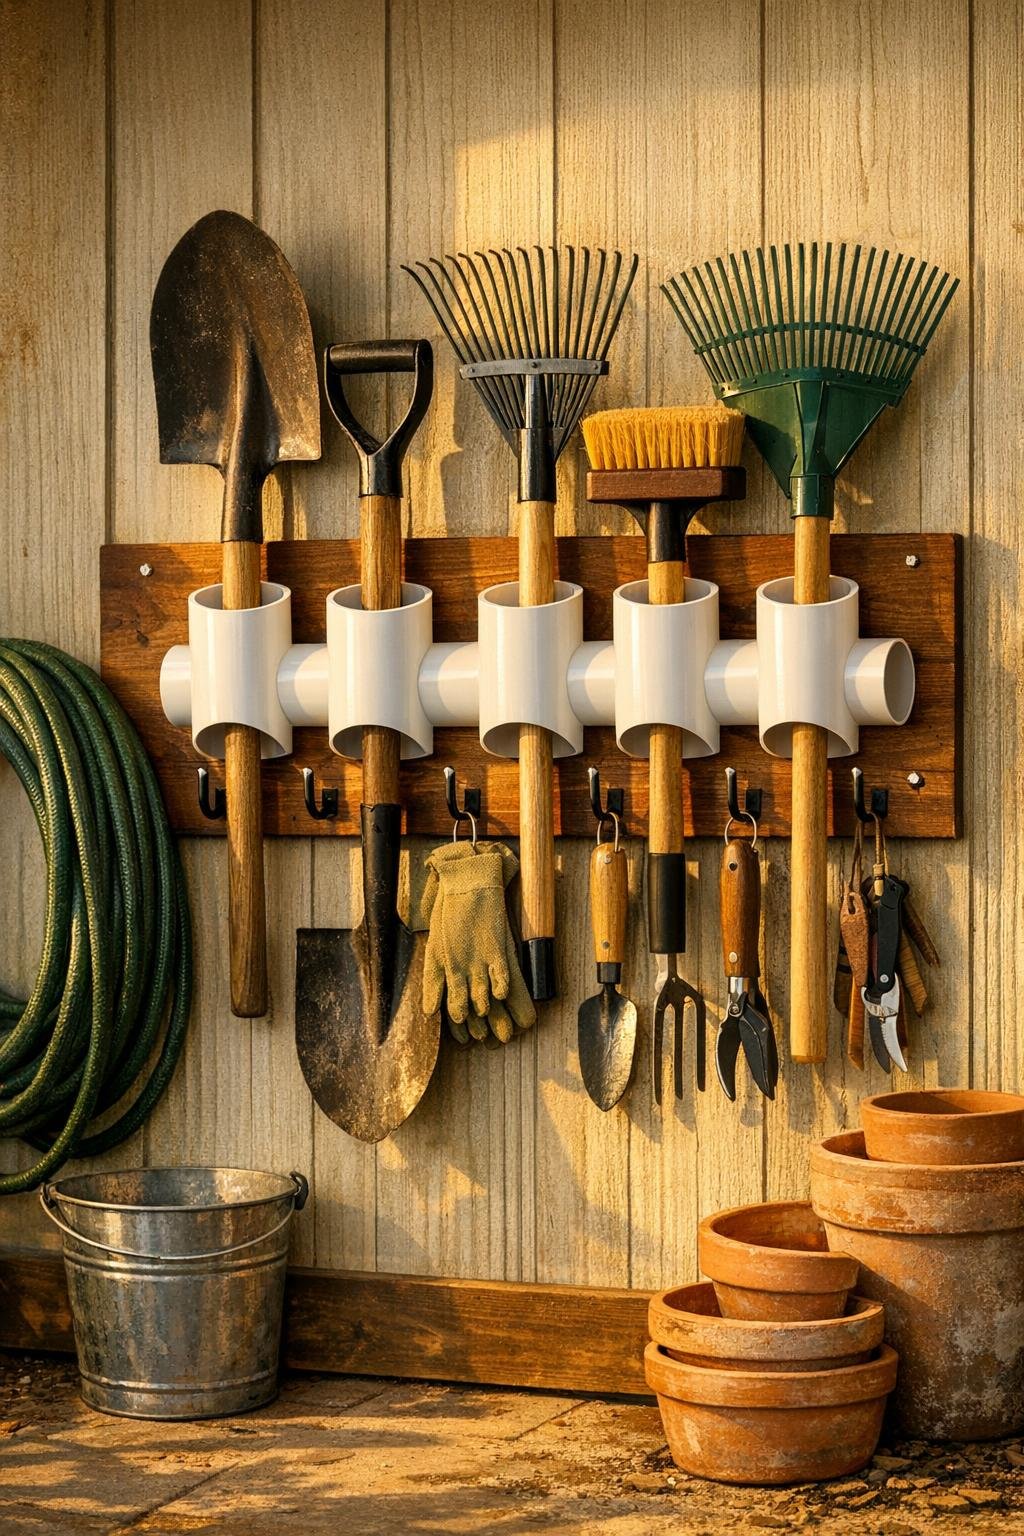
A good garden cleanup setup should make tools easier to grab, easier to put away, and sturdy enough to survive muddy rakes, leaf blowers, and that one shovel everyone drops by the door. This PVC hanging rack does exactly that with three basic shed items: short sections of white PVC pipe, a length of wood for the backer, and heavy-duty hooks for extra support. By cutting away the bottom of each pipe section, you turn them into open-front cradles that hold long-handled tools upright and neatly spaced.
I love a project like this because it solves a real annoyance without turning into an all-weekend build. It’s especially handy if your garage or shed floor always seems to disappear under brooms, cultivators, and leaf rakes every fall. The finished rack looks surprisingly polished, and because the PVC stays visible, it has that clever “wait, you made that?” look neighbors always notice.
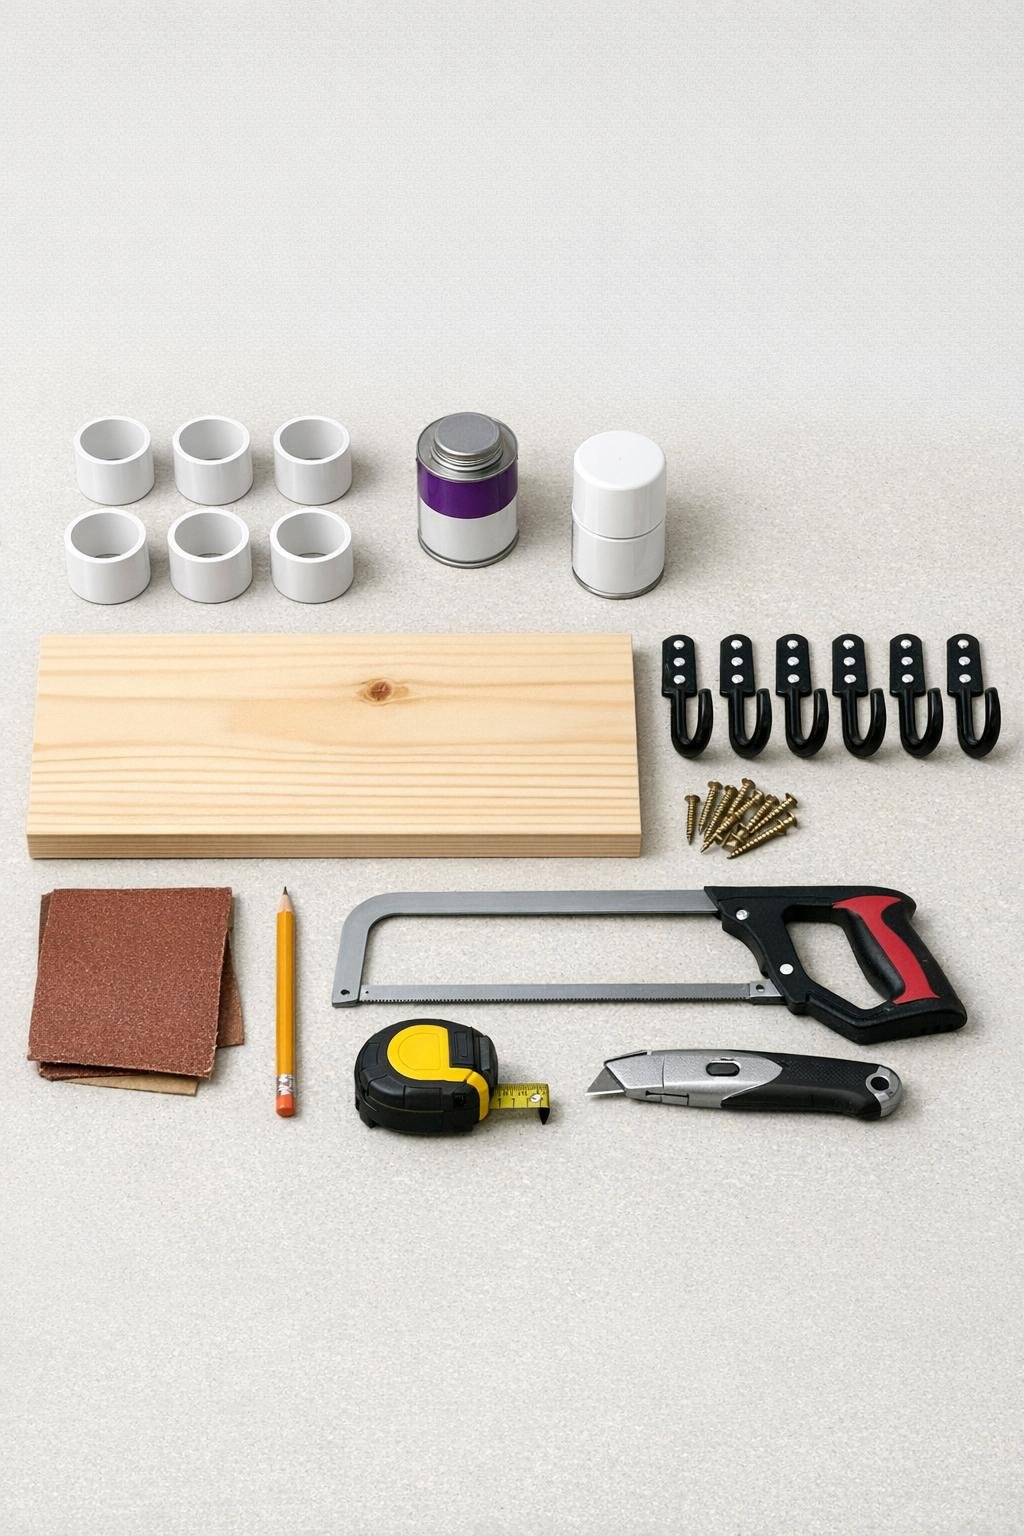
Materials
Instructions
1. Cut the 4-inch PVC into six 8-inch-long sections if they are not already cut, then mark a U-shaped opening on each piece by leaving about 2 inches of pipe intact at the back and removing the lower front half.
2. Use a utility knife to score your cut line and a hacksaw to finish removing the bottom/front section from each PVC piece, creating six open-front cradles that tools can slide into easily.
3. Smooth every cut edge with 120-grit sandpaper, then finish with 220-grit so the PVC won’t scrape wooden handles or catch on gloves.
4. Sand the wooden board lightly, wipe off the dust, and paint or clear-coat it now if you want a more finished rack; let it dry completely before assembly.
5. Mark a horizontal line down the board about 4 inches from the bottom edge, then space the PVC cradles evenly across the board with about 1 1/2 inches between each piece.
6. Predrill two screw holes through the back of each PVC cradle, then attach each one to the board with two #10 x 1 1/2-inch screws, keeping all openings facing upward and outward.
7. Install one utility hook directly above every other PVC cradle, or center three hooks across the top half of the board, so wider tools like leaf rakes and brooms have upper support while their handles rest in the PVC below.
8. Hold the rack against wall studs in the shed or garage, level it, and fasten it through the board with the 3-inch screws and washers; use at least three stud points so the rack can carry a full load of tools.
9. Test the layout with your tools, placing narrow handles into individual PVC cradles and letting larger heads rest against the top hooks; adjust spacing before tightening fully if one section feels crowded.
10. Touch up any scratched PVC with white spray paint, let it dry, and load the rack with shovels, rakes, brooms, and cultivators so the finished setup looks full, organized, and ready for fall cleanup season.
Variations & Tips
Make it wider: If your fall cleanup arsenal is serious, use a 48-inch board and eight PVC cradles instead of six. The design scales beautifully as long as you keep even spacing and mount into studs.
Use larger pipe for bulky handles: Four-inch PVC works for most standard yard tools, but 5-inch PVC is better if you store thick ergonomic handles or want an easier drop-in fit.
Add a painted finish: I like the clean white PVC look, but painting the board charcoal, forest green, or barn red gives the whole rack that custom-built shed-storage feel.
Prevent spinning tools: If a few handles twist or slide, add a thin bead of construction adhesive behind each PVC cradle before screwing it down for extra rigidity.
Plan your spacing by tool type: I usually cluster narrow tools together and leave the end spaces for wide rake or broom handles. It’s the same kind of logic as arranging a busy kitchen drawer: the setup works better when you give the awkward pieces room.
Mount at the right height: Keep the bottom of the rack high enough that tool heads don’t drag on the floor, but low enough that you can still drop handles in one-handed while carrying a pile of leaves or a trug in the other.
Use it beyond fall: This rack is just as useful in spring and summer for hedge shears, snow shovels, push brooms, and extension tools, so it earns its wall space all year long.