
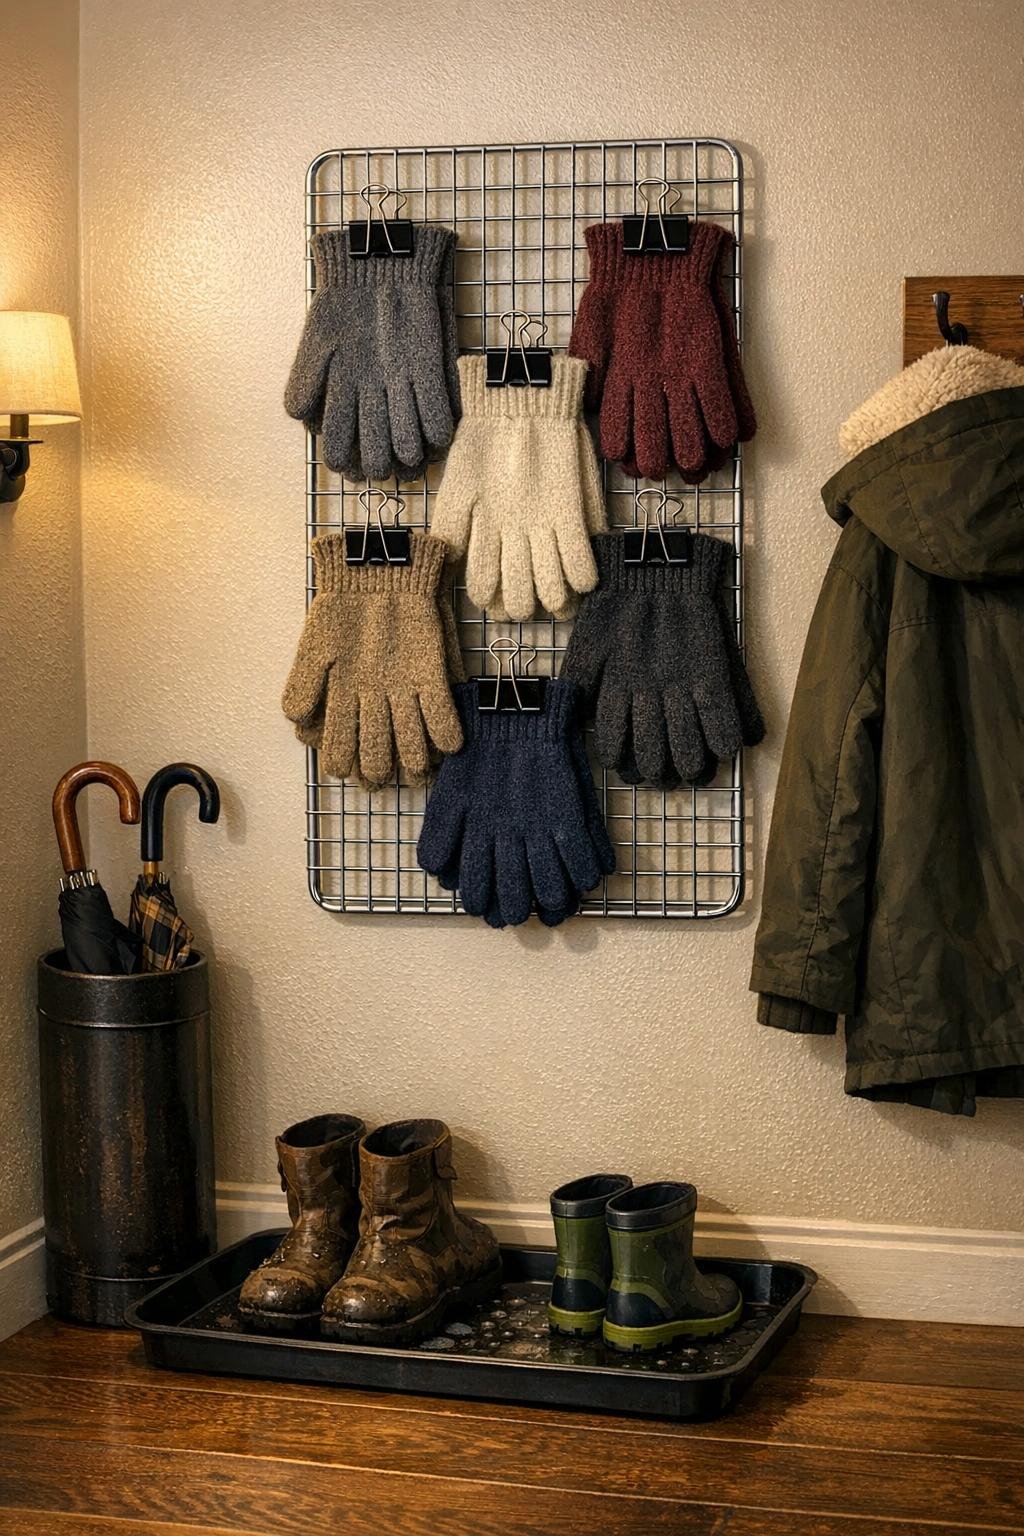
In a Midwestern winter, wet gloves have a way of multiplying by the front door. I like a tidy kitchen and an orderly entryway, so when I find a simple household fix that actually works, I hold onto it. This hallway glove drying station uses a basic metal cooling rack and binder clips to create a compact place where damp gloves can drip-dry with plenty of airflow instead of ending up in a soggy heap on the radiator or a chair.
What I love about this setup is that it is inexpensive, fast to put together, and surprisingly polished once it is in place. If you have kids, commute on foot, shovel snow, or just deal with rainy days and slushy sidewalks, this is the sort of small home solution that earns its keep immediately.
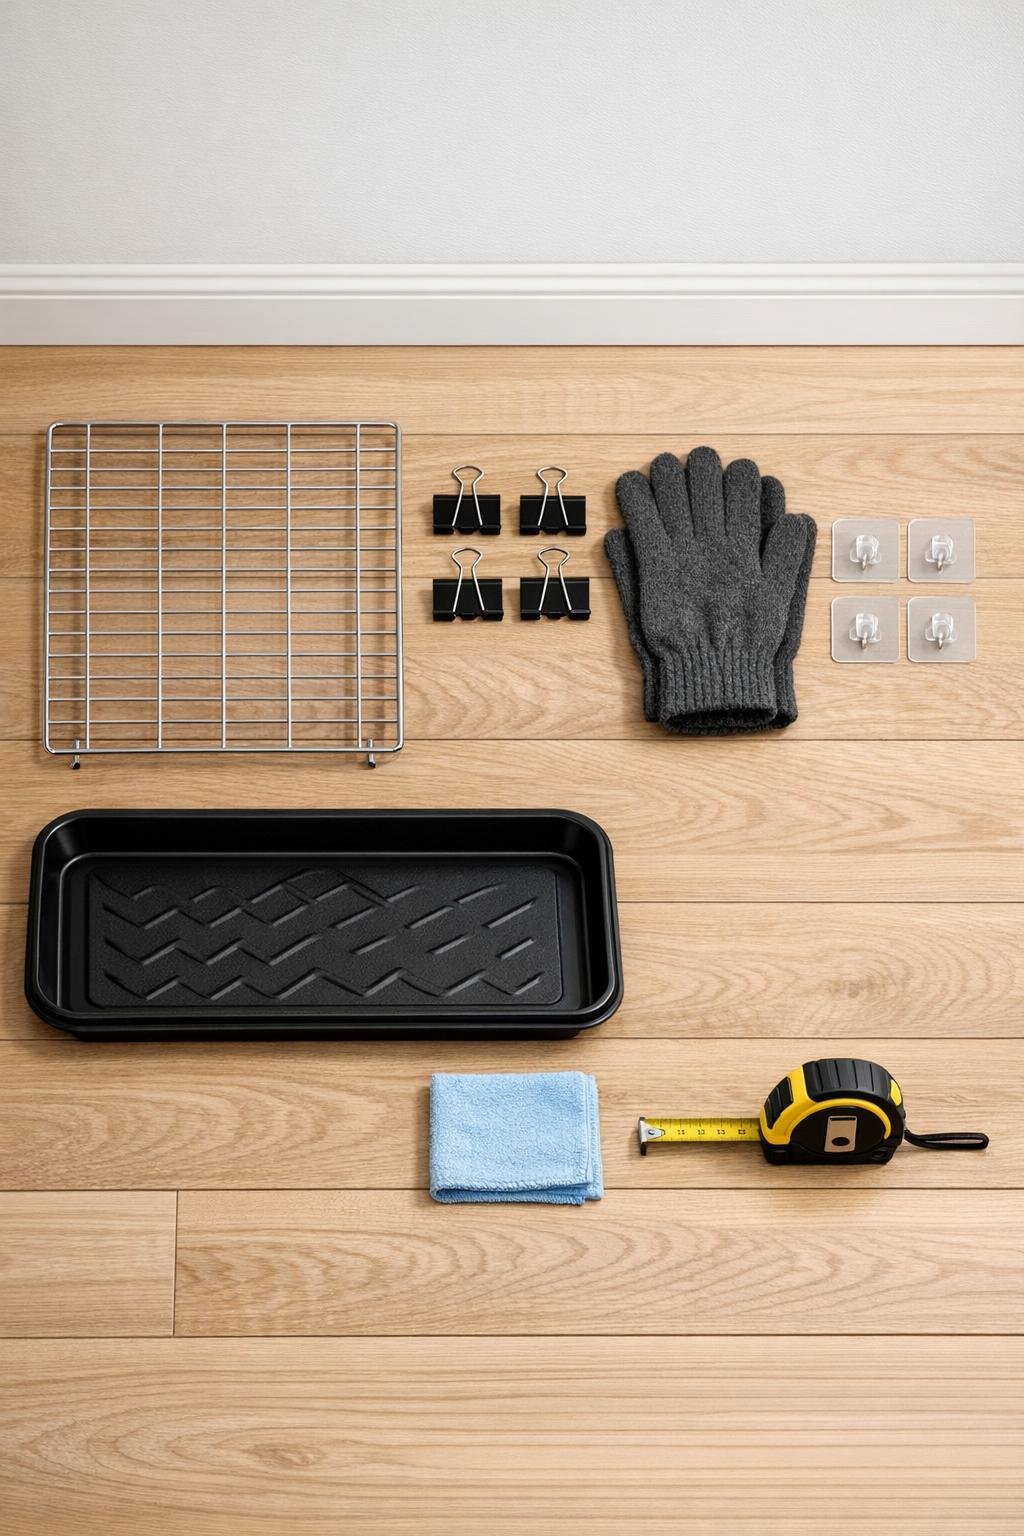
Materials
Instructions
1. Wipe the hallway wall area and baseboard where the drying station will hang, and dry it with the microfiber cloth so the adhesive hooks will grip well.
2. Set the boot tray on the floor against the wall where you want the station, choosing a spot close to the door but clear of foot traffic.
3. Measure the width of the cooling rack and mark mentally where the two adhesive hooks should go so they support the rack evenly near its upper corners.
4. Press the removable adhesive hooks onto the wall according to the package directions, positioning them just above the boot tray so hanging gloves will drip into the tray instead of onto the floor.
5. Hang the chrome cooling rack on the hooks in a vertical position, making sure it sits level and feels stable before you add anything to it.
6. Clip the 12 black binder clips along the horizontal bars of the rack, spacing them about 1 to 1 1/2 inches apart so each pair of gloves has room for air circulation.
7. Open each glove fully with your hand before hanging it, smoothing the fingers and cuff so trapped moisture can escape more quickly.
8. Clip one glove per binder clip by the cuff or lower edge, letting the fingers point downward so water can drain naturally and the gloves keep their shape.
9. Alternate left and right gloves across the rack to prevent bunching, and leave a little space between bulky pairs so the station stays neat and dries efficiently.
10. Place heavier gloves on the lower half of the rack and lighter knit gloves on the upper half if needed, which helps the rack stay balanced and easy to access.
11. Empty or wipe the boot tray as needed, and rotate extra-wet gloves halfway through drying so the clip points do not hold moisture in one spot.
12. When the gloves are dry, leave the binder clips on the rack so the station is always ready for the next snowy afternoon or rainy commute.
Variations & Tips
For more capacity: Use a larger cooling rack, around 12 x 17 inches, and increase to 16 binder clips so you can hang mittens, kids' gloves, and even knit hats in one zone.
For delicate gloves: Clip the gloves over the cuff seam rather than the body of the fabric to avoid leaving marks on softer wool or fine knits.
For faster drying: Leave the station near moving air, but not directly against a heat vent; gentle airflow dries gloves more evenly than intense heat, which can stiffen some fibers.
For renters: Removable adhesive hooks are my first choice because they avoid holes, but test the wall finish first and follow the cure time on the package before loading the rack.
For a tidier look: Match the binder clip color to your hallway hardware; black looks crisp and practical, while white or metallic clips can blend more quietly into pale walls.
For everyday upkeep: Once a week, wipe the rack and clips with a damp cloth so dried salt, grit, and lint do not build up in the entryway.