
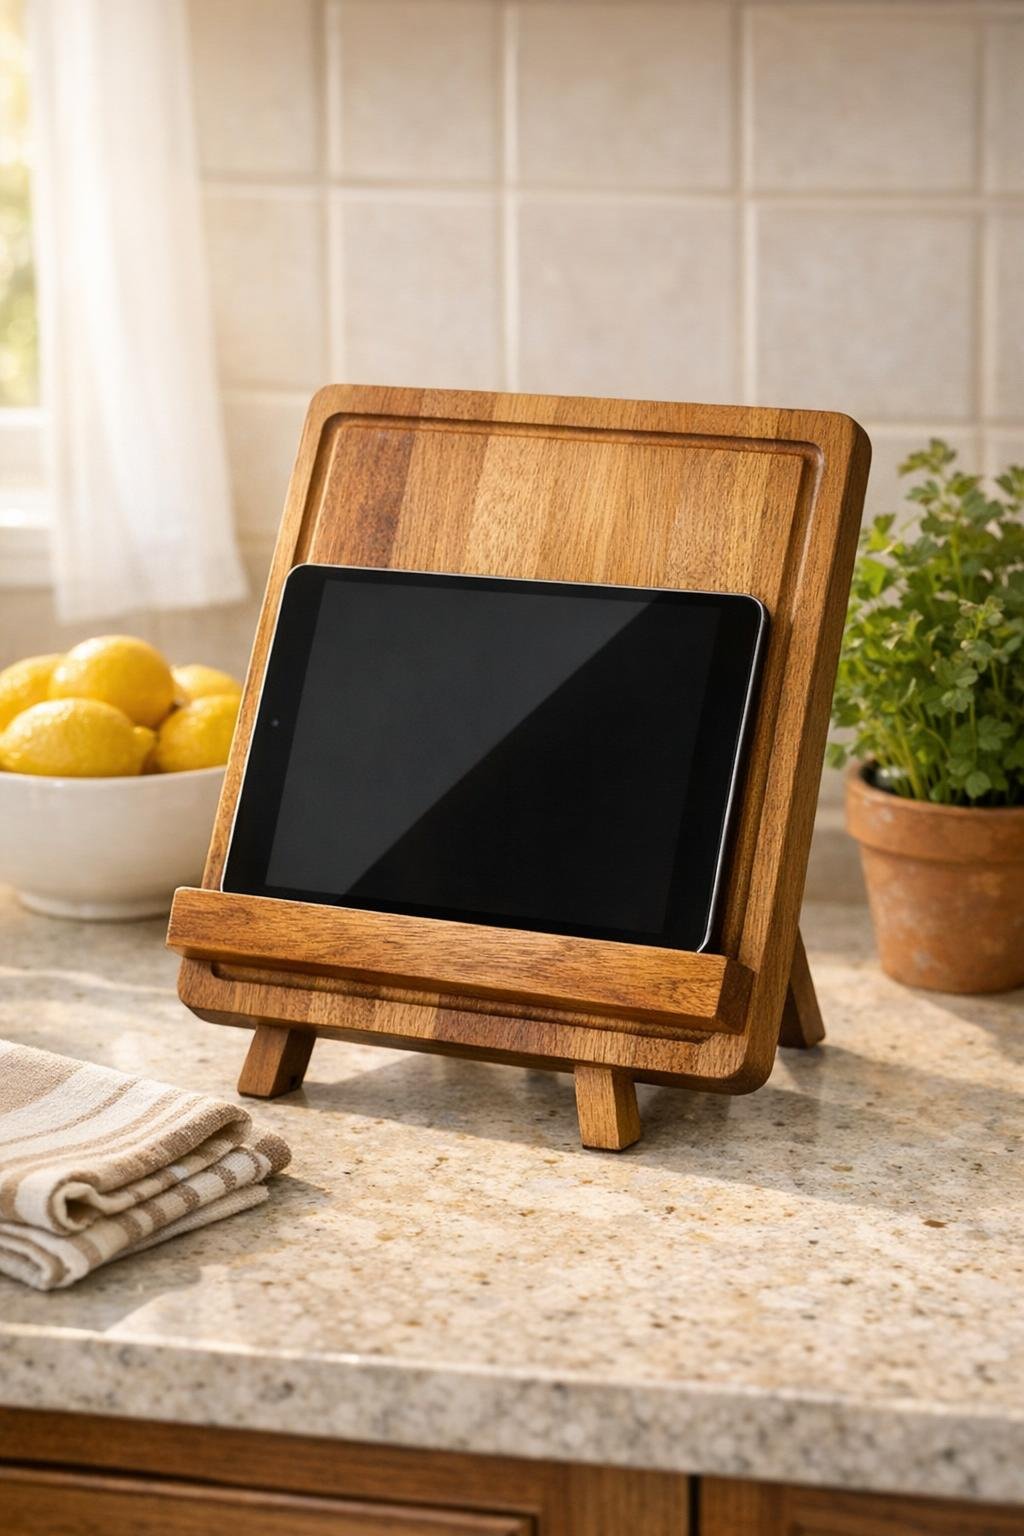
This little kitchen hack is one of those projects I love because it solves a real problem without turning into an all-day craft session. You’re making a simple tablet stand by using the groove in a wooden cutting board and supporting the board on a small easel, which gives you an easy-to-read recipe screen while you cook. It looks neat on the counter, keeps your tablet upright, and takes just a few small tweaks to make it feel intentional instead of improvised.
As someone who is usually juggling dinner, dishes, and checking a recipe with messy hands, I appreciate anything that makes my kitchen run smoother. This is perfect if you want a practical DIY that feels polished, works in a real kitchen, and can be finished in one evening with beginner-friendly supplies.
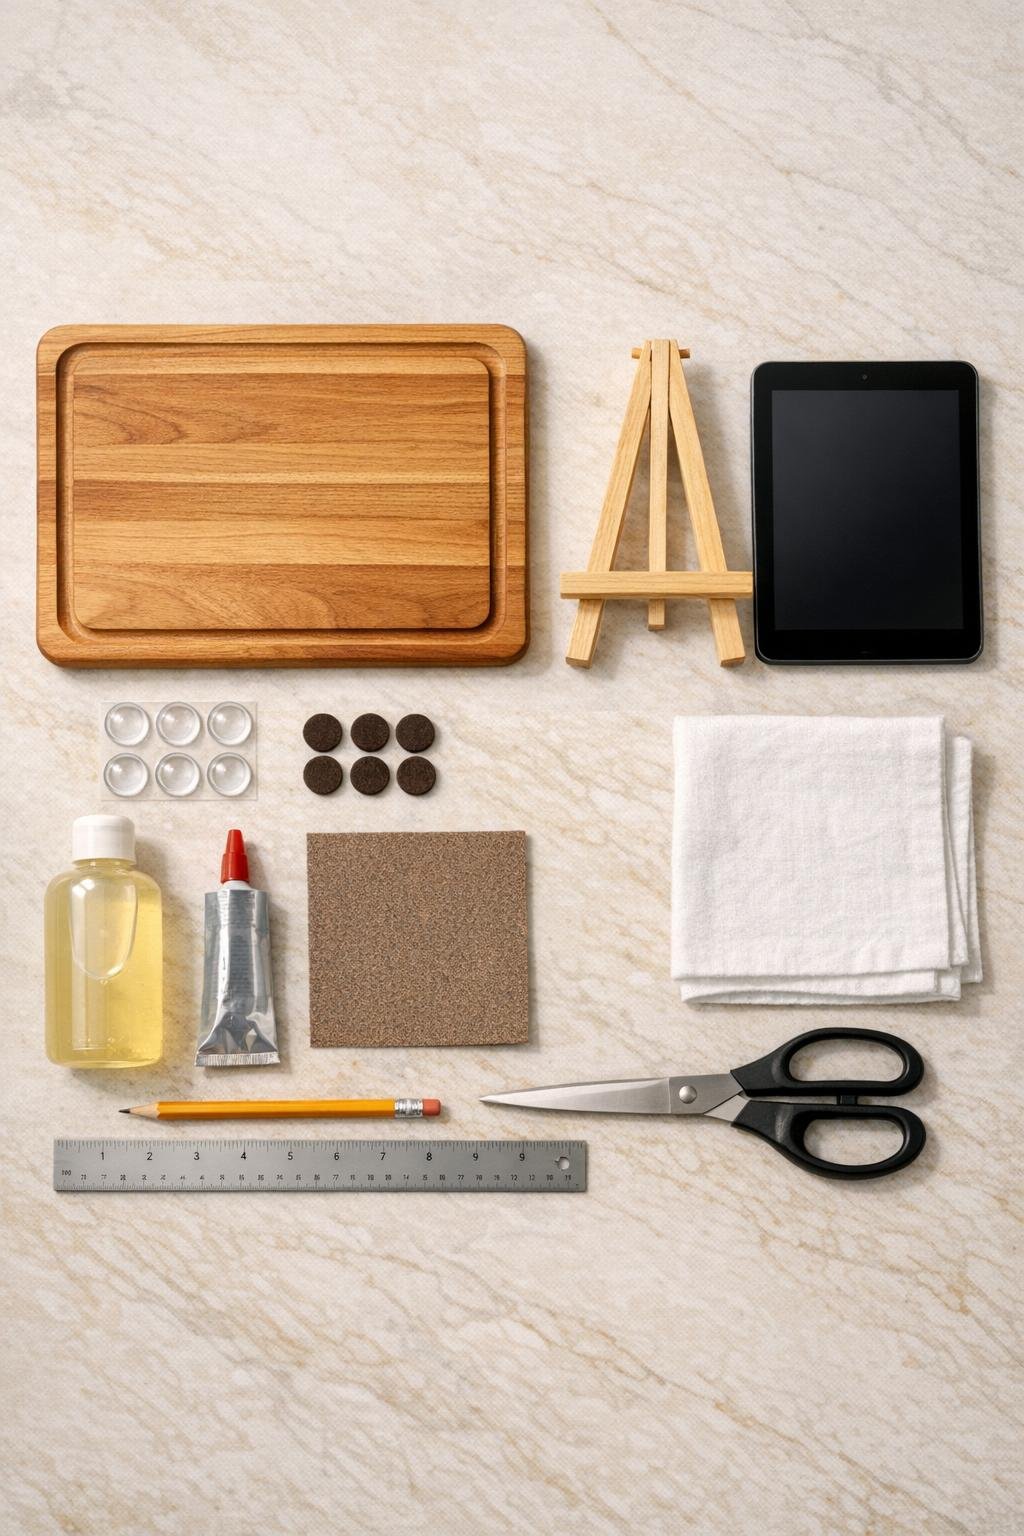
Materials
Instructions
1. Set the cutting board on your counter with the groove facing up, then place your tablet into the groove to confirm it sits securely and at a readable angle once the board is tilted.
2. Open the small easel and adjust its back leg until the cutting board rests at a comfortable viewing angle, usually slightly leaned back so the tablet feels stable and easy to see while standing at the counter.
3. Lightly sand any rough edges on the cutting board and the easel, especially spots your hands will touch, then wipe away the dust with a dry cloth.
4. Rub a thin coat of food-safe mineral oil or board cream over the cutting board, let it soak in for 10 minutes, and buff off the extra so the wood looks richer and is better protected from kitchen moisture.
5. Add felt pads to the lower back corners of the cutting board where it touches the easel, which helps prevent scratching and keeps the board from shifting around.
6. Place two clear rubber bumpers on the front lower area of the board, just above the groove and spaced to match your tablet, so the tablet rests against something soft instead of sliding directly on the wood.
7. If your easel feels slippery on the countertop, glue two felt pads or rubber bumpers to the bottom feet of the easel and let the glue cure according to the package directions.
8. Set the cutting board back on the easel and test the fit again with the tablet in the groove, adjusting the easel angle so the screen is upright enough for reading but still supported by gravity.
9. Check that the tablet’s charging port and side buttons stay accessible, then shift the bumper placement slightly if needed so nothing blocks your cable or presses on the controls.
10. Once everything fits well, style it for daily use by keeping the board and easel together on a clean stretch of counter where splatters are minimal but the screen is still easy to see from your prep spot.
Variations & Tips
Use what you have: If your cutting board already has a deep groove and your easel is sturdy, you may only need the felt pads and bumpers to make this work well.
Best board size: I like a medium board around 10 x 14 inches because it feels substantial enough to hold a tablet without looking bulky on the counter.
Choose the right angle: Test the stand where you actually cook, because an angle that looks good sitting down can feel too low once you’re standing over the stove or island.
Keep it kitchen-friendly: A quick coat of board oil makes a big difference, especially if this will live near the sink or get wiped down often after dinner prep.
Add a non-slip upgrade: If your countertop is slick quartz or polished granite, extra rubber bumpers under the easel feet make the whole setup feel much more secure.
Make cleanup easier: I keep this stand just far enough from the prep zone that I can glance at a recipe without splattering oil or sauce onto the screen every five minutes.