
I save all kinds of odds and ends because I’m always convinced they can become something prettier than they started. This project is one of those ideas that feels a little strange at first, but once it comes together, it has that soft glow and beachy color-washed look that makes people stop and ask where you bought it. If you’ve been collecting empty pill bottles or have access to a bunch from family members after removing labels and cleaning them well, this is a wonderfully budget-friendly way to turn them into something decorative and genuinely eye-catching.
I also love that this is the kind of project you can tackle in stages after work or on a quiet weekend afternoon. The individual steps are simple, repetitive, and honestly a little relaxing, but the finished piece looks much more elaborate than the effort suggests. If you like upcycling, soft lighting, and projects that make use of everyday materials in a fresh way, this one is especially satisfying.
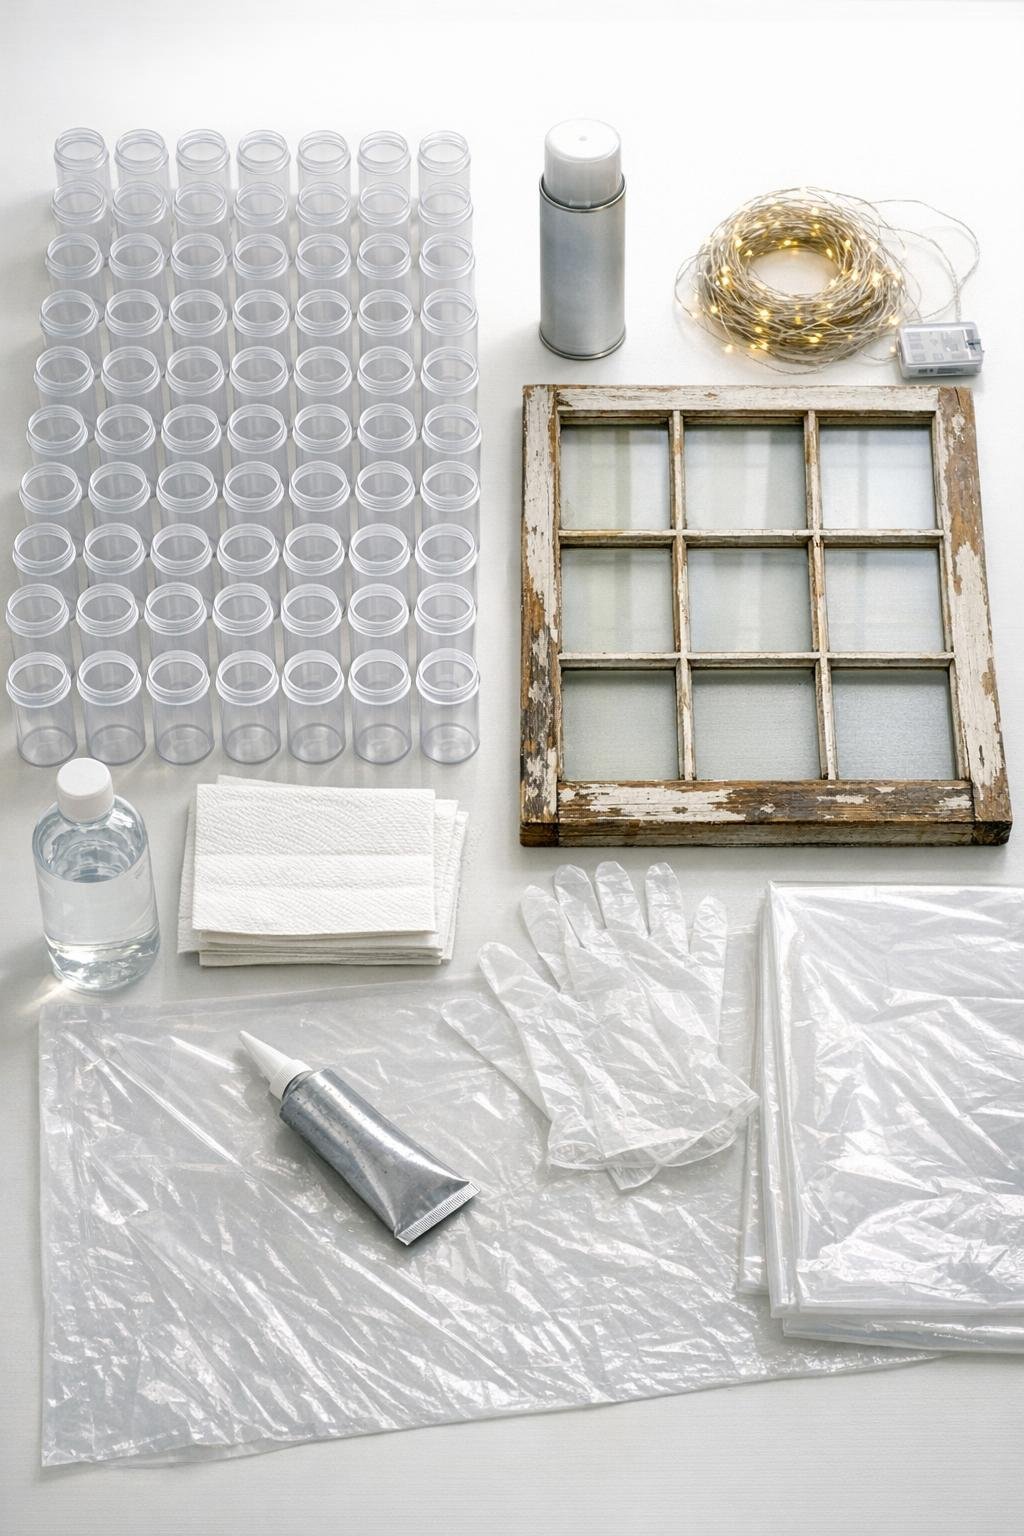
Materials
60 empty clear plastic pill bottles, washed, dried, and labels removed
Instructions
1. Wash all 60 pill bottles in warm soapy water, remove every label and sticky spot, and let them dry completely. Wipe each bottle with rubbing alcohol so the frosted finish goes on evenly.
2. Set the bottles upside down on a drop cloth or cardboard, leaving a little space between each one. If the plastic feels extra slick, lightly scuff the outside with a fine sanding sponge and wipe away the dust.
3. Spray the bottles with a light first coat of frosted glass paint, using smooth side-to-side passes from about 8 to 10 inches away. Let them dry for the time listed on the can, then rotate and apply a second coat for an even sea-glass look.
4. Inspect the dried bottles and add a third light coat anywhere that still looks patchy or too clear. The goal is a soft, diffused finish that still lets light pass through.
5. Clean the old window frame thoroughly and make sure it is dry and sturdy. If needed, scrape off loose debris and wipe the frame so the adhesive will grip well.
6. Lay the window frame flat and begin arranging the frosted bottles behind the openings, placing them tightly side by side like little glowing panes. Mix bottle heights and cap-end directions slightly if needed so the layout looks full and balanced across the whole frame.
7. Working one section at a time, run clear adhesive along the sides of the bottles where they touch each other and where the outer bottles meet the back edges of the frame. Press gently and hold for a few seconds so each cluster stays snug and upright.
8. Continue gluing until all the openings are filled and the entire back of the window feels solid as one panel. Let the adhesive cure fully according to the package directions before moving it.
9. Flip the piece carefully and check the front view for gaps or uneven spots. If you see open spaces, glue an extra bottle into the back where it will add coverage and help the window read as full and luminous.
10. Turn the window back over and drape the fairy light curtain across the back of the bottle panel so the strands spread evenly from side to side. Tuck the light strands into the shallow channels between bottles and secure them with a few glue dots or bits of clear tape if needed.
11. Hide the battery pack along the back edge of the frame where it is easy to reach but not obvious from the front. Test the lights and shift any strands so the glow looks evenly distributed across the whole piece.
12. Add a simple ribbon or jute accent at the top if you want a softer finished look, then hang or lean the window where the lights can glow safely. Turn it on at dusk to get that diffused, sea-glass effect that makes the whole project come alive.
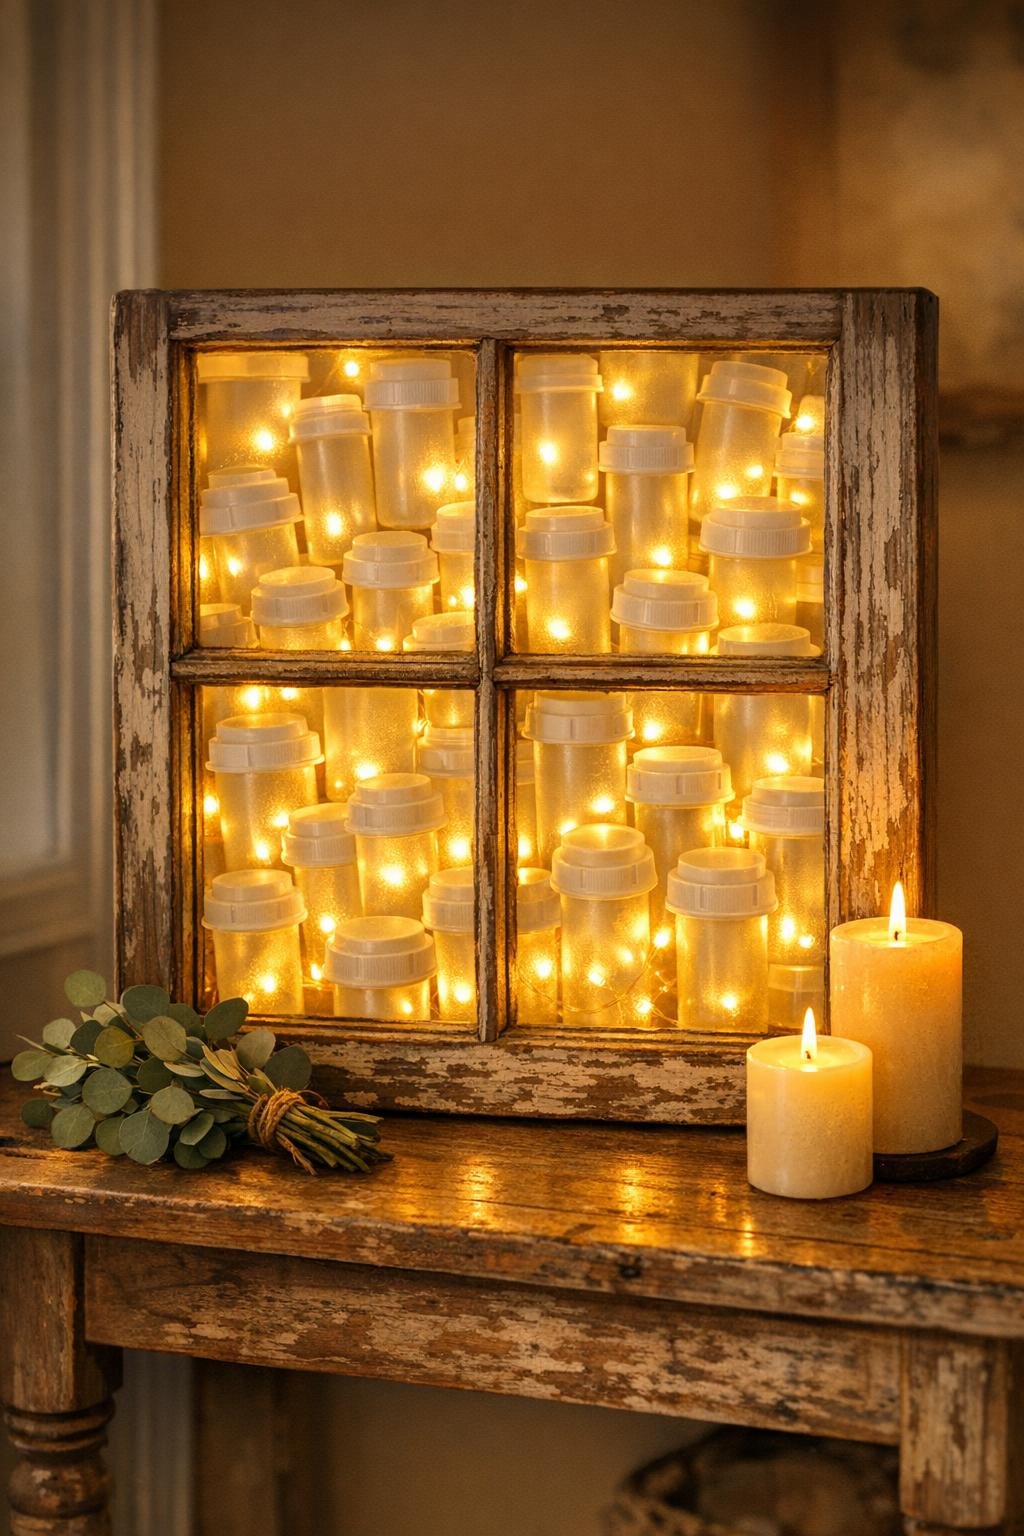
Variations & Tips
Color shift: If you want more of a true sea-glass palette, lightly mist a few bottles with very pale aqua or soft green translucent spray after the frosting dries. Keep it subtle so the panel still looks airy and glowy instead of heavy.
Best bottle mix: I like using mostly matching prescription bottles for the cleanest grid, but a small mix of sizes actually adds a more organic, tumbled-glass look. Just distribute the different sizes evenly so one corner doesn’t look bulky.
Adhesive choice: Use a clear adhesive that bonds both plastic and wood and dries transparent. Hot glue is tempting because it’s quick, but on slick bottles it usually isn’t the strongest long-term option for a larger piece.
Cleaning tip: Any leftover label residue will show through the frosting, so take your time with this part. I usually soak stubborn bottles a little longer than I think I need to, because it saves frustration later.
Display idea: This looks especially pretty on a mantel, entry console, enclosed porch, or hallway table where the soft light can bounce off nearby walls. I’d avoid a damp outdoor spot unless the frame and lights are specifically rated for it.
Make it fuller: If your window frame has deep openings, build the bottle layer tightly enough that there are almost no empty peeks from the front. The denser the layout, the more expensive and polished the final glow looks.
Easy storage: If you decorate seasonally like I do with half a closet dedicated to “future me’s good ideas,” wrap the front in an old towel and store it upright in a low-traffic spot. That keeps the frosted finish from getting scuffed between uses.