
There’s something in me that just can’t throw away a sturdy old holiday piece if the bones are still good. Around here, I’ve saved faded garland, bent wire forms, and more than one tired artificial wreath because I knew there was still a little life left in them. This project is one of my favorite examples of making something striking from what plenty of folks would send straight to the trash pile.
If you’ve got a pair of old fake wreaths and just a few basic supplies, you can turn them into a bold outdoor decoration that looks far fancier than the effort involved. It’s a good project for anyone who wants a big seasonal statement on the porch without wrestling with lumber, special tools, or a trip to an expensive garden center.
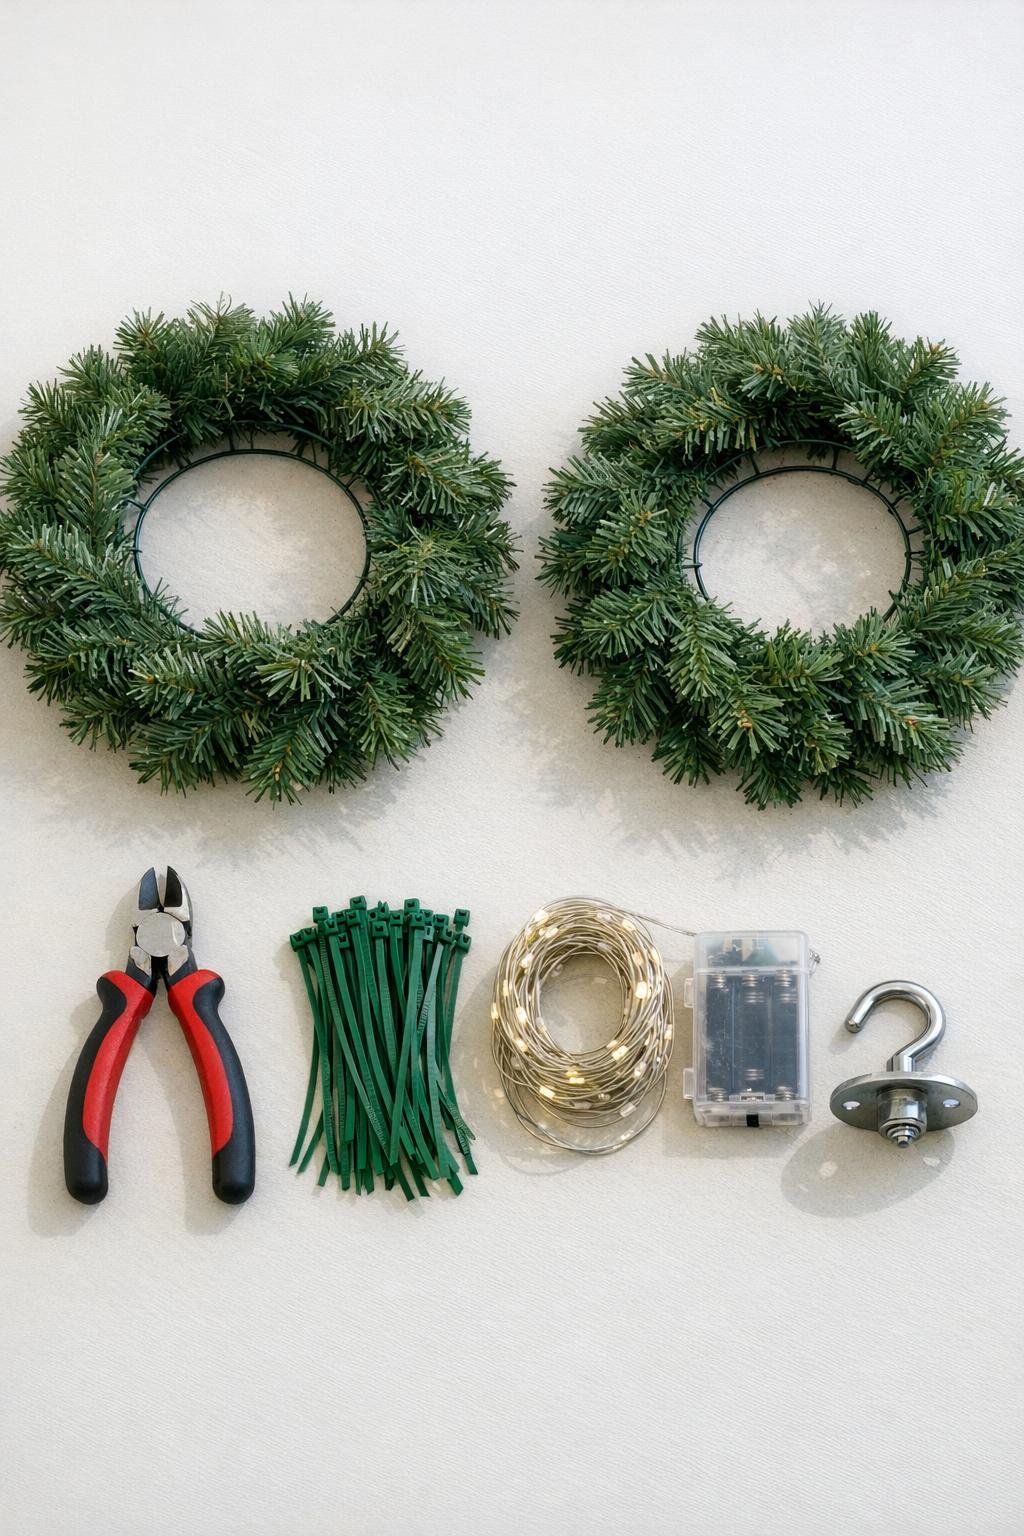
Materials
Instructions
1. Set the two old wreaths face to face and check that they are close in size and fullness. Snip away any broken plastic tips or dangling bits so the finished shape looks tidy instead of scraggly.
2. Fluff both wreaths with your hands, pulling the branches outward and slightly sideways to restore volume. I like to take my time here, because even an older wreath can look surprisingly rich once the needles are opened up again.
3. Rotate the wreaths so the fullest sections balance each other, then slide one into the other at a right angle until the wire frames overlap and begin forming a round ball shape. Adjust the branches as you go so the opening in the middle disappears behind the greenery.
4. Fasten the wreaths together where the wire frames cross, using 4 zip ties spaced evenly around the orb. Pull each tie tight, then trim the tails with wire cutters so they tuck neatly into the greenery.
5. Turn the orb and add 4 more zip ties anywhere the form feels loose or uneven. The goal is a firm, round structure that holds together when lifted from the top.
6. If any sections look flat, bend the wire frame gently and pull neighboring branches across the gap. Use a short piece of floral wire only if needed to hold a stubborn branch in place.
7. Start wrapping the string lights around the orb, beginning near the spot where you want the top to hang. Weave the lights in and out of the branches in several directions so the glow reaches all sides instead of circling only the outside edge.
8. Tuck the wire of the light strand deep into the greenery every few inches to hide it and keep it from slipping. Leave the battery pack near the top so it stays easy to reach when you need to switch the lights on.
9. Secure the battery pack to the top frame with the extra zip tie, then cover it with a weather cover or a small plastic bag if the orb will hang in a protected but drafty porch area. Keep the switch accessible and make sure nothing pulls against the light wire.
10. Choose the strongest point at the top of the orb and test-lift it gently with your hand to be sure the zip ties are holding. If it shifts, add another tie before hanging.
11. Install the ceiling hook into a solid overhead surface on the porch, then hang the orb from the top wire frame or from a sturdy built-in hanging loop if your wreath frames have one. Turn the fullest side forward and give the branches one last fluff once it’s in place.
12. Switch on the lights at dusk and step back to check the overall shape. Tuck or fan out any branches that block the glow too much, and you’re done.
Variations & Tips
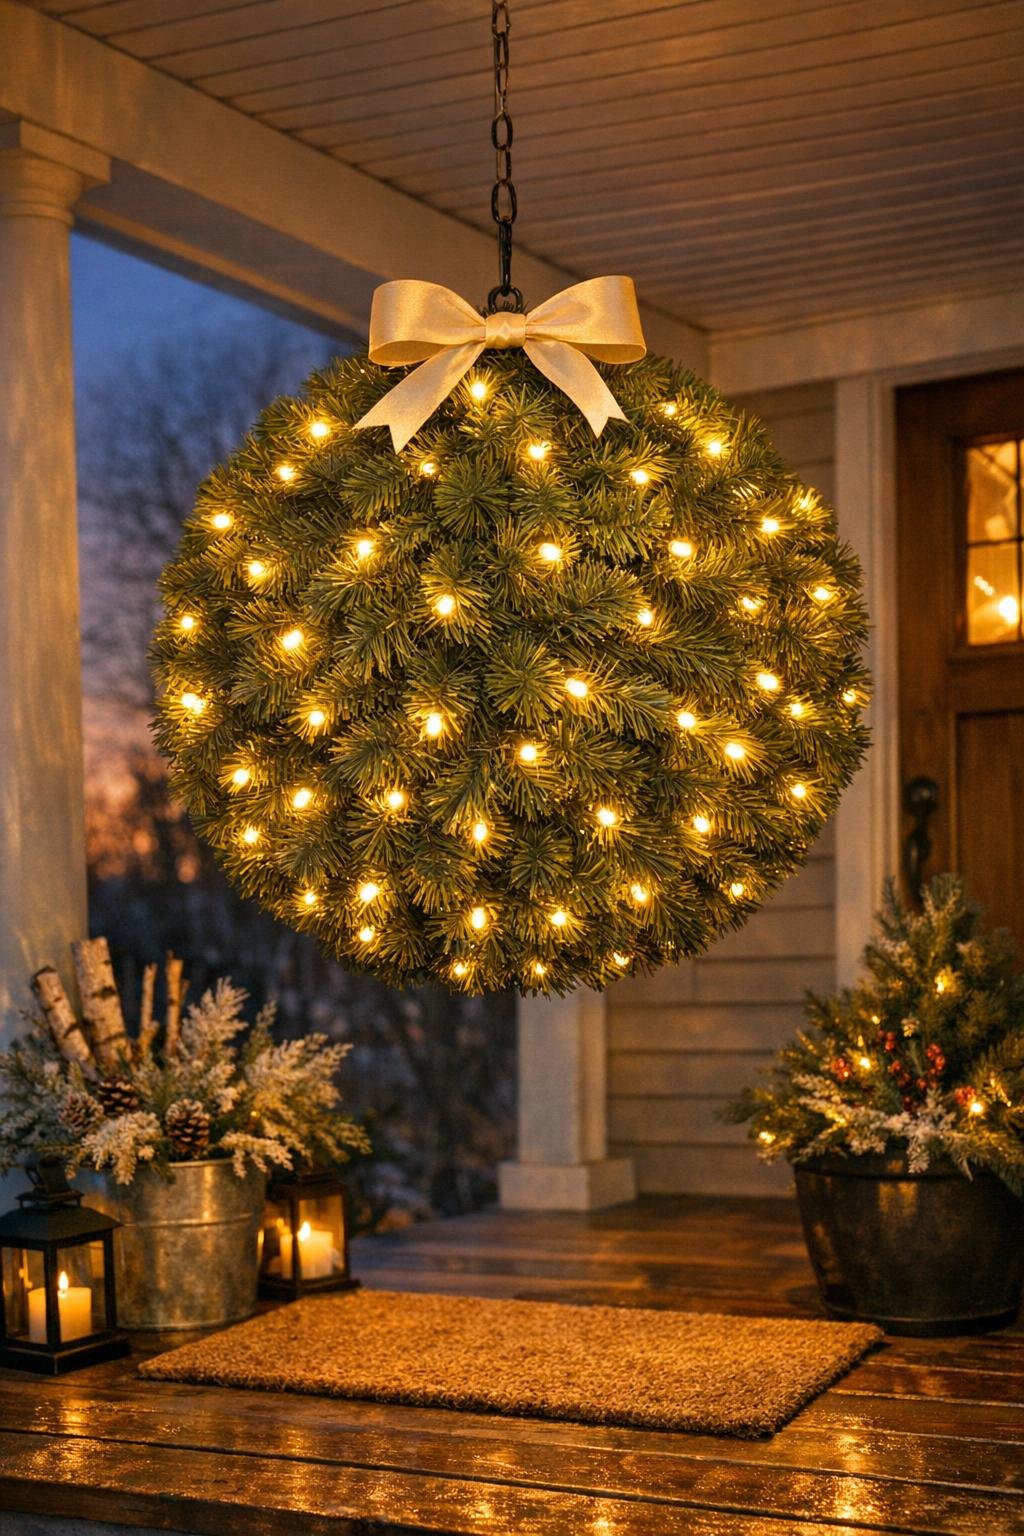
Add a bow: If you want a dressier look, tie on a generous weather-friendly ribbon bow at the top after hanging. I prefer a deep red, soft gold, or burlap-style ribbon because it gives that old-fashioned front porch charm without fighting the greenery.
Use mixed greenery: If your wreaths are thin in places, tuck in a few clipped stems from leftover faux pine, cedar, or eucalyptus picks before adding lights. That gives the orb a fuller, layered look and helps disguise any worn spots.
Keep it balanced: When I make round decorations like this, I always walk around them once or twice instead of judging from one side only. A shape that looks perfect from the front can still need a little fluffing on the back or bottom.
Make it bigger: For a more dramatic porch display, start with larger wreaths or wire together extra loose evergreen picks around the middle seam. As long as you keep the sphere even and secure, a fuller orb looks especially handsome in a tall entryway.
Protect the lights: Battery lights are easiest for this project, but choose an outdoor-rated set if the porch gets damp air or blowing weather. I also like to check the batteries every week or so during the season, because a strong warm glow makes the whole piece feel special.
Hang in pairs: Two matching orbs flanking a front door make a porch look wonderfully finished. It reminds me of the kind of simple but generous holiday decorating that always made a farmhouse feel welcoming before you ever stepped inside.