
I love a thrift-store find that looks a little odd at first and then turns out to be wildly useful, and this is exactly that kind of project. We’re taking a vintage oven rack, cleaning it up, and crocheting chunky mustard yarn straight through the wire grid to turn it into a sturdy storage basket with real structure built in. The metal frame does the heavy lifting, so you get the charm of crochet without the usual floppy sides.
If you can manage basic crochet motions and don’t mind working a little freestyle through a grid, this is a very approachable make. I especially like it for people who want a one-of-a-kind basket for blankets, kitchen linens, yarn, or pantry odds and ends, because the finished piece has that warm handmade feel while still being strong enough to actually use every day.
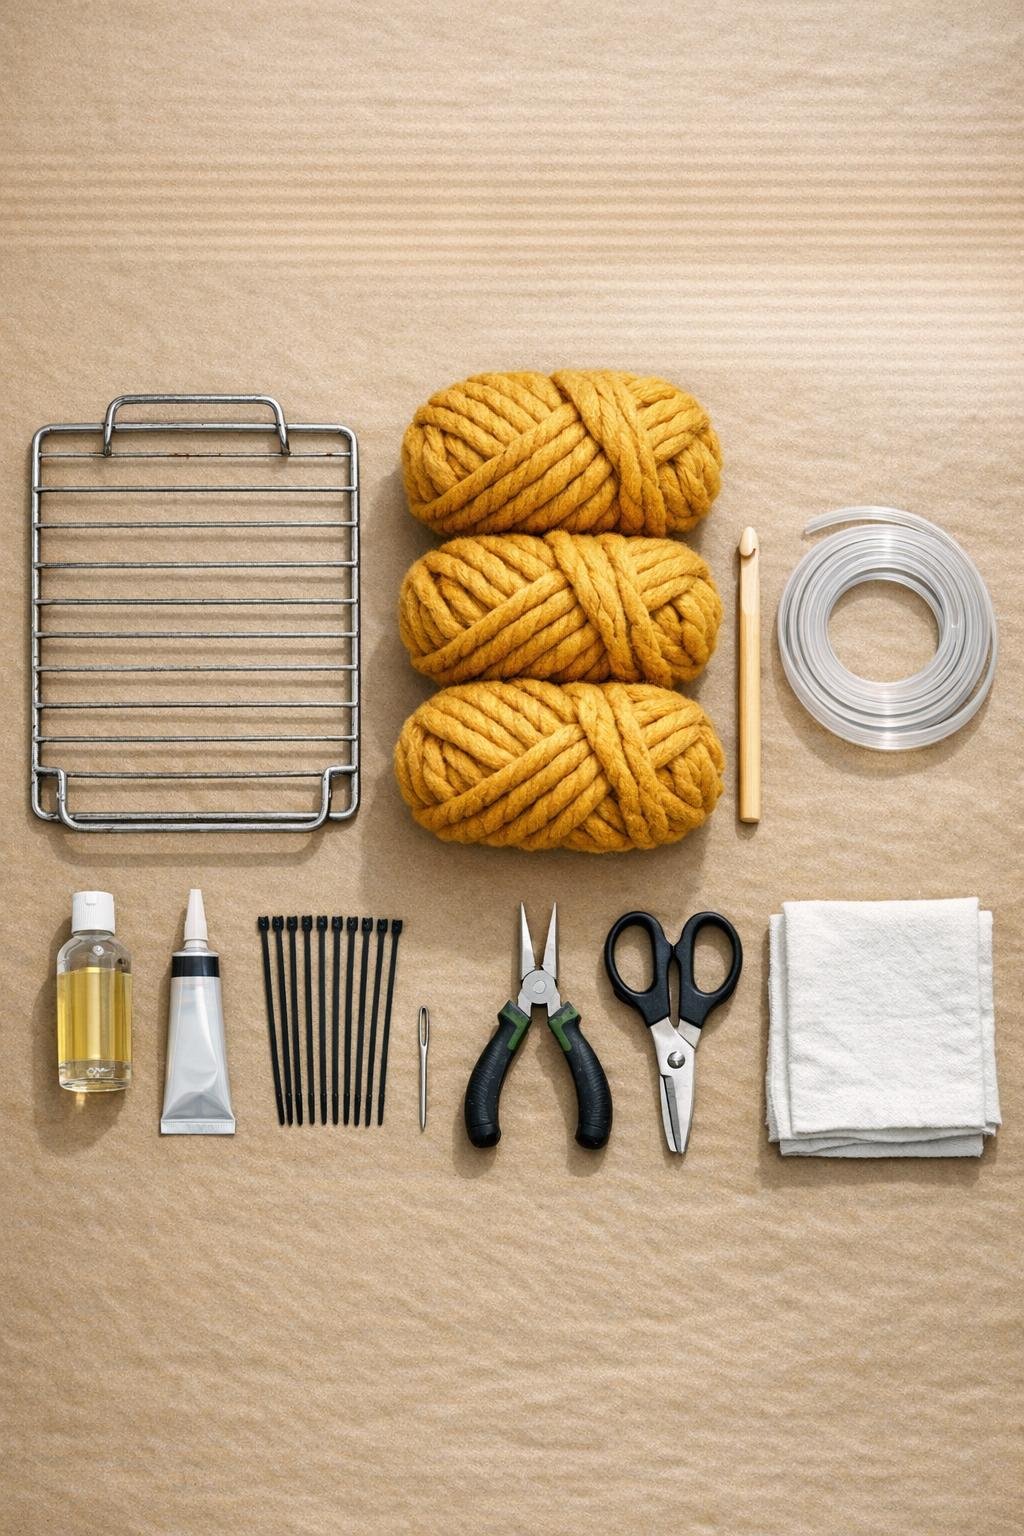
Materials
Instructions
1. Scrub the oven rack thoroughly with metal cleaner, then dry it completely so the yarn won’t pick up grease or grit. Check every edge and bend back any sharp points with needle-nose pliers.
2. Cut the rubber edge trim to fit around the full outer rim of the rack and press it on firmly, adding tiny dots of craft adhesive at the corners if needed. This softens the frame and keeps the yarn from rubbing against bare metal.
3. Lay the rack horizontally and choose the smoother side to become the inside bottom of the basket. Starting at one short end, tie the yarn securely to a corner bar and weave a foundation pass over and under the first row of the grid, pulling it snug but not tight.
4. Use your crochet hook to work single crochet stitches through each grid opening across the width, wrapping around each wire intersection to anchor the yarn in place. Continue row by row until the entire center panel is densely covered and the silver grid shows only in small glimpses between stitches.
5. When the flat base is covered, fold up the two long sides of the rack about 4 to 5 inches to form the basket walls, using the existing bends if the rack has them or gently shaping the sides upward by hand. Keep the bottom broad and level so the basket sits solidly.
6. Fasten each lifted side at the corners with 2 zip ties per corner, cinching them tightly and trimming the tails close. Add a small dab of adhesive over each trimmed tie end if you want an extra smooth finish.
7. Rejoin the yarn at one corner and crochet through the side grids, working horizontally around the basket and looping through each square opening. Pack the stitches closely so the walls look thick and cushioned, and continue until all four sides are fully covered.
8. Add a second pass around the top edge by working slip stitches or single crochet around the rim, enclosing the edge trim and any visible tie points. This gives the basket a finished lip and makes it more comfortable to handle.
9. For handles, choose the center of each short side and crochet 10 to 12 chain stitches, then anchor the chain back into the rim 4 inches away. Work back across each chain with single crochet once or twice to build sturdy padded handles.
10. Weave in all yarn ends with the yarn needle, tuck any loose spots around the corners, and shape the basket with your hands so the sides stand evenly. Let any adhesive cure fully before filling the basket with blankets, towels, or yarn.
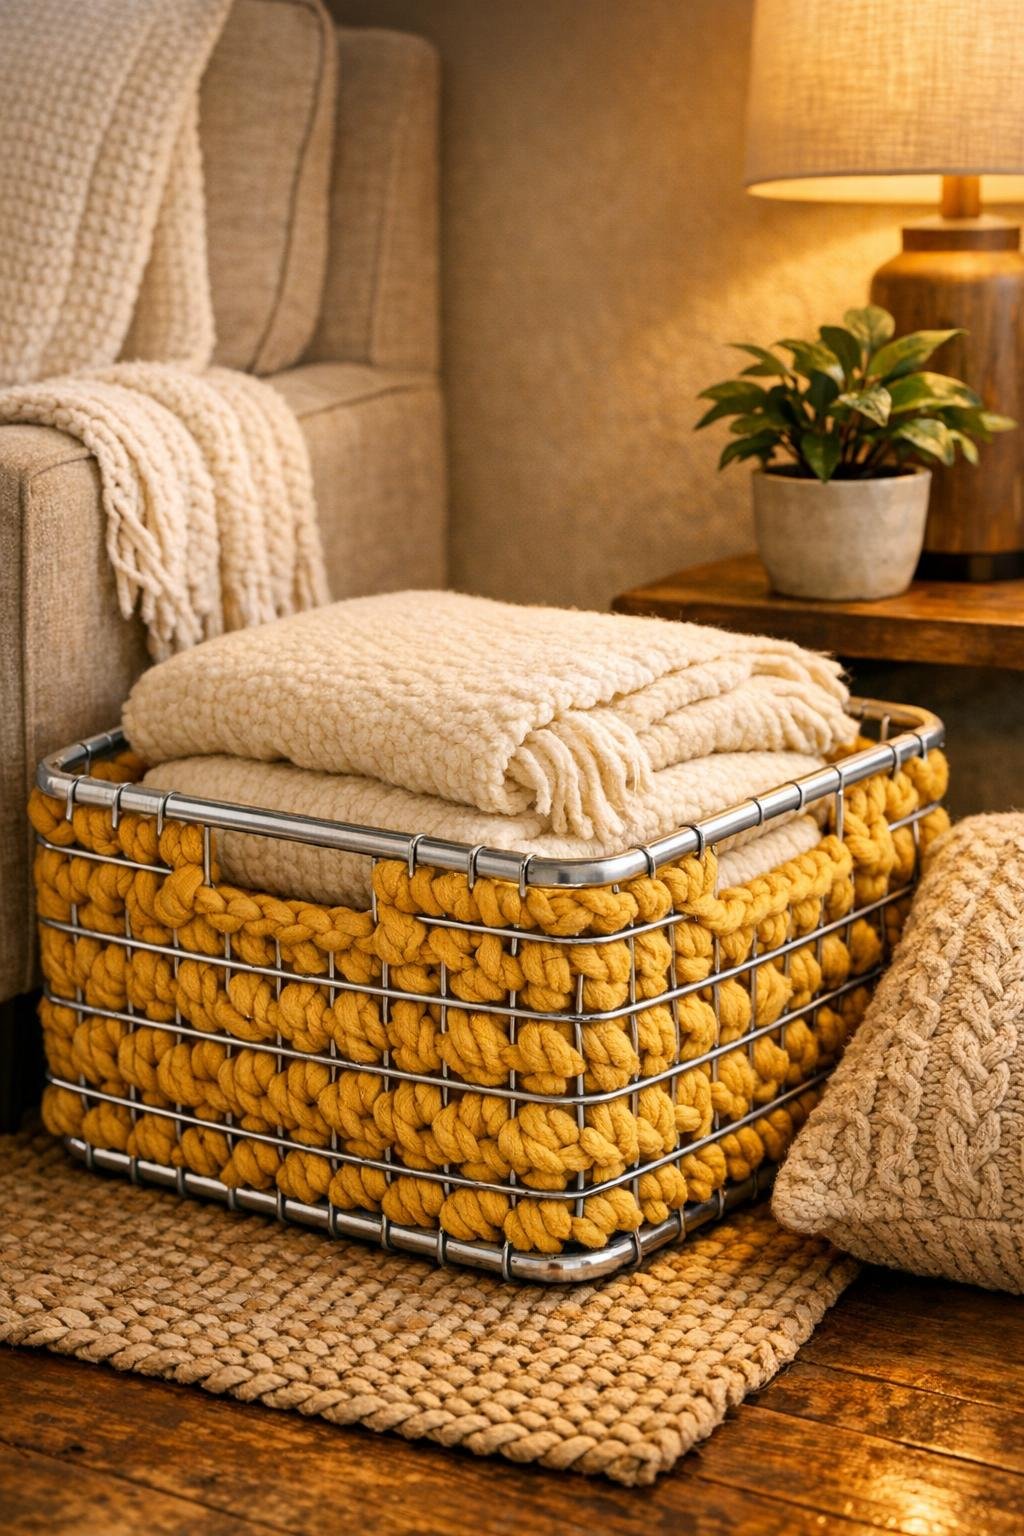
Variations & Tips
For a neater look: Use the same stitch direction on every side and keep your tension consistent. I find chunky yarn forgives a lot, but even this project looks more polished when the rows line up cleanly at the corners.
If your rack is larger: Buy a fourth skein of yarn before you start. A bigger rack makes a fantastic throw blanket basket, but it eats up yarn quickly once you cover both the base and the walls densely.
Color choice: Mustard is wonderful with vintage metal because it makes the silver look intentional and warm, but rust, olive, cream, or charcoal also work beautifully. In my kitchen, I’d be tempted by a deep paprika shade because it feels cozy without looking too sweet.
For extra softness: Thread a strip of quilt batting or fleece around the top rim under the final round of crochet. It gives the edge a plumper finish and helps the basket feel less industrial in the hand.
Best uses: This style is ideal for dry goods like linens, yarn, paper goods, or mail. I would skip direct food storage unless you add a washable fabric liner, since thrifted metal is charming but not something I treat like a food-safe surface.
Make a liner: If you sew, add a simple rectangle-and-box-corner fabric liner sized to the inside of the basket. It’s an easy upgrade that keeps smaller items from poking through the grid and makes the whole project feel even more finished.