
There’s something about peppermint candies on a winter baking sheet that takes me straight back to church basements, school Christmas programs, and those old metal tins that rattled in my mother’s pantry every December. This project turns those simple little mints into something far more special, and it does it with a handful of everyday supplies and a very forgiving process.
If you like holiday crafts that feel a little bit homemade and a little bit magical, this one is for you. It’s especially nice for folks who enjoy easy seasonal decorating but still want a finished piece that looks thoughtful and full once it’s displayed. The best part is that the hard work is really just arranging and layering; the oven does the rest.
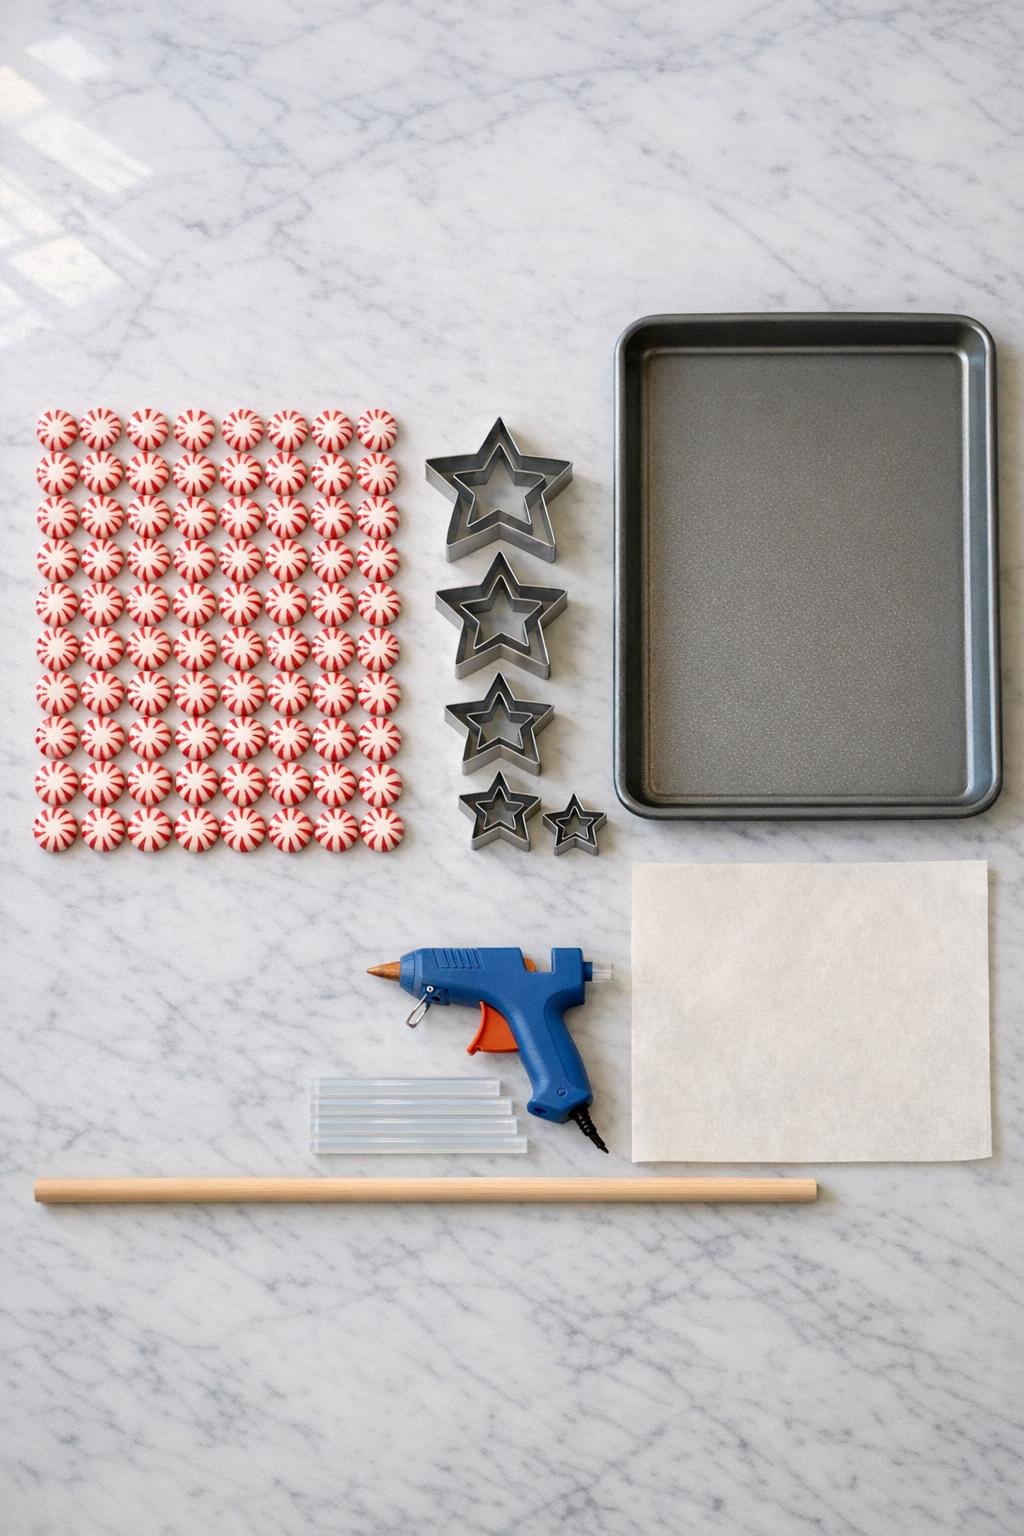
Materials
Instructions
1. Line the baking sheet with parchment paper and arrange the 7 star cookie cutters on top, leaving a little room between each one so the melted candy doesn’t touch. Set the largest stars toward the back and the smallest toward the front so everything fits comfortably.
2. Fill each cookie cutter with a single layer of unwrapped peppermint candies, packing them snugly right to the points of the stars. Use about 10 candies for the 2-inch star, then increase as needed until all 7 cutters hold roughly 120 candies total.
3. Bake at 350°F for 6 to 9 minutes, just until the candies melt together into smooth glassy stars. Watch closely during the last 2 minutes, because peppermint can go from pretty to overdone in a hurry, and you want the red swirls still bright.
4. Remove the tray and let the stars cool completely on the parchment without touching them. If any point looks thin, warm that star for 1 extra minute while it is still in the cutter, then cool it again.
5. Once the candy is fully cool and firm, gently press each star out of its cutter. Run a thin offset spatula or butter knife around the inside edge only if needed, working slowly so the points stay intact.
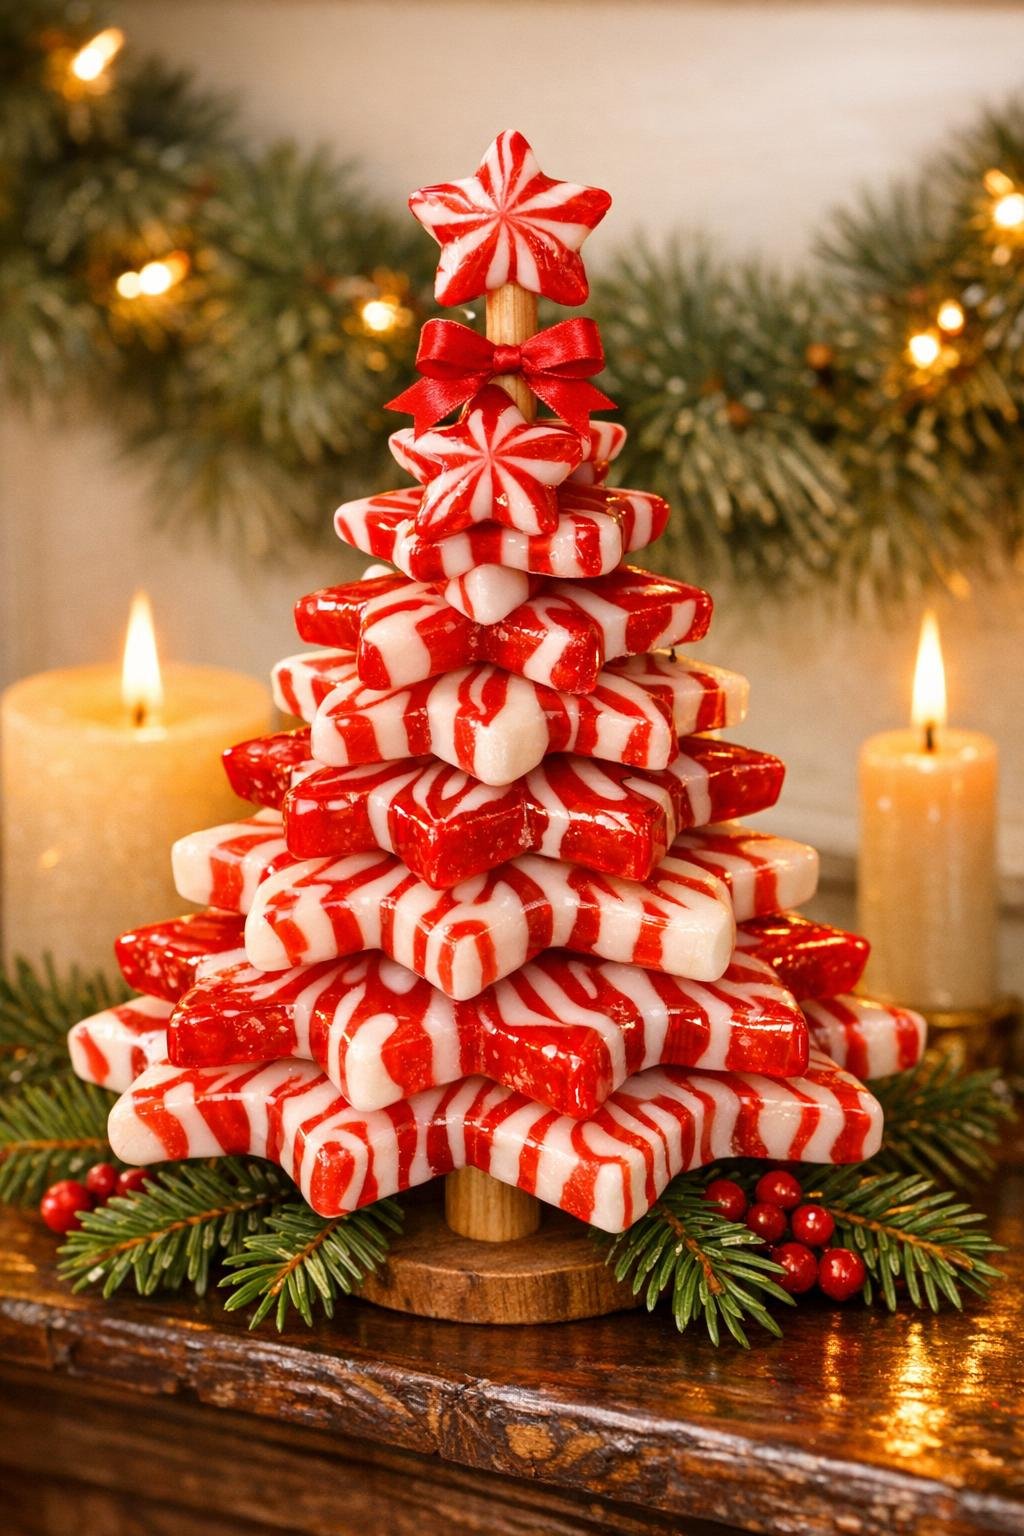
6. Lay the wooden dowel flat and arrange the stars from largest to smallest to find the prettiest tree shape before gluing. I like to overlap them just a bit so each star shows clearly while still making a full layered silhouette.
7. Hot glue the largest star to the lower end of the dowel first, then stack the remaining stars upward in size order, slightly rotating each one so the points spread out like branches. Hold each star in place for a few seconds until the glue sets before adding the next.
8. Add the smallest star at the top as the finishing point, then let the whole piece rest flat for 10 minutes so the glue hardens completely. If you want a little extra polish, tie a narrow ribbon bow around the dowel near the base or just under the top star.
9. For a decorative finish, dust on a tiny pinch of clear glitter while any exposed glue is still tacky, or leave it plain for a clean candy-glass look. If the piece will be used strictly as décor, give it a very light coat of clear craft sealer outdoors or in a ventilated space and let it dry fully.
Variations & Tips
For cleaner stars: Pack the candies tightly before baking so there are no empty gaps at the points. If a star point comes out a little shallow, you can always place it lower in the stack where the layering hides it.
For stronger candy pieces: Let the stars cool completely before removing them from the cutters. I’ve learned over the years that rushing a candy project is a fine way to turn something lovely into peppermint rubble.
For color variation: Mix in a few pink peppermint candies or use all red-and-white mints for the most traditional look. Keeping the palette limited makes the finished piece look fuller and more polished.
For easier assembly: Build the arrangement on the counter first without glue and take a quick picture of the layout. That little habit saves guesswork once the hot glue gun is warm and ready.
For display: This is best treated as a seasonal decoration rather than edible candy once it has been baked and glued. Keep it in a cool, dry spot away from direct sun, heaters, and damp kitchens so the peppermint glass stays clear and pretty.
For gifting: If you make one for a neighbor or grandchild’s teacher, set it on a small painted wood block base and tie on a ribbon. It turns a simple candy craft into something that looks downright special, the kind of little holiday flourish people remember.