
There’s something especially satisfying about turning the simplest little dollar-store find into something that looks soft, detailed, and straight out of a holiday storybook. This project starts with paper doilies and a basic glue mixture, but with a little shaping and layering, they become a delicate light-up decoration that feels much fancier than the materials would suggest.
I love projects like this in the busy Christmas season because they’re inexpensive, easy to batch-make at the kitchen counter, and forgiving enough for crafters of all skill levels. If you enjoy cozy holiday décor and want a centerpiece or mantel display that glows beautifully in the evenings, this one is such a sweet make.
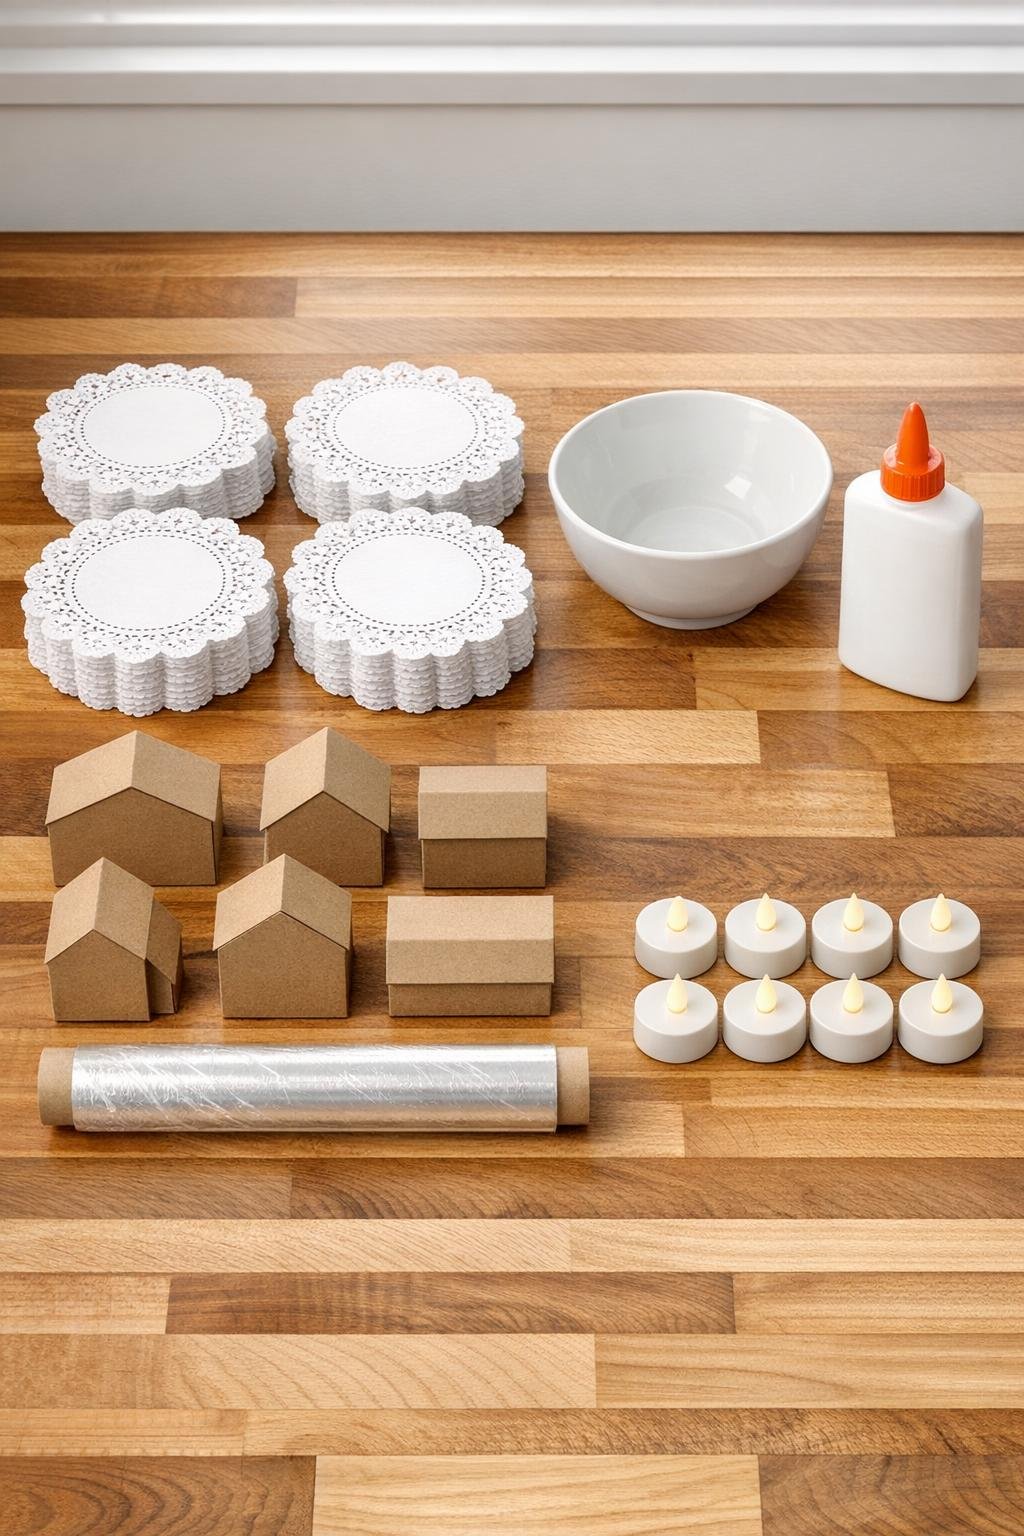
Materials
Instructions
1. Mix the glue water by stirring 1 cup of white school glue with 1 cup of water in a medium bowl until completely smooth and milky.
2. Choose 8 small cardboard boxes to use as house forms, mixing heights and widths so your finished display has the look of a real little village.
3. Wrap each box loosely in a sheet of plastic wrap, tucking the excess underneath so the doilies won’t stick to the cardboard as they dry.
4. Dip 1 doily at a time into the glue water, press it under gently, then lift it out and let the extra mixture drip back into the bowl for a few seconds.
5. Drape a wet doily over the top and sides of a wrapped box, centering it so the lace pattern falls evenly and the points create a roofline effect.
6. Add a second wet doily to the same box from the opposite direction, overlapping the first so the walls are covered well and there are no large gaps.
7. Smooth the doilies lightly with your fingers so they hug the box shape, then pinch or fold the top edges together to suggest a peaked roof.
8. Repeat with the remaining boxes, using 3 doilies on taller boxes and 2 doilies on shorter boxes until all 24 doilies are used and each house looks full and lacy.
9. If any corners lift, clip them gently with clothespins or paper clips and let the houses dry on wax paper for 12 to 24 hours, until firm and completely stiff.
10. Once dry, slide each lace shell off its box form and carefully peel away the plastic wrap from the inside.
11. Trim the bottom edges with scissors so each little house sits flat, and snip a small back opening near the base if needed for easy tea light placement.
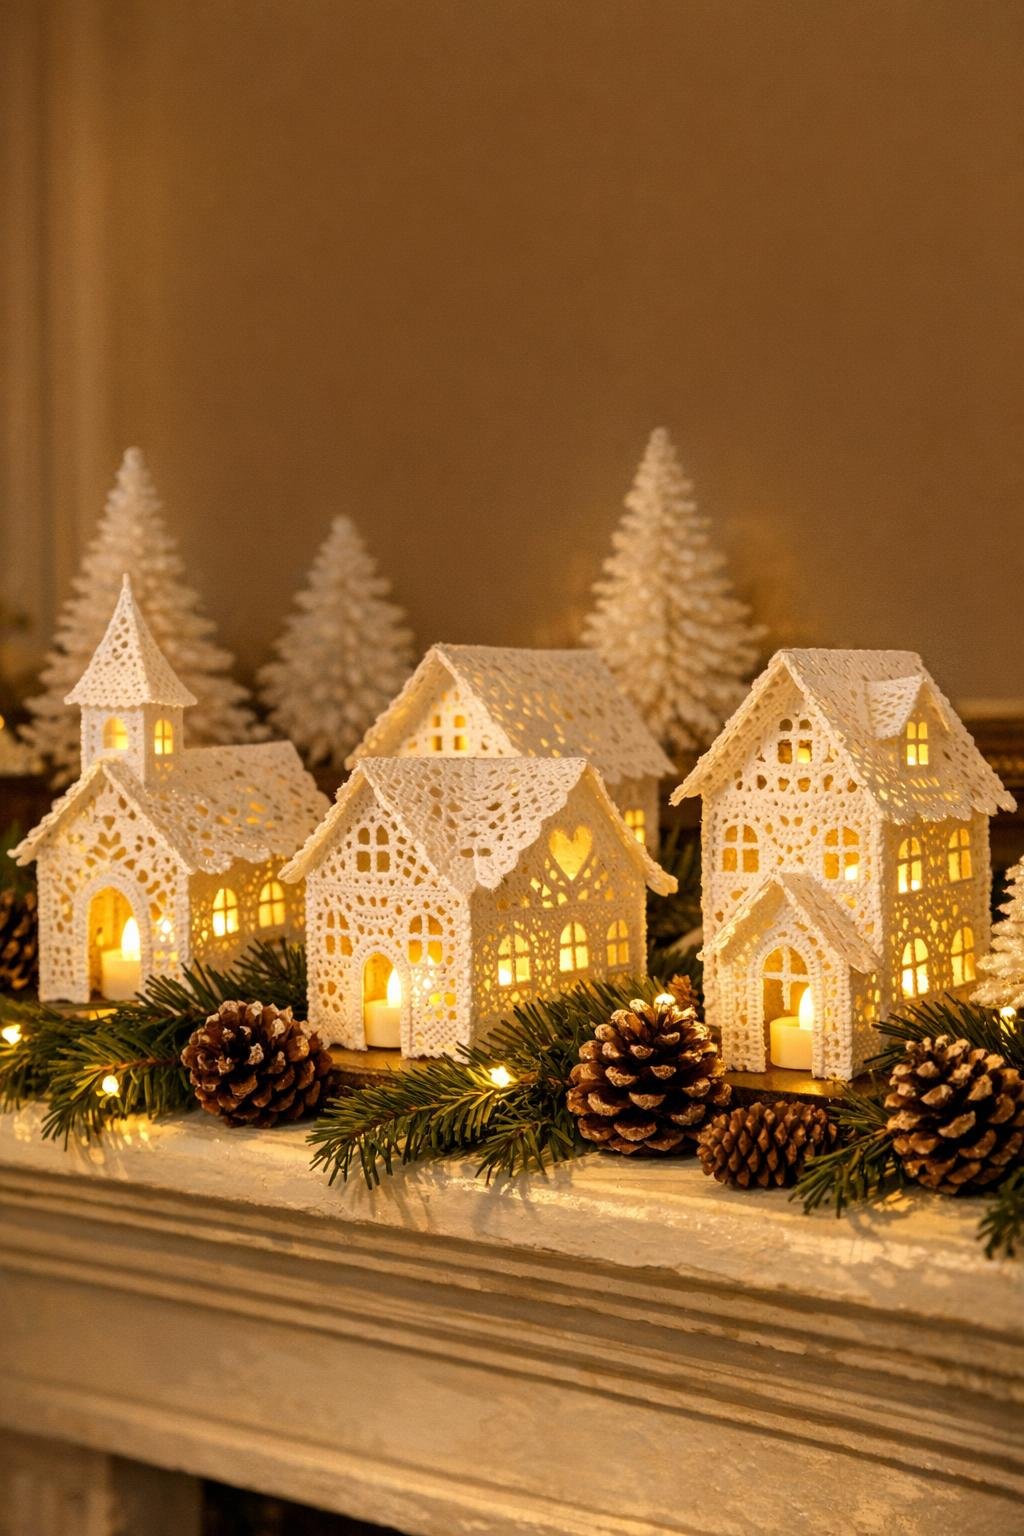
12. Set 1 battery tea light inside each house and test the glow; if you want more sparkle, layer two houses close together in your display so the lace patterns overlap beautifully.
13. Arrange the finished houses into a village on a mantel, sideboard, or dining table runner, grouping the tallest ones in back and the smallest ones in front for a fuller scene.
Variations & Tips
For a fuller village: If you want a bigger statement piece, make a few houses from narrower boxes and a few from chunkier boxes so the skyline looks layered and collected instead of all one size.
For picky decorators: In my house, somebody always likes things “less fancy,” so if lace feels too frilly for your style, choose doilies with simpler cutout patterns and keep the shapes more boxy and clean.
For stronger houses: If your doilies seem very thin, stir in an extra 2 tablespoons of glue to the mixture so the dried shells hold their shape better.
For easy roof shaping: Tall rectangular boxes make the prettiest peaked roofs, while square boxes create charming little cottage shapes with almost no fuss.
For a snowy look: Leave the houses bright white and cluster them with faux snow, tiny trees, or winter greenery for a soft old-fashioned Christmas scene.
For safe lighting: Use only battery tea lights inside these paper houses, never real candles or plug-in bulbs that create heat.
For cleaner edges: Trim only after the houses are fully dry; if you cut them too early, the lace can tear or collapse.
For storing: Nest the houses loosely in a shallow box with tissue between them, and remove the tea lights before packing everything away for next year.