
There’s something so satisfying about turning a stack of old Christmas cards into something you’d actually want to set out every year. I love projects like this because they use up sentimental materials that are too pretty to toss, but they don’t ask for a huge supply list or a whole free weekend either.
If you have a pile of saved cards, a pair of scissors, and a little patience, this is the kind of craft that feels easy to start and surprisingly special by the end. It’s great for anyone who likes budget-friendly holiday decorating, and it’s especially nice if you want a porch piece that feels handmade and full of personality.
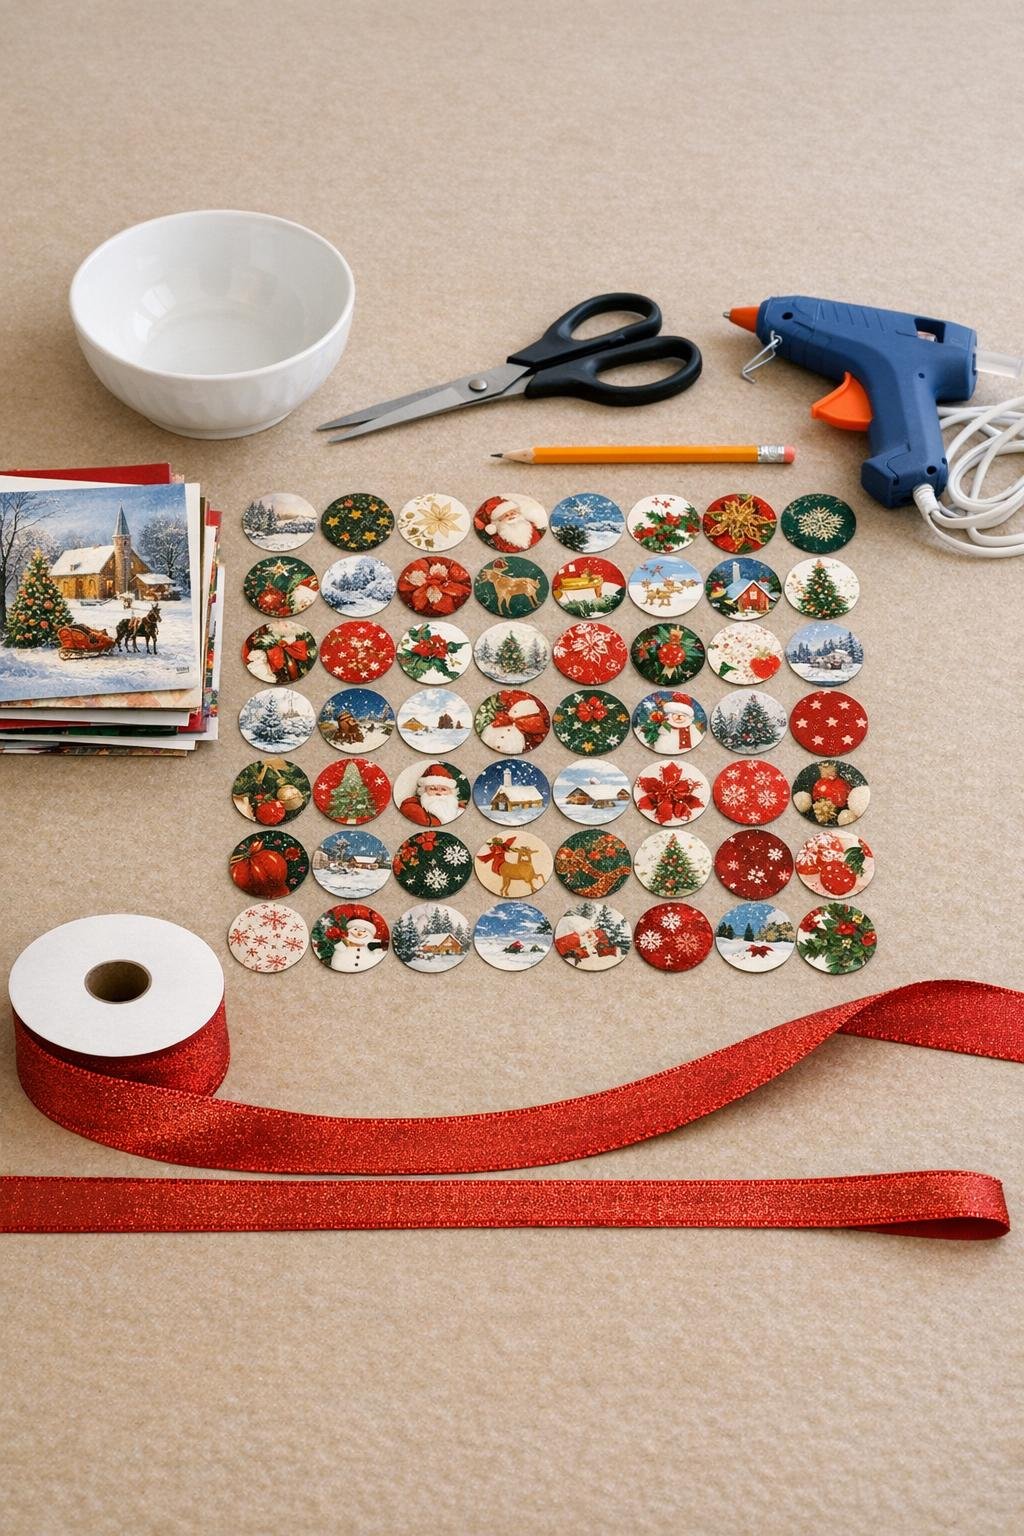
Materials
Instructions
1. Sort through your old Christmas cards and choose at least 30 with bright fronts and sturdy cardstock so you can cut 60 circles total. Mix colors, prints, and images evenly to make the finished piece look full and balanced.
2. Place the cereal bowl on each card front, trace circles with the pencil, and cut out 60 circles as neatly as you can. Keep the circles stacked flat so they stay crisp instead of curling.
3. Fold one circle in half with the printed side out, then fold it in half again to mark four equal sections before reopening it. Use that circle as your guide and crease all 60 circles the same way.
4. Pinch each circle inward along the fold marks to form a shallow four-pointed petal shape, then add a small dot of hot glue in the center on the back to hold the shape. Work in batches so the folds stay consistent and the ball looks even.
5. Glue five shaped circles edge to edge into a flower cluster, joining them at the outer sides so they cup upward slightly. Repeat until you have 12 matching clusters.
6. Let the clusters cool for a minute, then gently fluff the petals so each one looks open and full. This little step makes a big difference and keeps the finished piece from looking flat.
7. Glue five clusters together around the sides to build the first half of the ball, attaching them where the outer petals touch. Repeat with five more clusters to make the second half.
8. Fold the 24-inch ribbon in half to make a hanging loop, knot or glue the ends together, and secure those ends inside the top center of one half with extra hot glue. Add one of the remaining clusters over the ribbon ends to cover and reinforce them.
9. Glue the final cluster inside the opposite half if needed for balance, then join both halves together carefully, gluing a few touching points at a time until the ball is closed. Hold each section for a few seconds so the shape stays round instead of shifting.
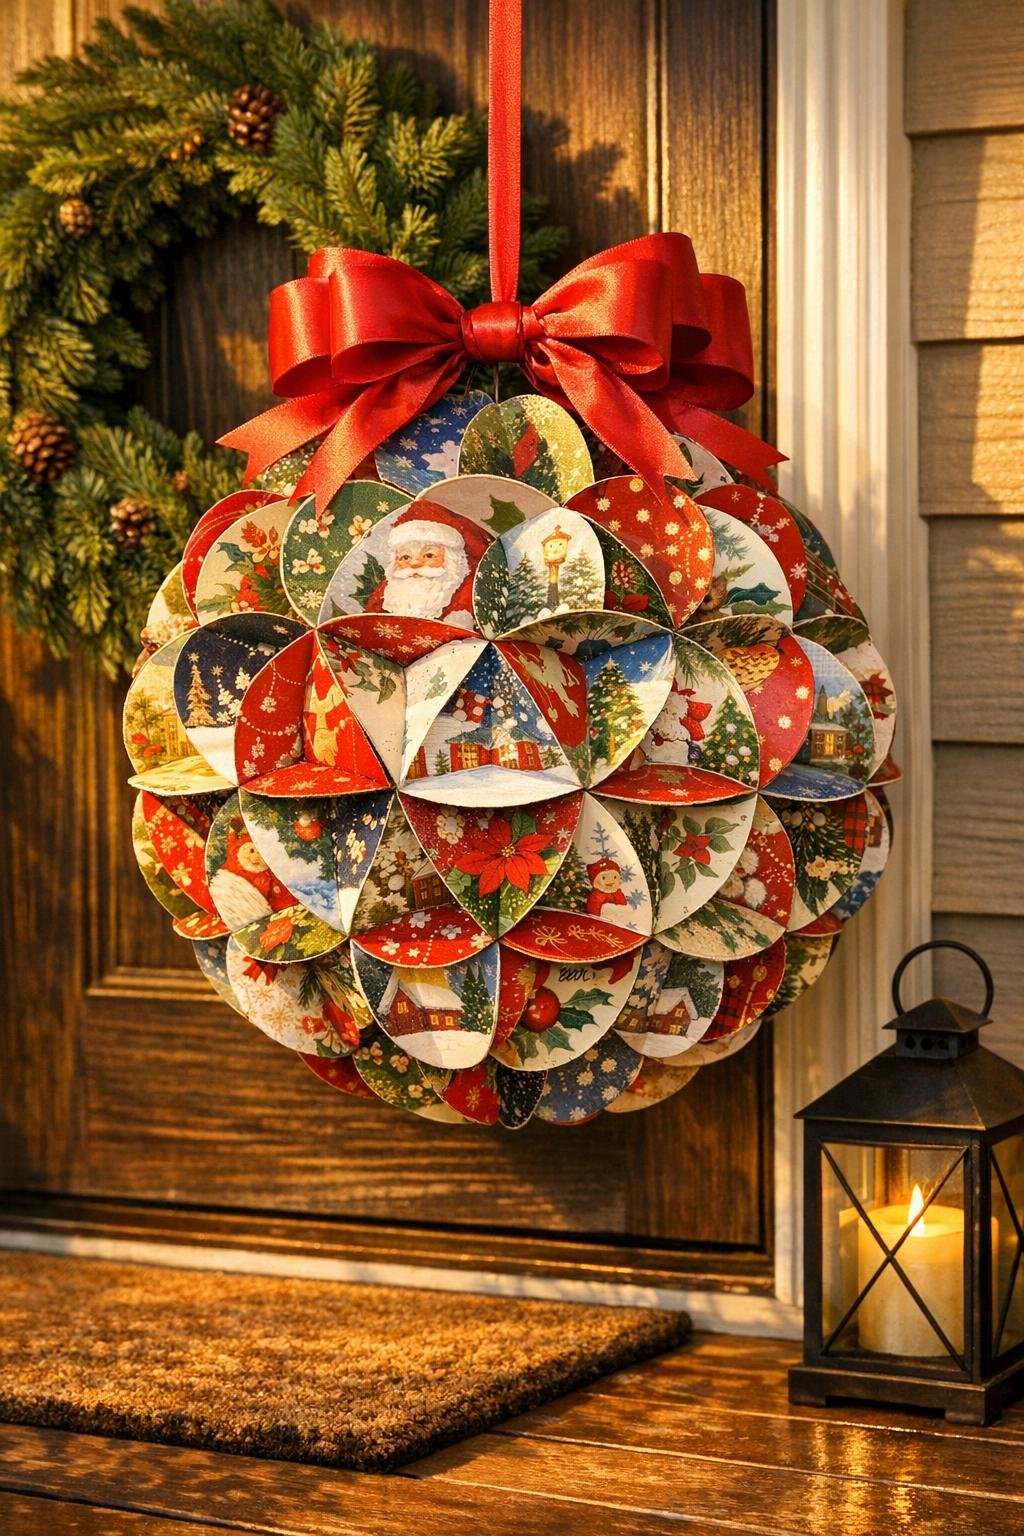
10. Tie a generous bow from the wider ribbon and glue it at the top where the hanging loop comes out. Fluff the bow tails and gently reshape any petals so the whole piece looks full, round, and finished.
Variations & Tips
Color Story: For a more polished look, group your cards by color before cutting and build the ball with a red-and-gold side, a green-and-white side, or an all-vintage mix. I’ve done this with cards from my mom’s old stash, and it made the finished piece look way more intentional.
Make It Fuller: If your cards are smaller or thinner, cut a few extra circles and add another cluster or two before closing the ball. A generously packed shape looks best on a porch because it reads from a distance.
Best Card Type: Sturdy card fronts work better than thin photo paper because they hold the petal folds without collapsing. If a card is extra flimsy, glue two circles back to back before shaping.
Cleaner Cutting: Trace all your circles first, then cut them assembly-line style while watching a holiday movie. That’s honestly how I get through repetitive prep without feeling like it drags.
Indoor Option: If you’d rather use it inside, hang it from a stair post, in a window, or over a mantel garland. It’s lightweight, so it doesn’t need heavy hardware.
Porch Placement: This ornament is happiest in a covered spot since paper and winter weather are not best friends. A covered porch, screened entry, or sheltered front door keeps it looking nice through the season.
Easy Storage: Store it in a medium gift box or clean storage bin with tissue tucked around the sides so the petals don’t get crushed. Avoid stacking heavier décor on top of it.