
There’s a certain kind of fall chore that makes a gardener feel downright clever, and this little tunnel frame is one of them. When the first sharp nights start sneaking in, I like to have something simple ready to throw over my raised beds so lettuce, spinach, baby brassicas, and late herbs get a fighting chance. This project uses cut strips of wire hardware cloth and two plain shed staples to make sturdy arched supports that hold frost cloth or plastic up off your plants instead of letting it flatten everything underneath.
I’m especially fond of this method because it gives you a generous, full-length tunnel without fancy fittings or a trip to the garden center. If you’ve got a standard 4-by-8-foot raised bed, this version makes a proper protective cover with enough height for greens and young transplants, and it stores flat enough to tuck against a wall when the weather turns kind again. It’s an easy, practical make, the sort of thing my neighbors would have admired because it solves a real problem with what’s already in the shed.
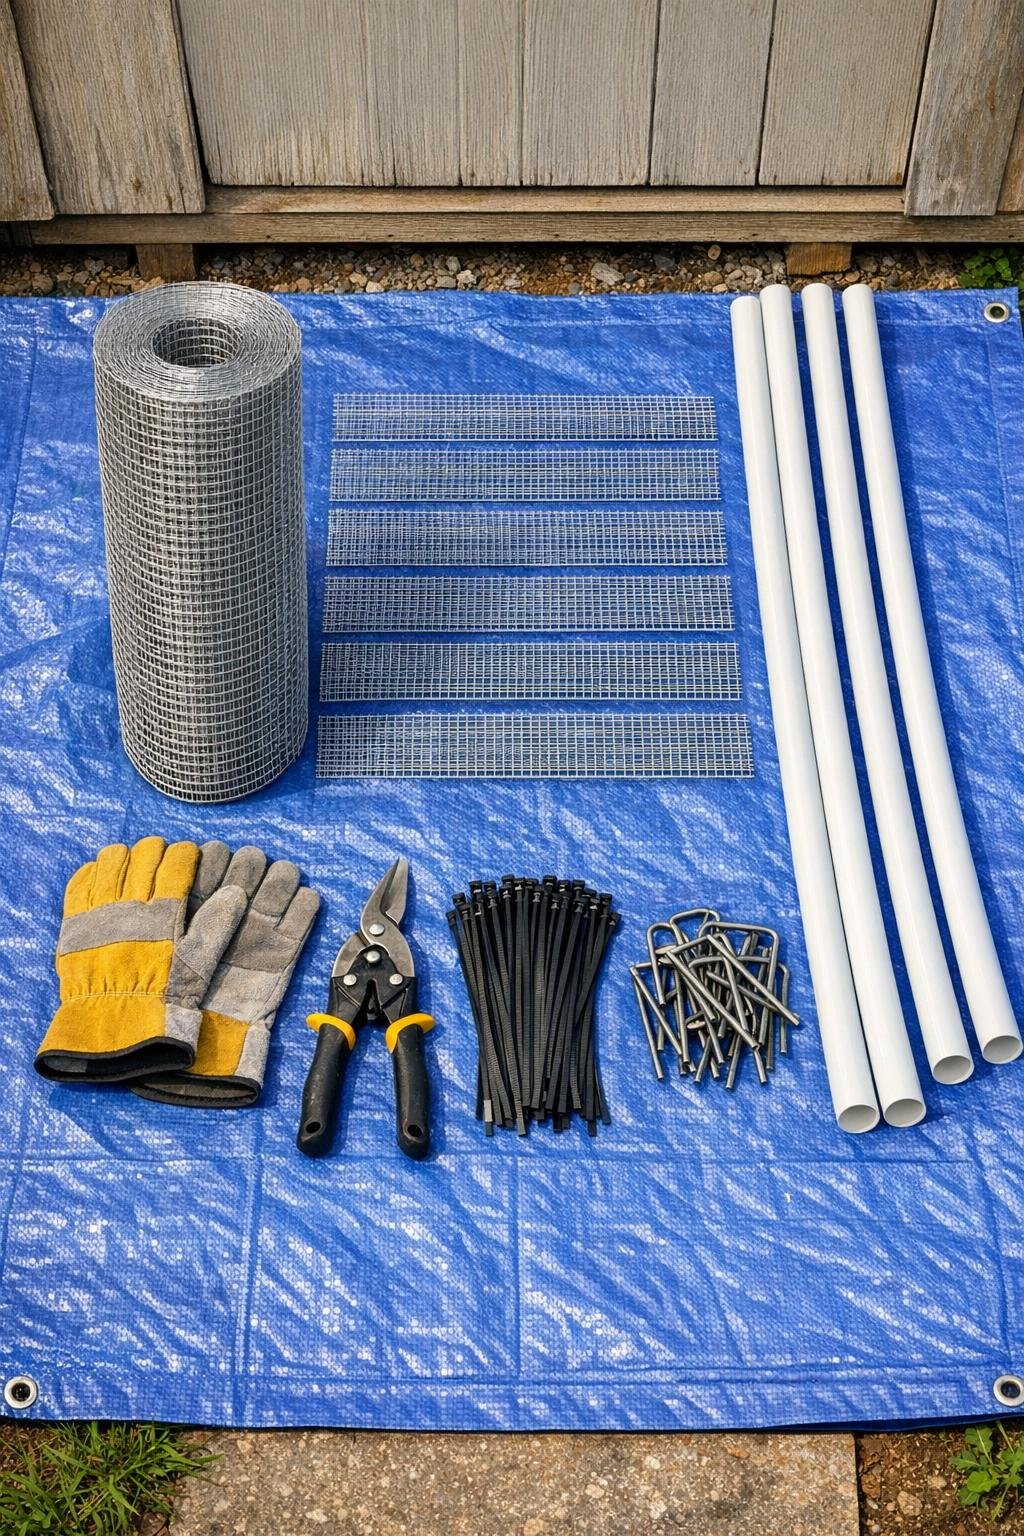
Materials
Instructions
1. Cut the hardware cloth into 6 strips, each 8 inches wide x 24 inches long, using tin snips and gloves so you get matching connector panels for the tunnel frame.
2. Trim away any sharp whiskers on the cut edges, then fold each strip in half across its length so you have a slightly creased 8-by-12-inch wrap piece that will sit neatly over the PVC crossings.
3. Push one end of the first 10-foot PVC pipe 6 inches into the soil just inside one long side of the raised bed, then bend it over and push the other end 6 inches into the opposite side to form a smooth arch.
4. Repeat with the second and third PVC pipes, spacing the arches evenly down the bed at about 24 inches, 48 inches, and 72 inches from one end so the tunnel has full support instead of sagging in the middle.
5. Lay one hardware cloth strip over the peak of the first hoop so it straddles the pipe, then fasten it with 2 zip ties, one on each side, pulling them snug but not so tight that they kink the arch.
6. Bridge the first and second hoops by centering a second hardware cloth strip across both pipes at the top ridge, then secure each side of the strip to each hoop with 4 zip ties total to lock the spacing in place.
7. Bridge the second and third hoops with a third strip at the top ridge in the same way, then add a fourth strip connecting the first and second hoops lower down on one side, about 8 inches below the peak.
8. Add the fifth strip lower down on the opposite side between the first and second hoops, then use the sixth strip to connect the second and third hoops on the lower side that feels least rigid so the whole frame stops twisting.
9. Check the tunnel from end to end and adjust the arches so they line up evenly, then clip off the zip tie tails and cover any exposed wire tips with small wraps of duct tape if needed.
10. Press 2 landscape staples near the base of each hoop end to keep the PVC from shifting in loose soil, especially if your bed edges are soft or freshly filled.
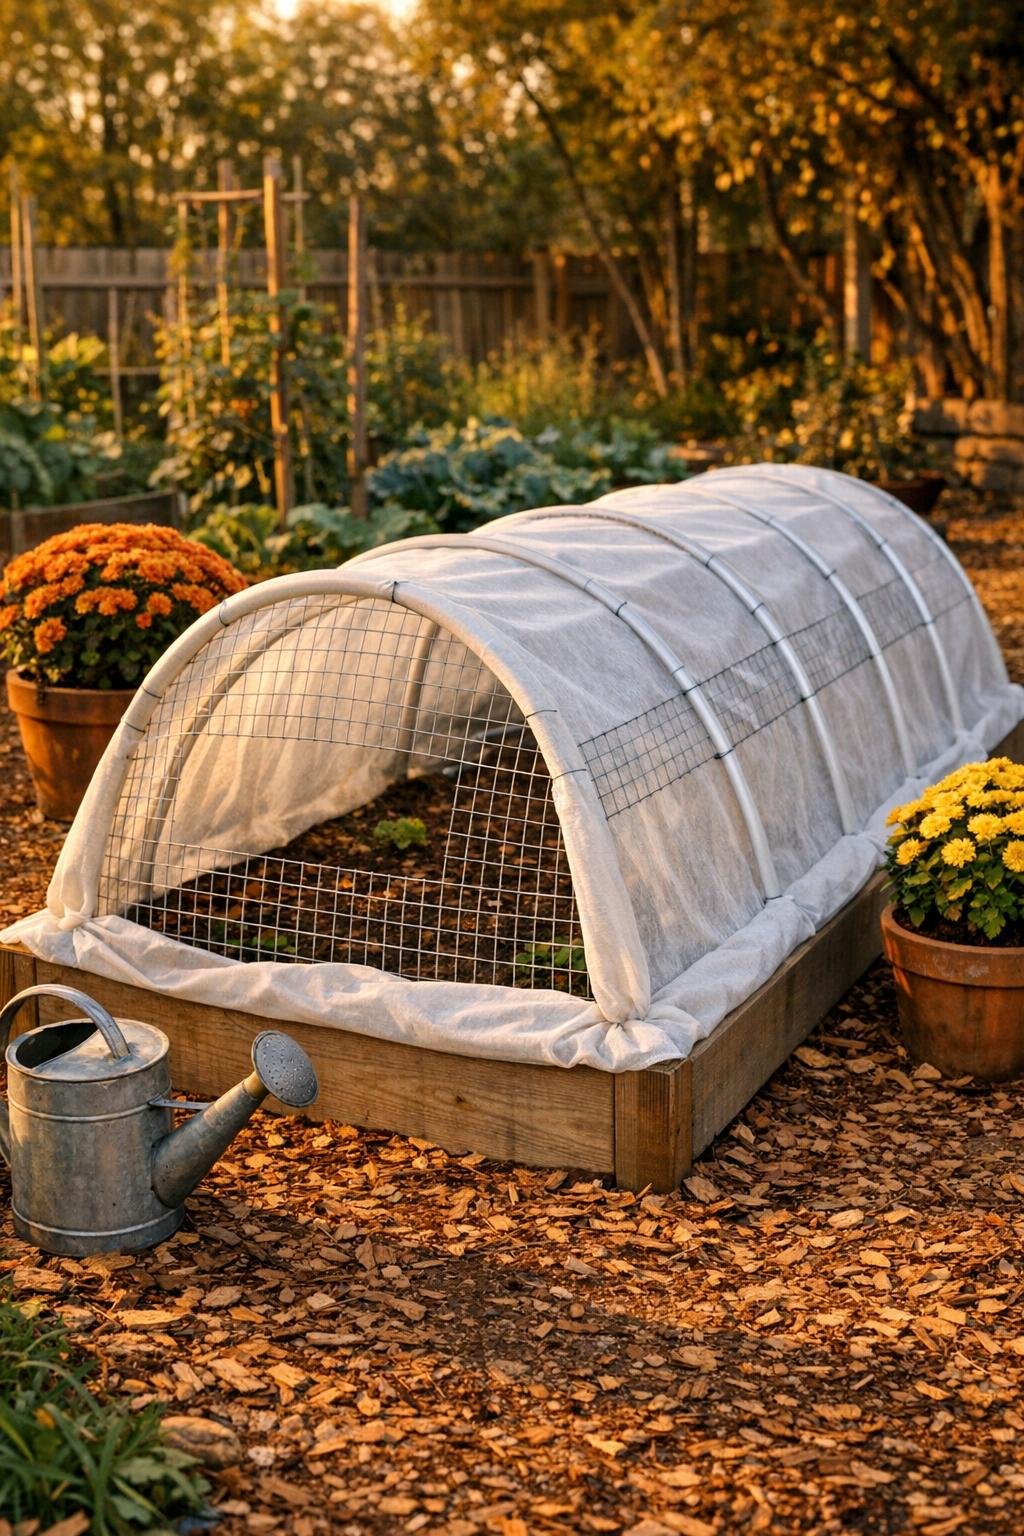
11. Drape your frost cloth, row cover, or clear plastic over the finished tunnel and make sure the cover reaches the ground on all sides with enough extra to weigh down with bricks, boards, or soil when a cold night is coming.
12. Lift one side during the day for airflow and pollinator access, then drop it back down before sunset whenever frost is in the forecast.
Variations & Tips
For a longer bed: Add one more 10-foot PVC hoop for every additional 2 to 3 feet of bed length, and cut 2 more hardware cloth strips per extra hoop so the tunnel stays nicely braced instead of wobbly.
For taller crops: Use 3/4-inch PVC or start with 12-foot lengths if you need more headroom for kale, chard, or young broccoli, but keep the hardware cloth connector strips the same width so they still wrap cleanly over the pipe.
For windy gardens: Run an extra hardware cloth strip along the top between each pair of hoops and use sandbags, boards, or bricks along the cover edges; out where I live, wind can undo a lazy setup in one good gust.
To prevent snags: Frost cloth catches easily on sharp wire ends, so I always take a minute to trim and tape rough spots; that little finishing touch saves a lot of muttering later.
For easy seasonal storage: Cut the zip ties at the end of the season, stack the PVC hoops flat, and bundle the hardware cloth strips together with twine so everything is ready for the next cold snap.
Best crops for this tunnel: This size is especially good over lettuce, spinach, arugula, radishes, parsley, cilantro, and small brassicas; it gives you a roomy cover that protects without crushing tender leaves.