
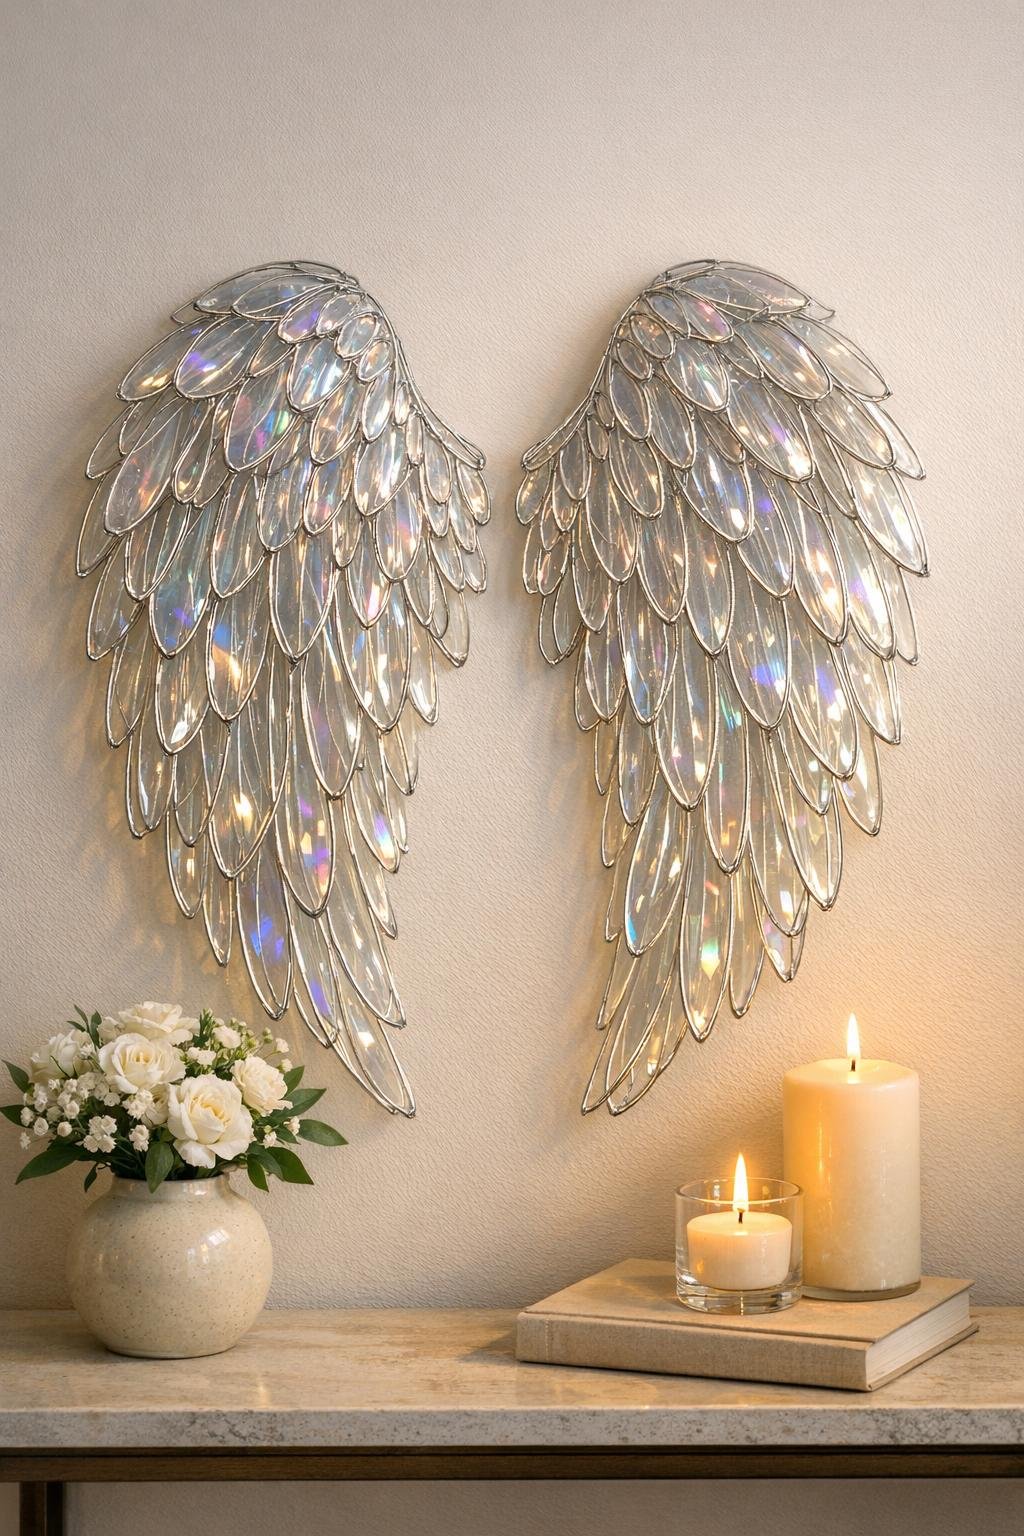
This is one of those deceptively simple projects that looks far fancier than the supplies suggest. With just thin craft wire, clear nail polish, and a little patience, you can build a delicate shimmering wall piece that catches the light in the prettiest way. I love projects like this because they feel almost meditative to make, especially if you want something creative to do after a long workday without dragging out half the craft closet.
If you’re comfortable making lots of repeated shapes and assembling them into something dramatic, this is absolutely for you. The process is easy once you get into a rhythm, and the payoff is big: airy, glossy, light-catching detail that looks magical hung where sunlight or lamplight can hit it.
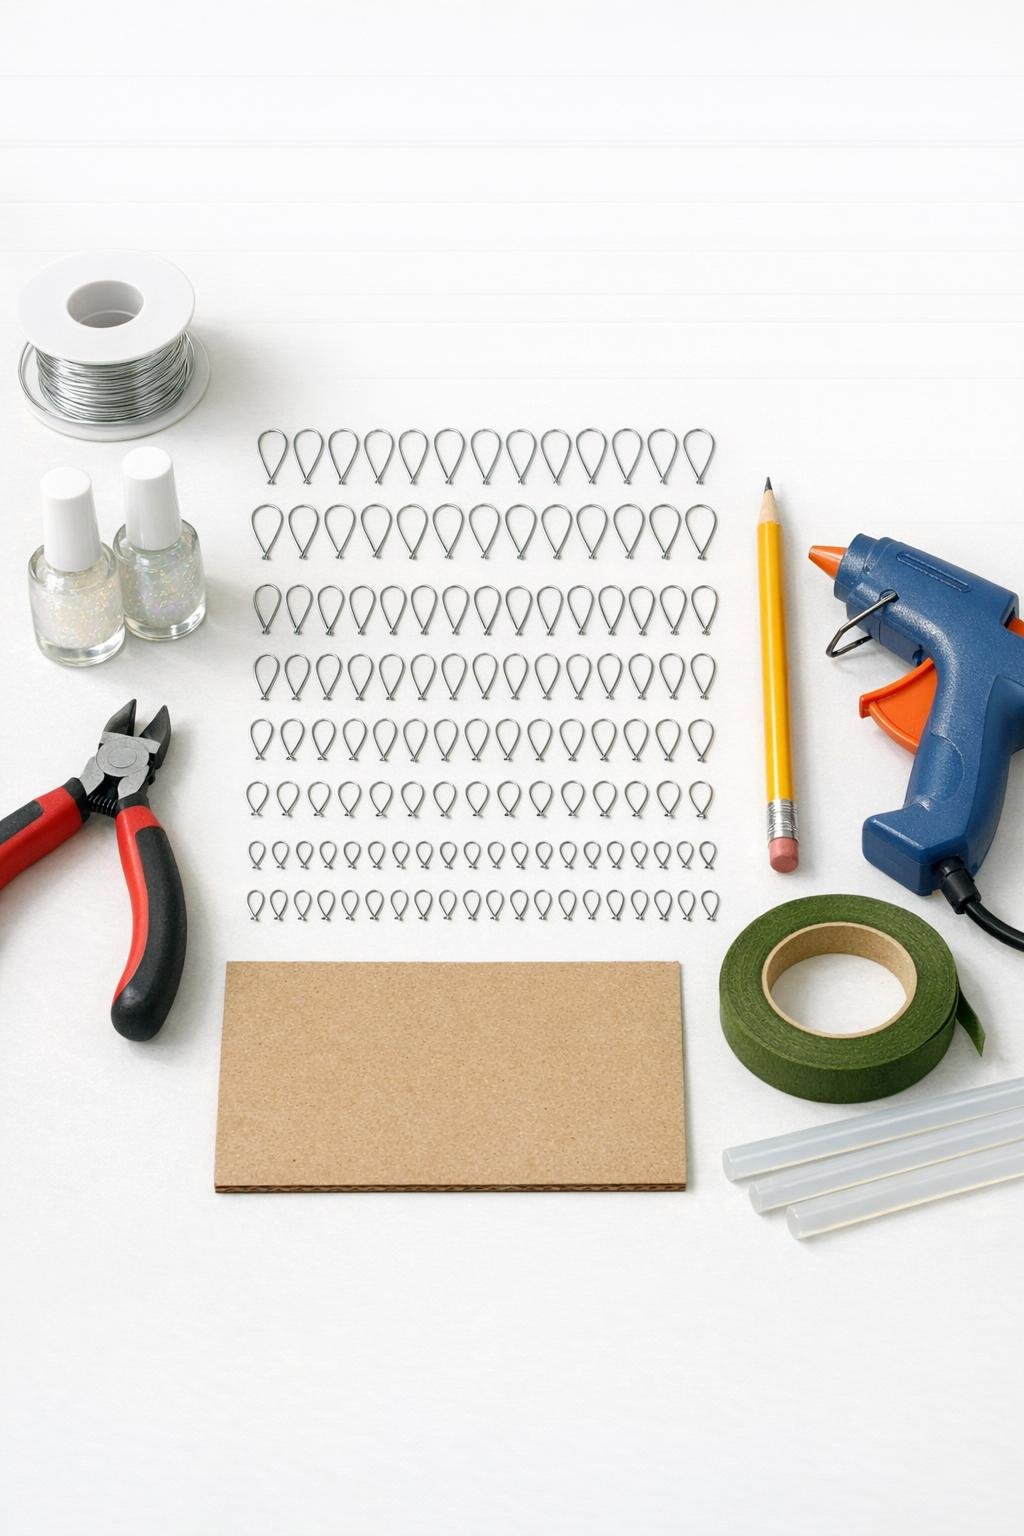
Materials
Instructions
1. Cut 80 pieces of craft wire, each 6 inches long, so your feather pieces stay fairly uniform and the finished design looks balanced.
2. Wrap each wire piece around the pencil to form an elongated loop about 2 inches long, then twist the ends together tightly to create a short stem at the bottom.
3. Gently pinch one side of each loop so it becomes slightly feather-shaped instead of perfectly oval; keep the point soft and rounded, not sharp.
4. Open one bottle of clear nail polish and dip a wire loop into it, then slowly lift and drag the brush across the opening to pull a film across the loop.
5. Hold the loop still for a few seconds until the polish settles into a smooth translucent membrane, then place it aside to dry upright or leaned carefully so the film stays intact.
6. Repeat the dipping process for all 80 loops, and if a film breaks on any piece, simply redip it once the wire is dry.
7. Let all the coated loops dry completely for at least 30 minutes, then sort them into four groups: 24 large pieces, 24 medium pieces, 24 small pieces, and 8 extra pieces for filling gaps.
8. Trim the loop stems as needed so you can create three graduated feather sizes per side by shortening the visual length slightly, keeping the larger loops for the top and outer edges.
9. Cut a wing backing from cardboard as two mirrored teardrop shapes joined at the base, about 9 inches tall total and 12 inches wide from tip to tip.
10. Wrap the outer edge and center join of the cardboard backing with floral tape to soften the raw cut edges and give the glue a better surface to grip.
11. Starting at the bottom of one wing, hot glue the largest feather loops in overlapping rows, angling them outward so each new row covers the stems of the row below.
12. Continue building upward with medium and then smaller loops, keeping the arrangement dense and layered so the wings look full and airy instead of flat.
13. Repeat on the second wing, checking every few rows that both sides mirror each other in height, angle, and fullness.
14. Use the 8 extra dipped loops to fill sparse spots near the center seam, upper curves, and outer tips so the shape feels lush and finished from edge to edge.
15. Wrap a small strip of floral tape around any visible glued stem clusters at the center base to neaten the transition and reinforce loose pieces.
16. Hot glue an 18-inch loop of ribbon or clear hanging cord to the back top center, then add a small cardboard patch over it for extra support.
17. Let the whole piece rest for 15 minutes, then lightly bend a few feather loops forward and back to give the wings soft dimension and a more lifelike layered look.
Variations & Tips
Color shift: If you want a cooler sparkle, use a pearl or opal clear polish; for a warmer look, choose an iridescent topcoat with pink or gold reflect.
Size upgrade: For a larger statement piece, increase the cardboard backing to 14 x 18 inches and make 120 loops instead of 80 so the wings still look full.
Drying tip: I like to work in batches of 10 to 15 loops at a time so I don’t smudge wet polish while reaching across the table.
Membrane repair: If a dipped loop dries with a hole or uneven film, don’t toss it right away; a second dip usually smooths it out beautifully.
Backing option: If the wings will hang where the back might show, cover the cardboard rear with felt or scrapbook paper for a cleaner finish.
Display tip: These look especially pretty where they can catch changing light, like near a window, above a dresser, or in a cozy hallway with a lamp nearby.