
There are a few little things that seem to multiply right by the front door in every house I’ve ever lived in—keys, loose change, a receipt I meant to keep, reading glasses, and that one pen that somehow wanders from room to room. This simple entryway pocket emptier gives all of it a proper home by pairing a small floating shelf with a leather valet tray, and it comes together without drills, screws, or a big afternoon of work.
I’m especially fond of projects like this because they solve an everyday nuisance in such a tidy, handsome way. The warm oak and brown leather have that timeless look that feels right at home in an entryway, and the adhesive strips make it easy for renters, beginners, or anyone who just wants a useful project finished before supper.
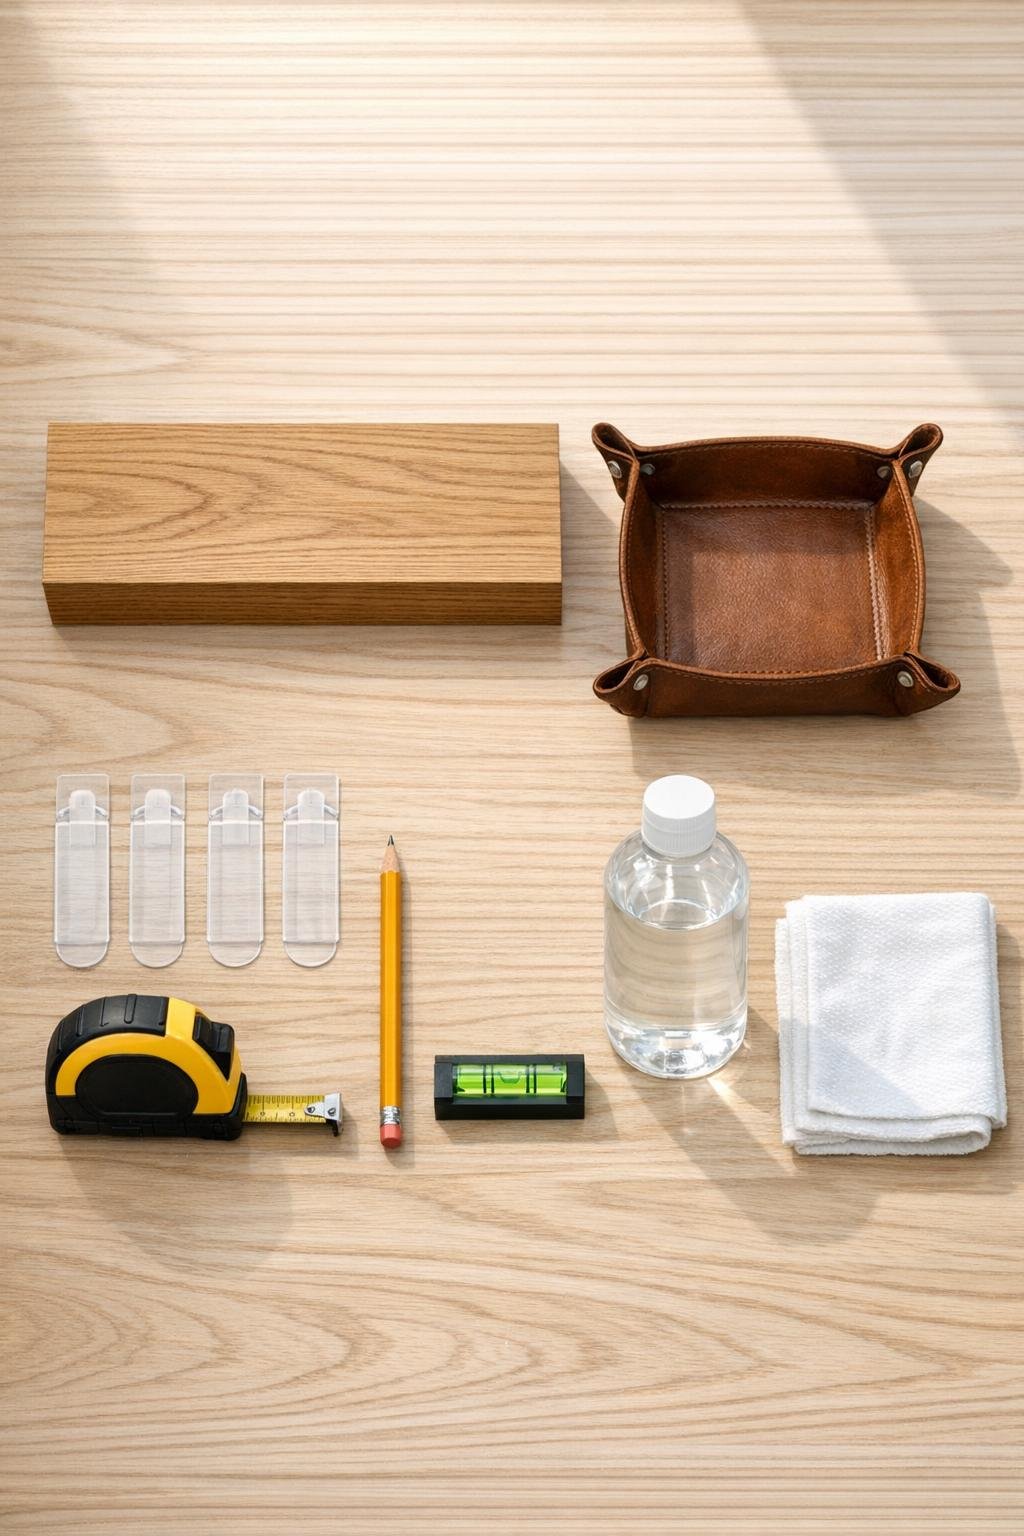
Materials
1 small oak floating shelf, about 16 inches wide x 6 inches deep
Instructions
1. Wipe the top of the floating shelf and the bottom of the leather valet tray with rubbing alcohol, then let both dry fully so the adhesive strips grip well.
2. Set the valet tray on the shelf and test the placement before sticking anything down; I like to center it left to right and keep it about 1 inch back from the front edge so it looks neat and stays easy to reach.
3. Turn the tray over and apply 3 adhesive strips evenly across the bottom—one in the center and one near each side—pressing each strip firmly in place for 30 seconds.
4. Remove the backing, line the tray up carefully on the shelf, and press it down firmly with both hands for 30 to 60 seconds so the tray bonds flat and secure.
5. Mark the wall for the shelf height, using the measuring tape and pencil; 52 to 58 inches from the floor works nicely in most entryways if you want it easy to reach without bending.
6. Hold the shelf against the wall, check it with a level, and install it according to the shelf’s mounting method, making sure it sits solid and straight before you let go.
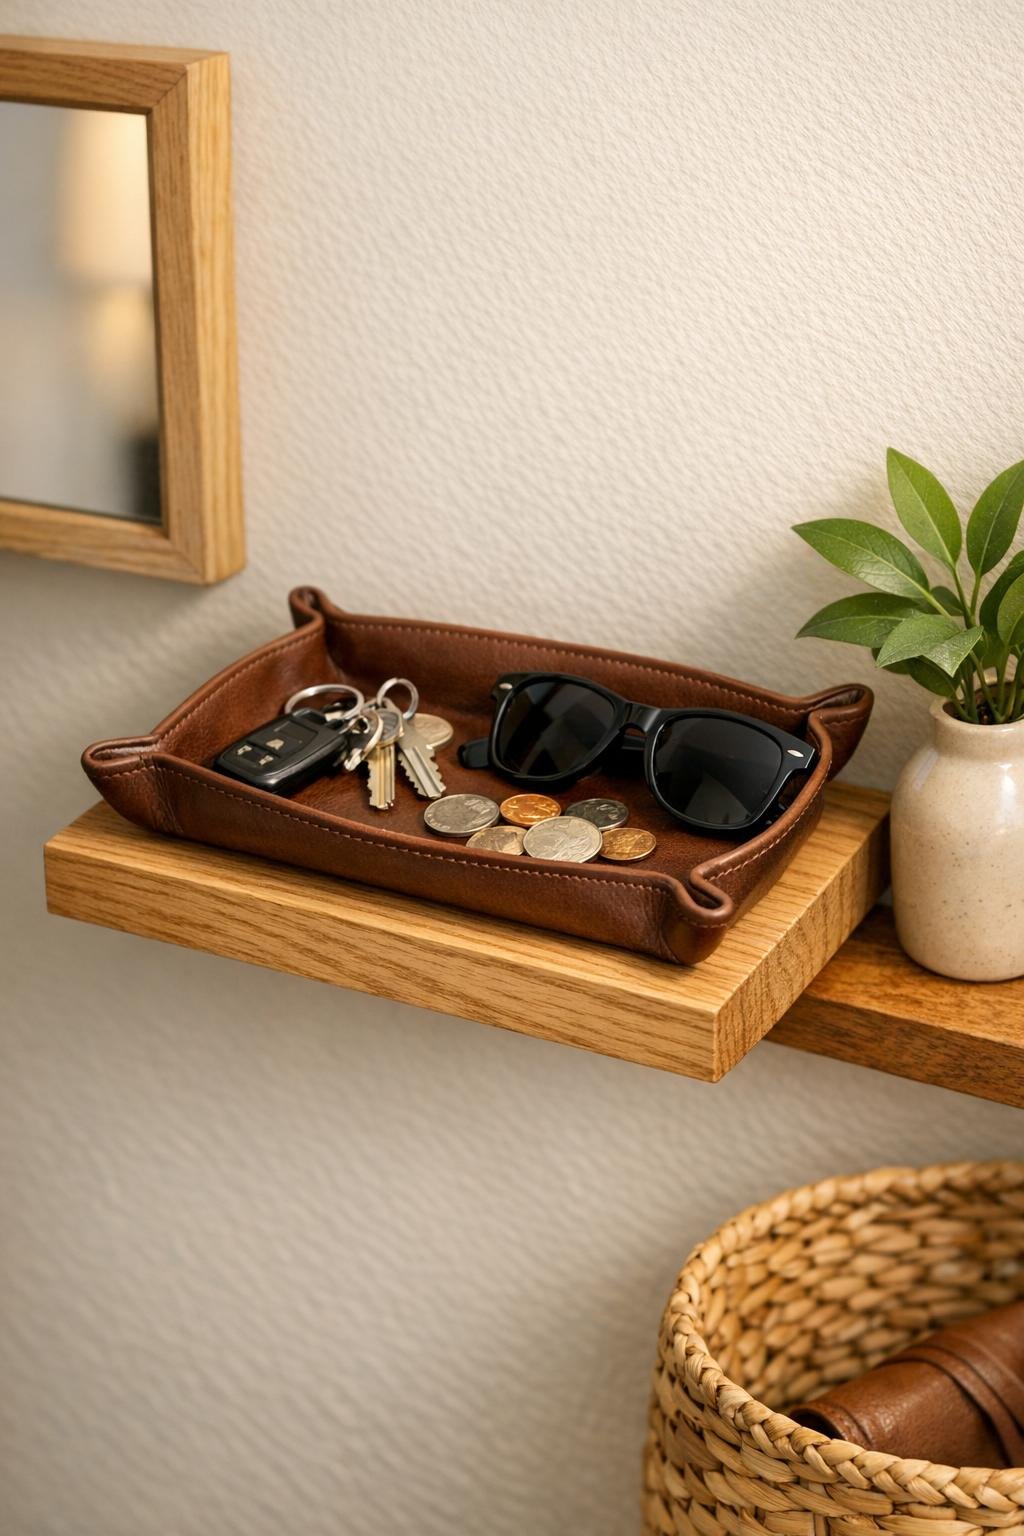
7. Let the tray adhesive set for at least 1 hour before loading it, then add your daily essentials like keys, sunglasses, coins, and mail so everything lands in one tidy spot.
Variations & Tips
For renters: If you can’t mount a floating shelf to the wall, set this finished shelf-and-tray combo on a narrow console table or dresser by the door for the same handy function.
For extra hold: Use adhesive strips rated above the expected weight, especially if your tray will regularly hold a bulky key ring, wallet, and sunglasses together.
For a cleaner look: Choose clear adhesive strips and keep them at least 1 inch in from the tray edges so they stay hidden once the tray is pressed down.
Size tip: A tray around 7 to 8 inches square fits nicely on a 16-inch shelf without looking cramped, and it still leaves a little wood showing around it, which makes the whole piece feel more finished.
Surface caution: Adhesive strips bond best to smooth, sealed surfaces, so if your shelf has a very rough or unfinished top, give it a light sanding and a quick clear topcoat first.
Everyday use: I like to keep the tray for the loose little things and leave the open shelf edge for one folded letter or a small notepad, which helps the entryway stay orderly without looking cluttered.