
I love a craft that starts with something simple and a little unexpected, and this one absolutely fits that bill. We’re taking plain plastic Easter eggs and turning them into something bright, cheerful, and surprisingly polished with just a few easy supplies. It’s the kind of project that looks playful right away, but with a few finishing touches, it comes together in a way that feels truly special.
This is a great make for anyone who wants a festive holiday decoration without a lot of fuss or complicated tools. If you enjoy easy weekend crafts like I do, especially the kind you can spread out on the kitchen table while dinner is in the oven, this one is such a satisfying little transformation.
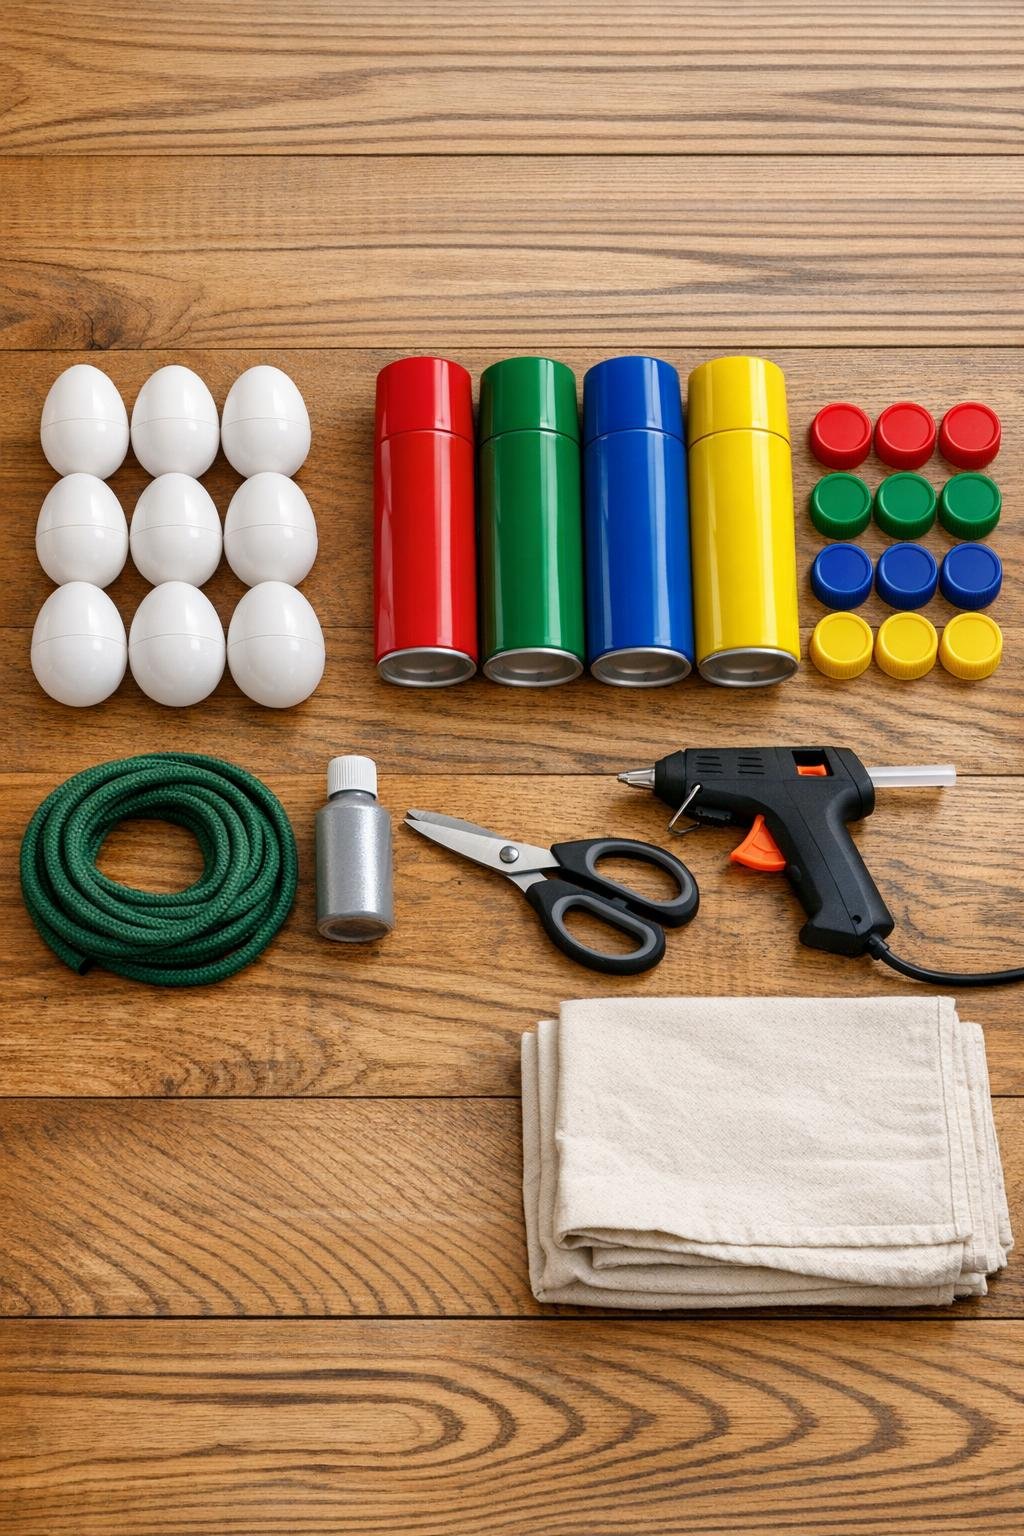
Materials
12 plastic Easter eggs, standard size, plain white or light colored
Instructions
1. Spread the drop cloth over your work surface and separate the 12 Easter eggs into halves so they are easy to handle and paint.
2. Use the kitchen scissors to snip the narrow tip off one half of each egg, cutting a small opening just wide enough for the green cord to pass through.
3. Match each cut egg half with another half to re-form 12 full eggs, then snap them closed firmly so each bulb shape is smooth and complete.
4. Set the eggs on the drop cloth and spray paint 3 eggs red, 3 green, 3 blue, and 3 yellow, using light even coats until the color looks glossy and solid.
5. Let the painted eggs dry completely, then add a second coat anywhere the white plastic still shows through.
6. Paint all 12 bottle caps silver, covering the tops and outer sides so they look like classic metal bulb sockets, and let them dry fully.
7. Thread the thick green cord through the hole in each egg, spacing the eggs about 4 to 5 inches apart and alternating the colors as you go.
8. Add a generous ring of hot glue around the hole at the top of each egg and press a silver bottle cap over it so the cord exits through the center area and the cap looks like the bulb top.
9. Repeat with all 12 eggs, checking that each cap sits straight and that the bulbs hang in a nice even line along the cord.
10. Leave a little extra cord at both ends for hanging, then let all the glued pieces cool and set before moving the garland.

Variations & Tips
Color order: I like alternating the colors for a balanced look, but you can group them in pairs if you want a more old-fashioned garland style.
For fuller impact: Keep the bulbs fairly close together at 4 to 5 inches apart so the garland looks abundant instead of skimpy. That little detail makes a big difference once it’s hanging.
Hanging spot: This looks especially sweet on a mantel, staircase, kid-friendly tree area, or over a doorway where the oversized bulbs can really be noticed.
Glue tip: If a bottle cap feels loose, add a second bead of hot glue around the base where the cap meets the egg. I usually do this from the back side for a cleaner finish.
Paint finish: Gloss paint is what gives these bulbs that classic holiday shine. If the eggs look dull after drying, one more light coat will help them look brighter and more polished.
Family crafting note: If little hands want to help, let them sort the colors or hand you the bottle caps while an adult handles the scissors, spray paint, and hot glue.