
When I first learned this old garden trick, it felt a lot like the kitchen wisdom I grew up with: simple, practical, and surprisingly effective. This project turns three empty metal coffee cans into sturdy winter protectors for strawberry crowns, giving your plants a little shield against early hard frost, wind, and freeze-thaw swings right when they need it most.
If you grow strawberries in a backyard bed, raised planter, or even a tidy side-yard patch, this is a wonderfully low-cost way to protect the crowns before deep winter mulching goes on. Because we’re working with the cans as visible collars, the finished protectors stay true to that familiar coffee-can shape, and the whole setup is easy enough for a beginner but useful enough that seasoned gardeners still swear by it.
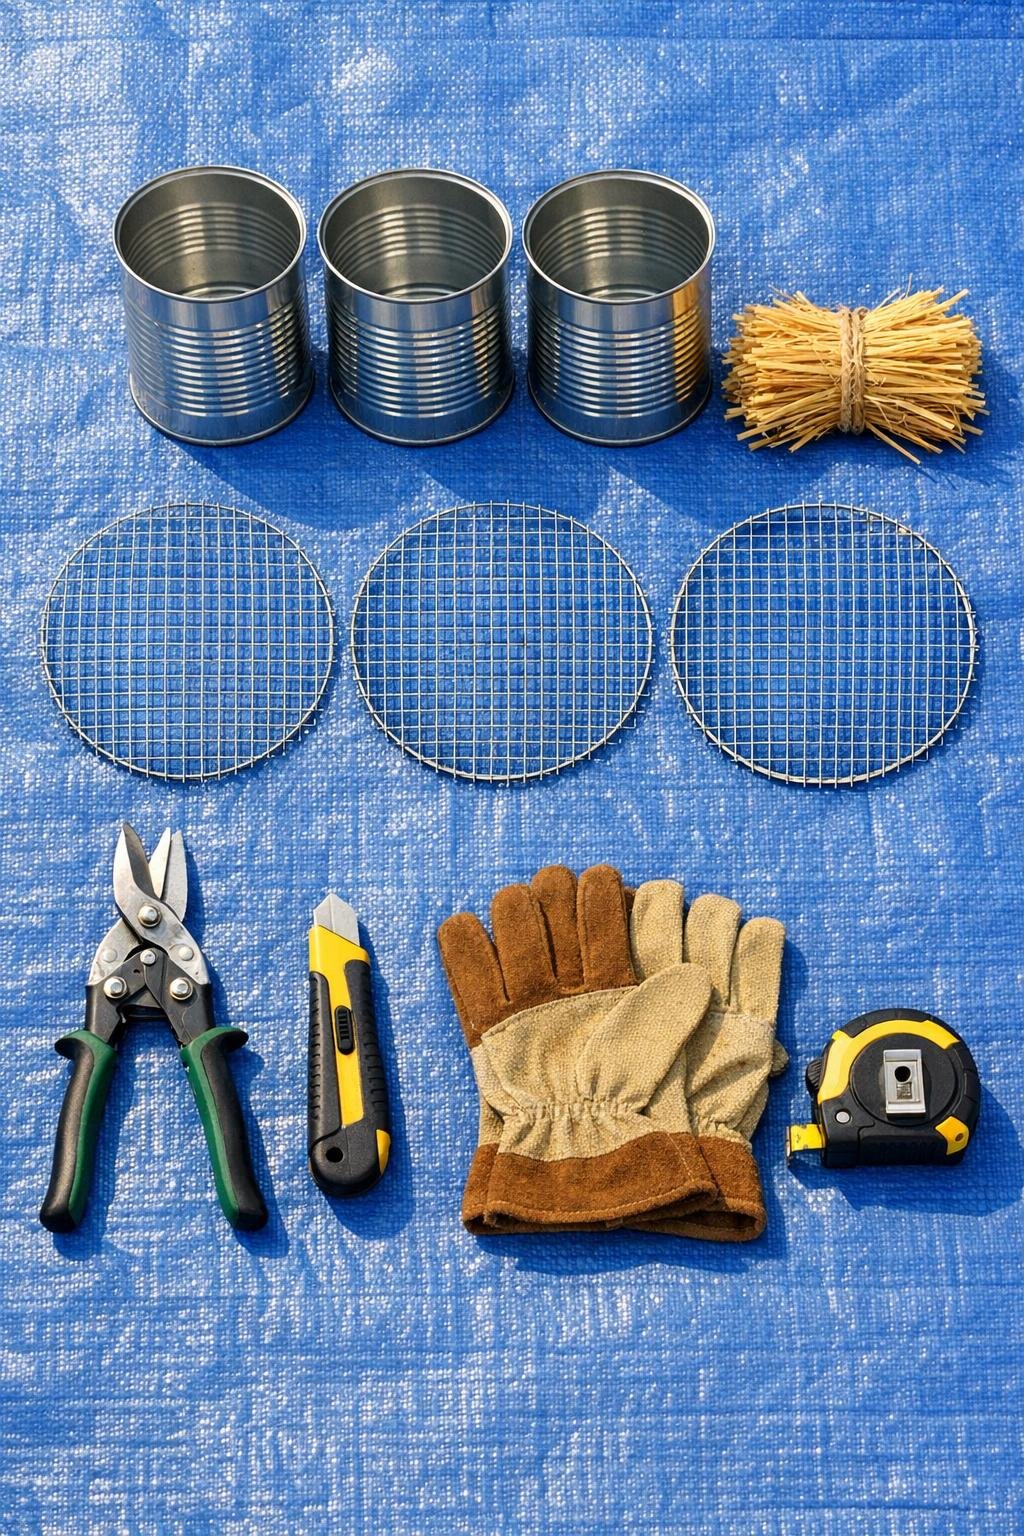
Materials
Instructions
1. Wash and dry the three metal coffee cans, then use tin snips to cut out each bottom completely so you have open-ended cylinders. Trim away any jagged points with the snips and flatten rough spots as much as possible.
2. Wrap duct tape around both cut edges of each can, especially the freshly cut bottom edge, so the protectors are safer to handle and less likely to scrape plant stems. Press the tape down firmly all the way around.
3. Cut three circles of hardware cloth to fit one end of the cans, leaving a slight overlap so you can fasten them securely. Poke three evenly spaced holes near one rim of each can and attach the mesh circles with short galvanized wire twists.
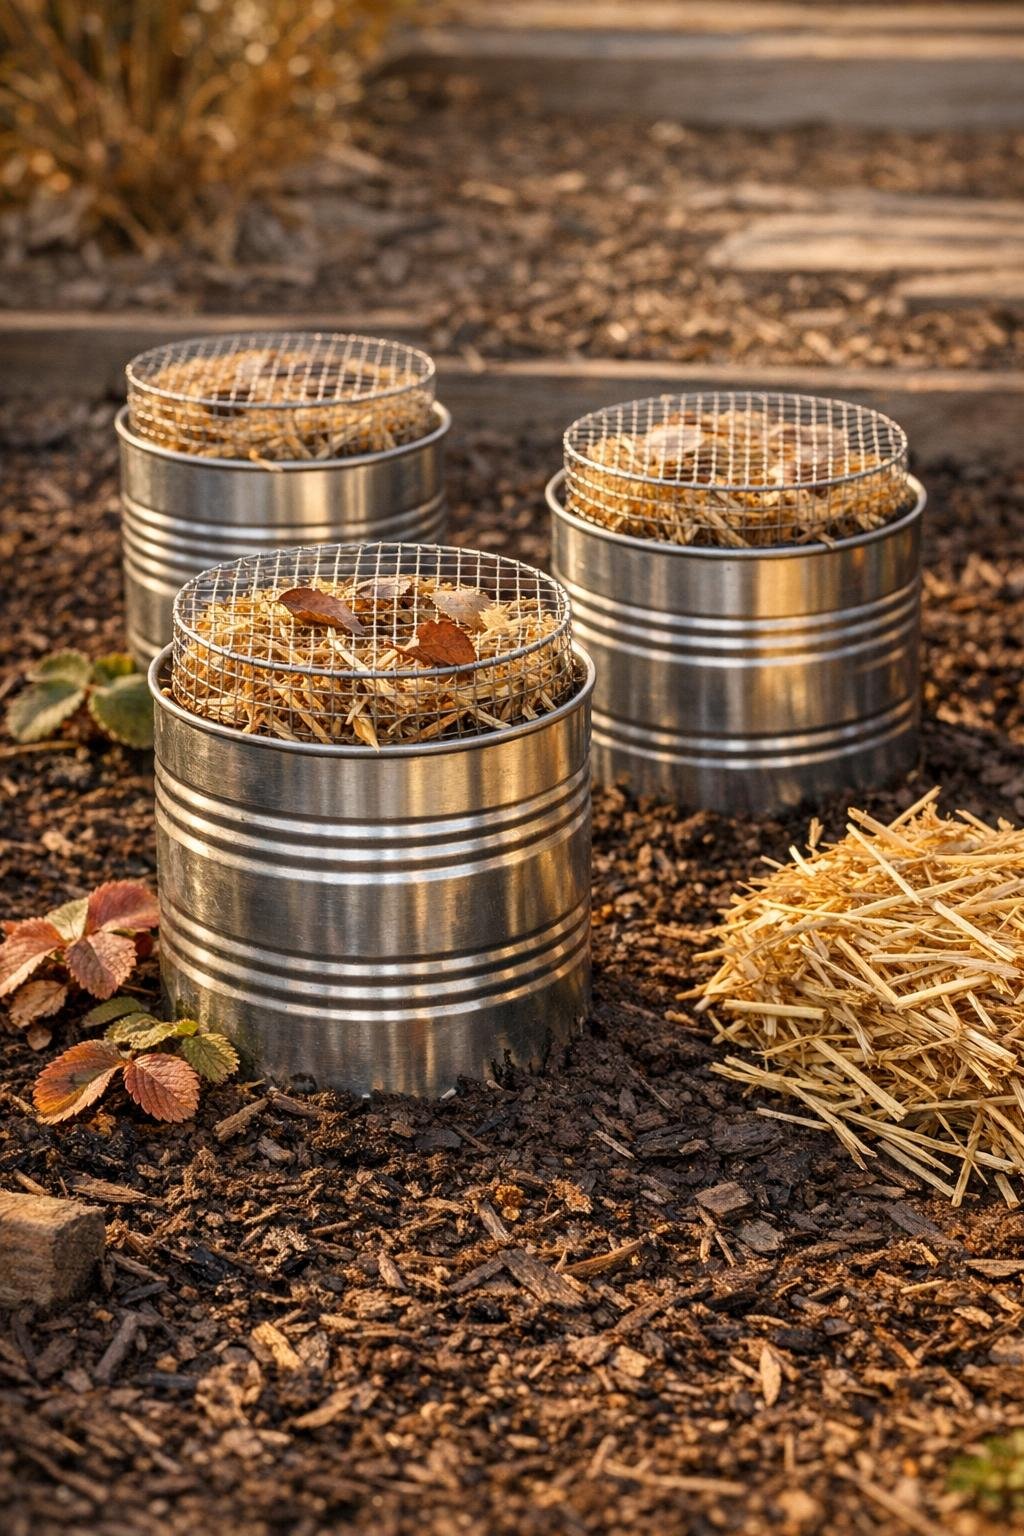
4. Set the mesh-covered end of each can facing up and check that the opposite end sits flat on the ground; this gives you a bottomless collar with a breathable top. The can should still look clearly like a coffee can, just open at the soil end and capped with mesh at the top.
5. Wait until a cold night is forecast and the strawberry plants have slowed down but before the bed is deeply frozen. Clear loose weeds and soggy debris away from each crown so the protector sits on clean soil.
6. Center one can over each strawberry crown, pressing the open end about 1 inch into the soil so it won’t shift. Keep the crown in the middle with a little breathing room all around rather than packing the can tight against the plant.
7. Loosely fill each can with a mix of dry straw and shredded leaves, using about 2 generous handfuls of straw and 2 cups of leaves per protector. Pack lightly around the sides but leave the very top under the mesh fluffy so air can circulate.
8. If your garden gets winter wind, pin the can in place with one landscape staple over the outer edge or bank a little soil around the base. Repeat for the remaining two plants and check that each protector stands upright and snug.
9. Leave the protectors in place through the pre-frost and early winter period, then lift them off when the risk of repeated hard freezing has passed in late winter or very early spring. Shake the mulch gently around the bed as a light top dressing if it is still clean and dry.
Variations & Tips
For colder zones: Add a thicker outer blanket of loose straw around the outside of each can after the ground begins to chill, but keep the mesh top open so moisture does not get trapped inside.
If you do not have hardware cloth: Chicken wire can work in a pinch, though the larger openings let mulch shift more easily. I prefer the smaller grid because it holds the straw neatly without smothering the crown.
Best timing: Don’t install these too early in mild weather. Like covering dough too soon and making it damp, protecting strawberries before the cold arrives can encourage excess moisture and rot.
Mulch choice: Use clean, dry straw rather than hay whenever possible because hay often carries seeds. The shredded leaves add insulation and fill gaps beautifully, much like layering ingredients for even coverage in a casserole.
Spring removal: Lift the cans gradually during a mild stretch instead of yanking them off after a freeze. That gentler transition helps the crowns wake up without weather shock.
Safety note: Metal can edges can stay sharp even after trimming, so gloves are worth wearing for every step. A careful tape wrap makes these much nicer to handle when you’re working quickly before a cold snap.