
I love a project that turns the random little things hiding in a drawer into something people genuinely stop and ask about. If you have a stash of old metal cookie cutters, or you spot them at thrift stores for next to nothing, this is one of those easy-but-striking holiday makes that looks far more special than the effort it takes. It’s simple wire work, no fancy tools, and the end result has that collected-over-time vintage charm I can never resist in December.
This is a great project for anyone who wants a handmade Christmas decoration with plenty of sparkle and texture without committing to a complicated build. I’m a big fan of crafts I can do after work with a mug of something warm on the counter, and this one absolutely fits that category. You’ll be layering lots of cookie cutters for a full, generous look, then finishing it with lights so it feels polished and festive instead of crafty in the unfinished sense.
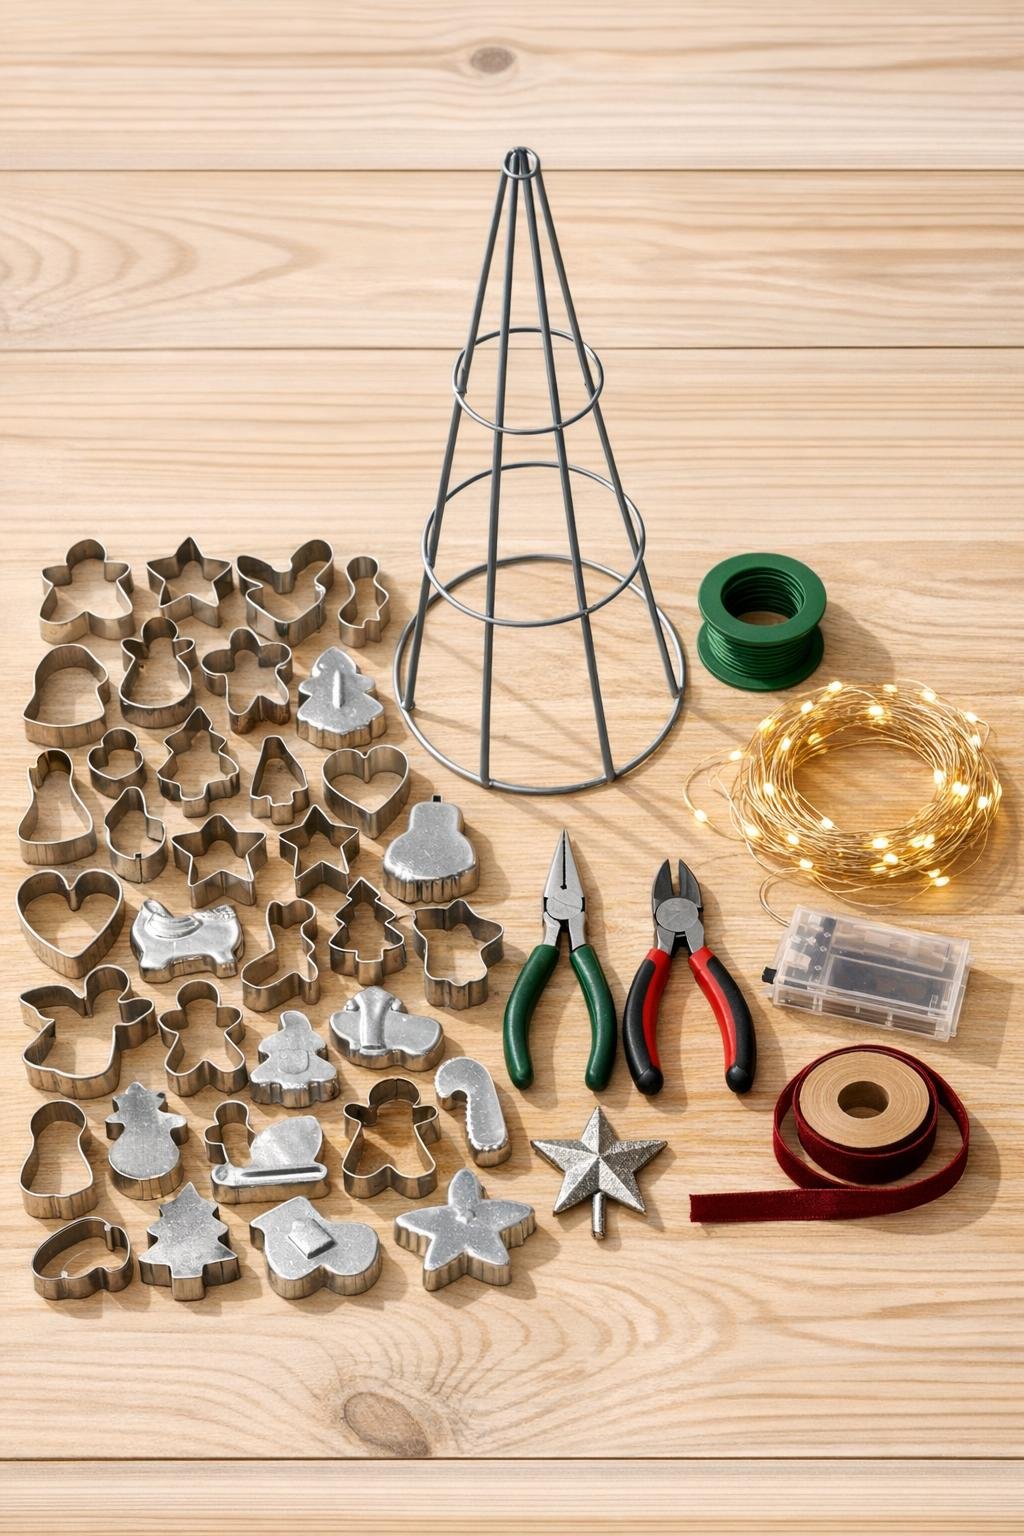
Materials
Instructions
1. Sort your cookie cutters by size, setting the largest 10 to 12 aside for the bottom, medium pieces for the middle, and the smallest for the top. This takes five minutes and makes the tree shape look intentional instead of random.
2. Wipe each cutter clean with a dry cloth, and if any have flaky rust or sharp burrs, smooth them lightly with fine-grit sandpaper. If they’re very rusty but still sturdy, give them a light coat of clear matte sealer and let them dry fully.
3. Open up the tomato cage or set your wire cone upright so it forms a stable tree-shaped frame. If you’re using a tomato cage, turn it upside down so the wide circular end becomes the base and gather the legs together at the top with floral wire.
4. Cut floral wire into 5- to 6-inch lengths and make a small pile of at least 60 pieces before you start attaching cutters. Precut wire keeps the project moving quickly, which I always appreciate on a busy weeknight.
5. Attach the largest cookie cutters around the bottom ring of the frame, overlapping them slightly so there are no big gaps. Wrap wire around one side of each cutter and the frame, twist tightly with pliers, and tuck the wire ends inward.
6. Build the second row above the first using medium-large cutters, staggering them so they cover seams and add fullness. Secure each one in at least two spots if it wobbles.
7. Continue upward with medium cutters, keeping the overall outline tapered as you go. Step back every few pieces to check the silhouette and shift any cutter that sticks out too far.
8. Fill the upper third with your smallest cutters, clustering them more tightly near the top for a dense, finished look. Leave just enough room at the tip for your topper.
9. Add extra cutters anywhere the frame still shows too much, especially around the middle and lower front. Forty cutters usually gives a lush, collected look on a 30- to 36-inch frame, but use a few more if your shapes are small.
10. Wire the star ornament or bow securely at the top point of the tree. If it tilts, anchor it with a second piece of wire from the back so it faces forward neatly.
11. Weave the fairy lights through the cutters and around the frame, starting near the base so the battery pack can stay hidden in back. Distribute the lights evenly, tucking the wire close to the metal edges so the sparkle looks woven into the tree.
12. Tie a small ribbon bow just below the topper or around the base if you want a softer finishing touch. Turn on the lights, rotate the tree once, and make any last wire adjustments so it looks full from the front and both sides.

Variations & Tips
For a more vintage look: Hunt for mostly silver-toned cutters with a little patina and mix in recognizable shapes like stars, bells, hearts, and gingerbread people. The variety is what gives the tree that collected, heirloom feel.
For a fuller tree: Overlap the cutters by about 1/2 inch and angle some slightly outward instead of placing everything flat. That little bit of dimension makes a huge difference.
For easy storage: Use a battery light strand instead of a plug-in set and avoid gluing anything permanently. After the holidays, wrap the lights in place, cover the tree loosely with tissue or a pillowcase, and store it upright in a large bin.
If your cutters are lightweight: Attach two cutters together in a few spots, front to back, before wiring them to the frame. It creates more visual depth and helps fill open areas faster.
Color option: If you want a less rustic finish, spray the entire assembled tree one solid color like matte white, antique gold, or satin black before adding the lights. Just make that finish choice early so the final look feels cohesive.
Display tip: This looks especially pretty on an entry table, kitchen counter, or buffet where the metal can catch warm lamplight. I like putting it near baking tins or holiday cookbooks because the cookie cutter theme feels right at home there.