
If you have an old artificial Christmas tree shedding in a storage bin, this is the kind of project that makes it worth saving. The branches already have the bendable wired shape built in, which means you can turn them into something full, dramatic, and custom-looking without buying expensive premade greenery.
I love projects like this because they use humble materials but still give you that styled, magazine-ready impact at the front of the house. If you want a big seasonal statement and you’re comfortable with a little clipping, shaping, and fastening, this one is simple enough for an afternoon and polished enough to look like you paid for it.
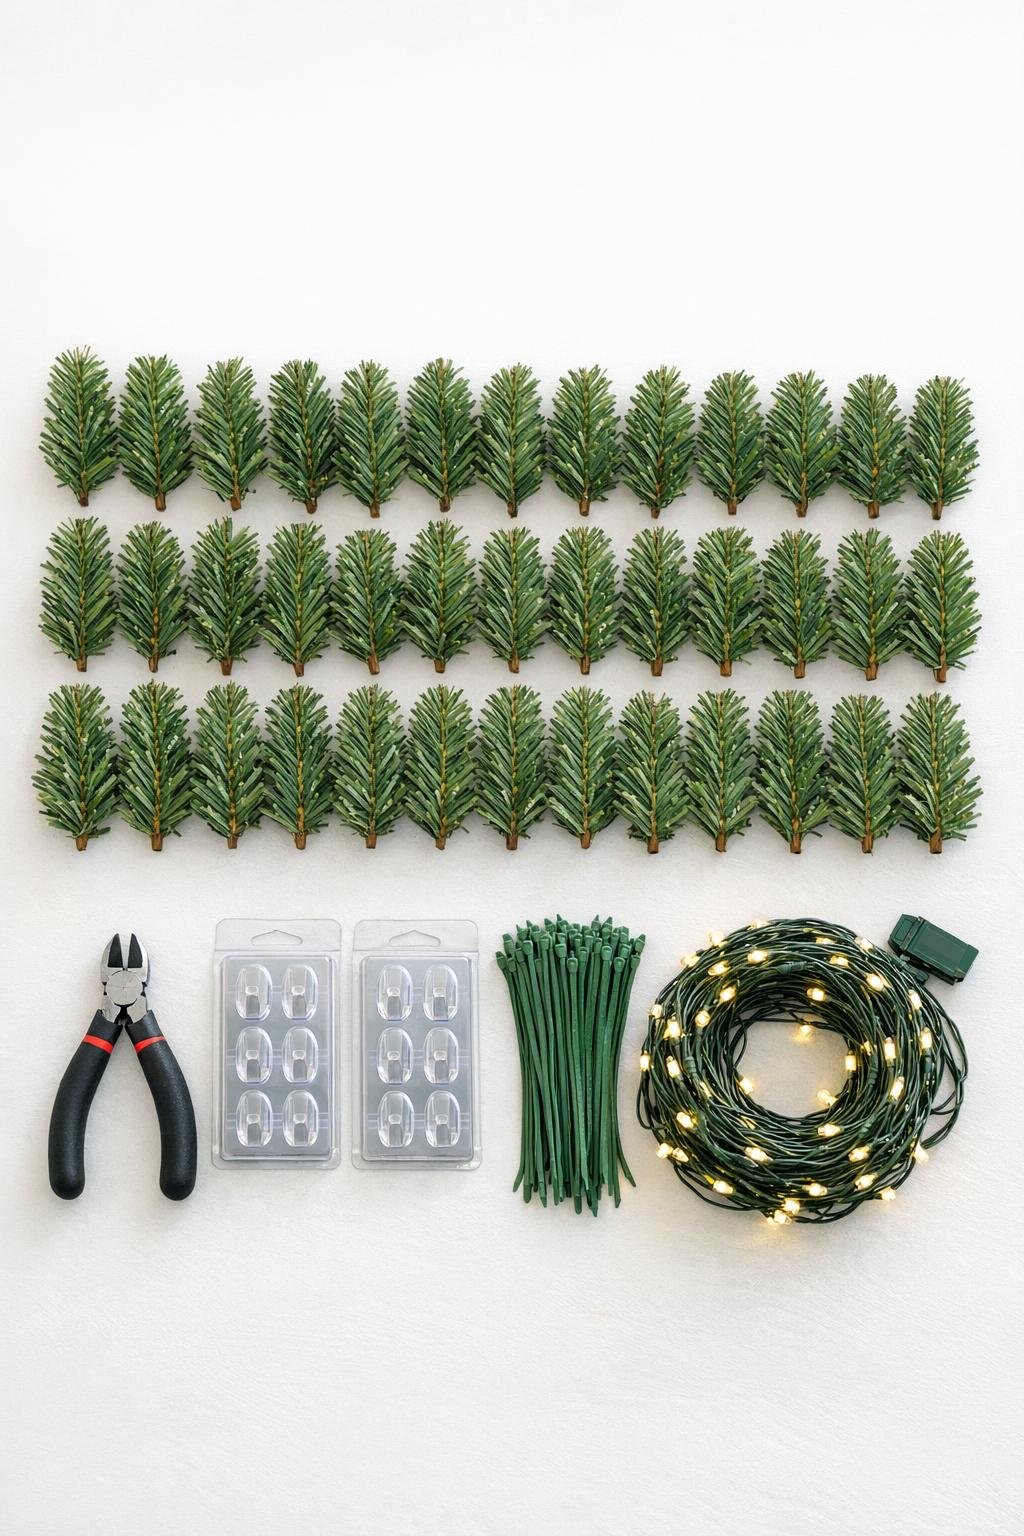
Materials
Instructions
1. Remove 40 branches from the old artificial tree and sort them by size, keeping the longest and fullest pieces for the outer curve and the shorter pieces for filling gaps.
2. Fluff every branch by separating and bending the wired tips outward so each piece looks wide and full instead of flat from storage.
3. Measure the width of your door frame and the height you want to decorate down each side, then lightly plan an upside-down U shape so the arch looks balanced and generous.
4. Clean the trim around the door where the hooks will go, let it dry completely, and place command hooks every 10 to 12 inches around the top and down both sides of the frame.
5. Start at the top center by fastening two longest branches together with floral wire so their stems overlap by 4 to 5 inches, creating the beginning of the arch.
6. Add more branches one at a time to each side, overlapping stems in the same direction and securing each join tightly with zip ties or floral wire so the greenery flows naturally outward.
7. Keep building until you have one long garland that spans across the top of the door and extends down both sides, using about 12 to 14 branches for the top and 13 to 14 branches for each side.
8. Fill any thin spots by tucking shorter branches into bare areas and securing them underneath, angling the tips outward so the whole piece reads lush from the curb.
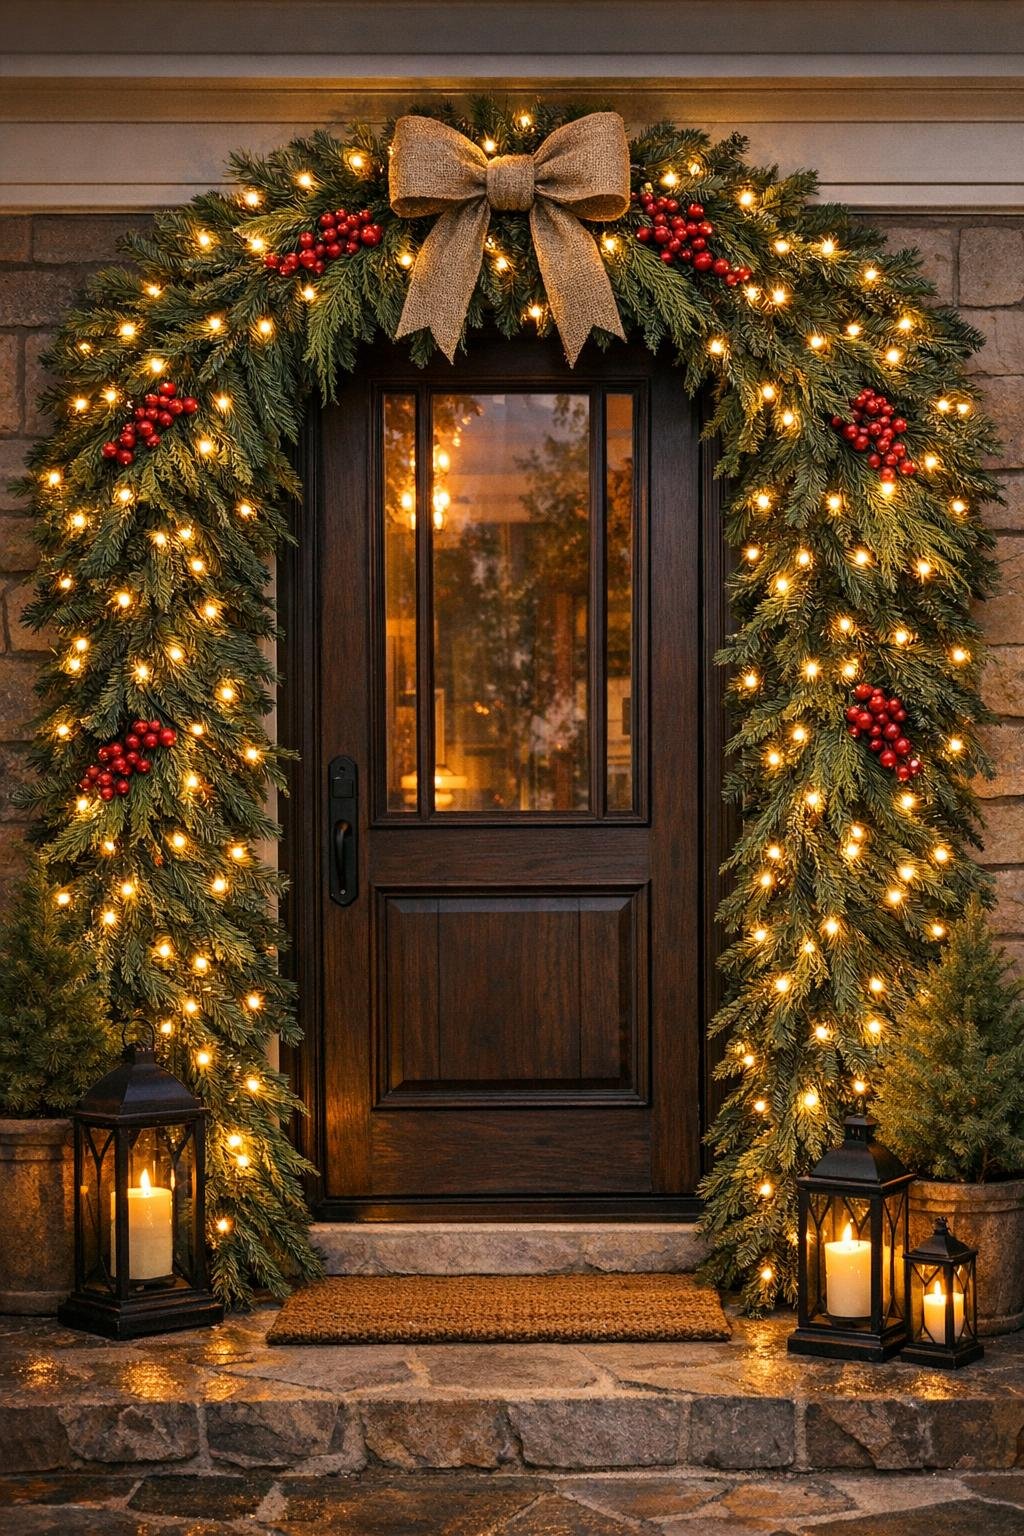
9. Lift the finished greenery form onto the command hooks, starting at the top center and working outward, then down both sides, adjusting the curve so it frames the door evenly.
10. Use extra zip ties to anchor the garland discreetly to the hooks and to neighboring branch stems so it stays snug against the trim instead of sagging forward.
11. Wrap the string lights through the branches, starting near the power source and weaving them in and out along the inner and outer edges for even glow from top to bottom.
12. Tuck faux pine or cedar picks into the top corners and upper curve for extra fullness, then add berry stems in small clusters where you want color and depth.
13. Tie on the ribbon bow at the top center or slightly off to one side, wiring it through the branch stems so it sits securely and faces forward.
14. Step back and shape every branch tip again, spreading the outer edges, turning flat pieces outward, and evening both sides until the arch looks dense, soft, and symmetrical.
Variations & Tips
For a thicker look: If your tree branches are skinny, double up two branches at a time before attaching them to the main garland so the arch has more body from the start.
For apartment doors: Build the top section only and stop the greenery just a little way down each side for a lighter version that still gives you the same framed effect.
Light placement: I like to weave lights deeper near the top center and closer to the surface near the sides so the whole arch glows evenly instead of looking bright in one spot and dark in another.
Weather tip: Outdoor-rated lights and outdoor adhesive hooks matter here; if your entry is exposed, add a few extra zip ties at stress points so wind does not twist the garland.
Color options: Red berries and a classic bow feel holiday-ready, but bronze ribbon, pinecones, or eucalyptus picks can carry this look right through winter.
Storage: When the season is over, remove the whole arch in large sections, snip only the outer zip ties if needed, and store it flat in a long box or under-bed bin so next year is mostly fluffing and rehanging.