
This is one of those wonderfully low-effort projects that looks far fancier than it has any right to. If you’ve ever stood in the dollar store aisle staring at plastic spoons and wondering what on earth people are making with them, this is the kind of transformation that makes crafting so satisfying. The clear glue and clear spoons catch the light in such a pretty way, and the whole thing comes together with supplies you can realistically pick up on a weeknight after work.
I especially love projects like this because they feel a little magical without being fussy. If you want something pretty for a table, shelf, or quiet evening glow but don’t want to drag out paint, saws, or a giant mess, this is a very fun one to make. I’d put this firmly in the category of “easy enough after dinner, impressive enough to make people ask where you bought it.”
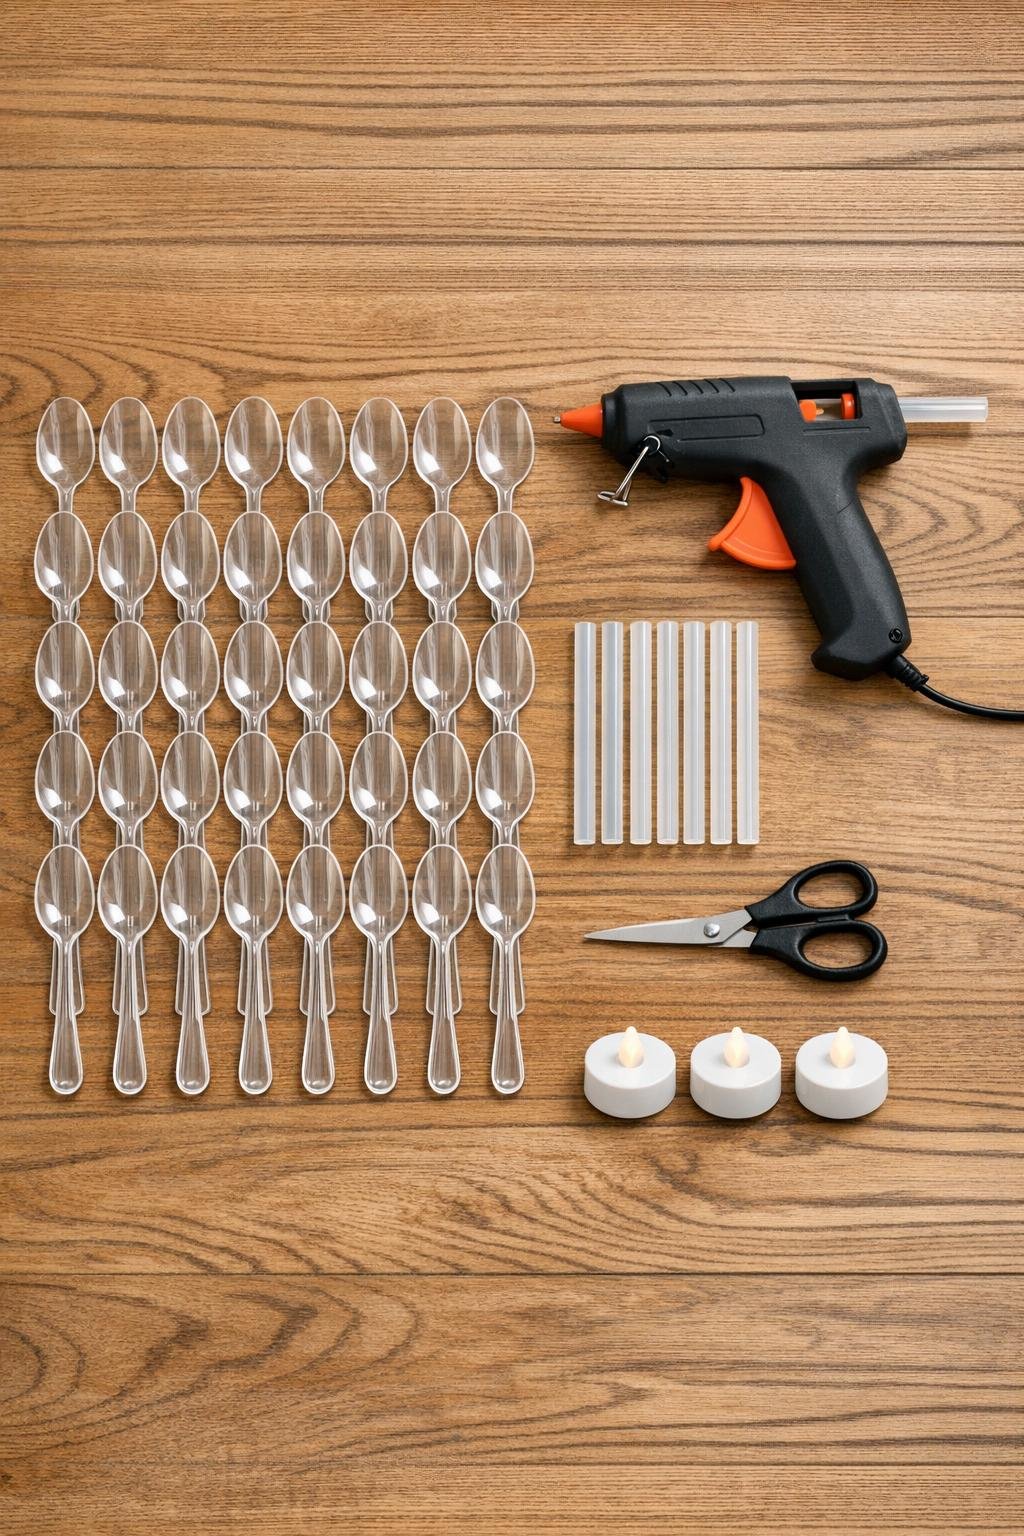
Materials
Instructions
1. Plug in the glue gun and let it heat fully while you separate all 36 spoons and set them in easy-to-reach rows. Keep a dinner plate or silicone mat nearby so you have a clean resting spot while the glue cools.
2. Fill the bowl of each spoon with hot glue, starting at the center and slowly spiraling outward until the whole oval is covered in a thick, even layer. Leave a tiny clear edge of the spoon visible around the rim so each petal keeps its crisp shape.
3. Let the filled spoons cool completely until the glue turns firm and glassy. If any spoon has strings or uneven ridges, trim the strings away and leave the ridges in place because they help the finished petals sparkle.
4. Cut the handles off 30 spoons, trimming as close to the bowl as you can without cracking the plastic. Leave 6 spoons with full handles intact for the base ring.
5. Lay the 6 full spoons in a star-like ring with the bowls overlapping slightly and the handles pointing outward like spokes. Hot glue the overlapping edges together to make a stable flower-shaped base that can support an LED tea light in the center.
6. Glue 12 trimmed spoon petals around the base, overlapping them evenly between the full spoons to create the first outer layer. Angle these petals slightly outward so the flower opens wide and looks full instead of flat.
7. Add a second layer of 12 trimmed petals just inside the first ring, gluing each one between two petals from the layer below. Tilt this layer a little more upright so the blossom starts to cup inward.
8. Glue the final 6 trimmed petals into the center, standing them nearly upright so they form a tighter inner bloom around the tea light opening. Keep the center wide enough for the LED tea light to drop in easily without forcing the petals apart.
9. Test-fit the LED tea light, then add small dots of hot glue anywhere the layers feel loose or uneven. Snip away any visible glue strings so the finished holder looks crisp and polished.
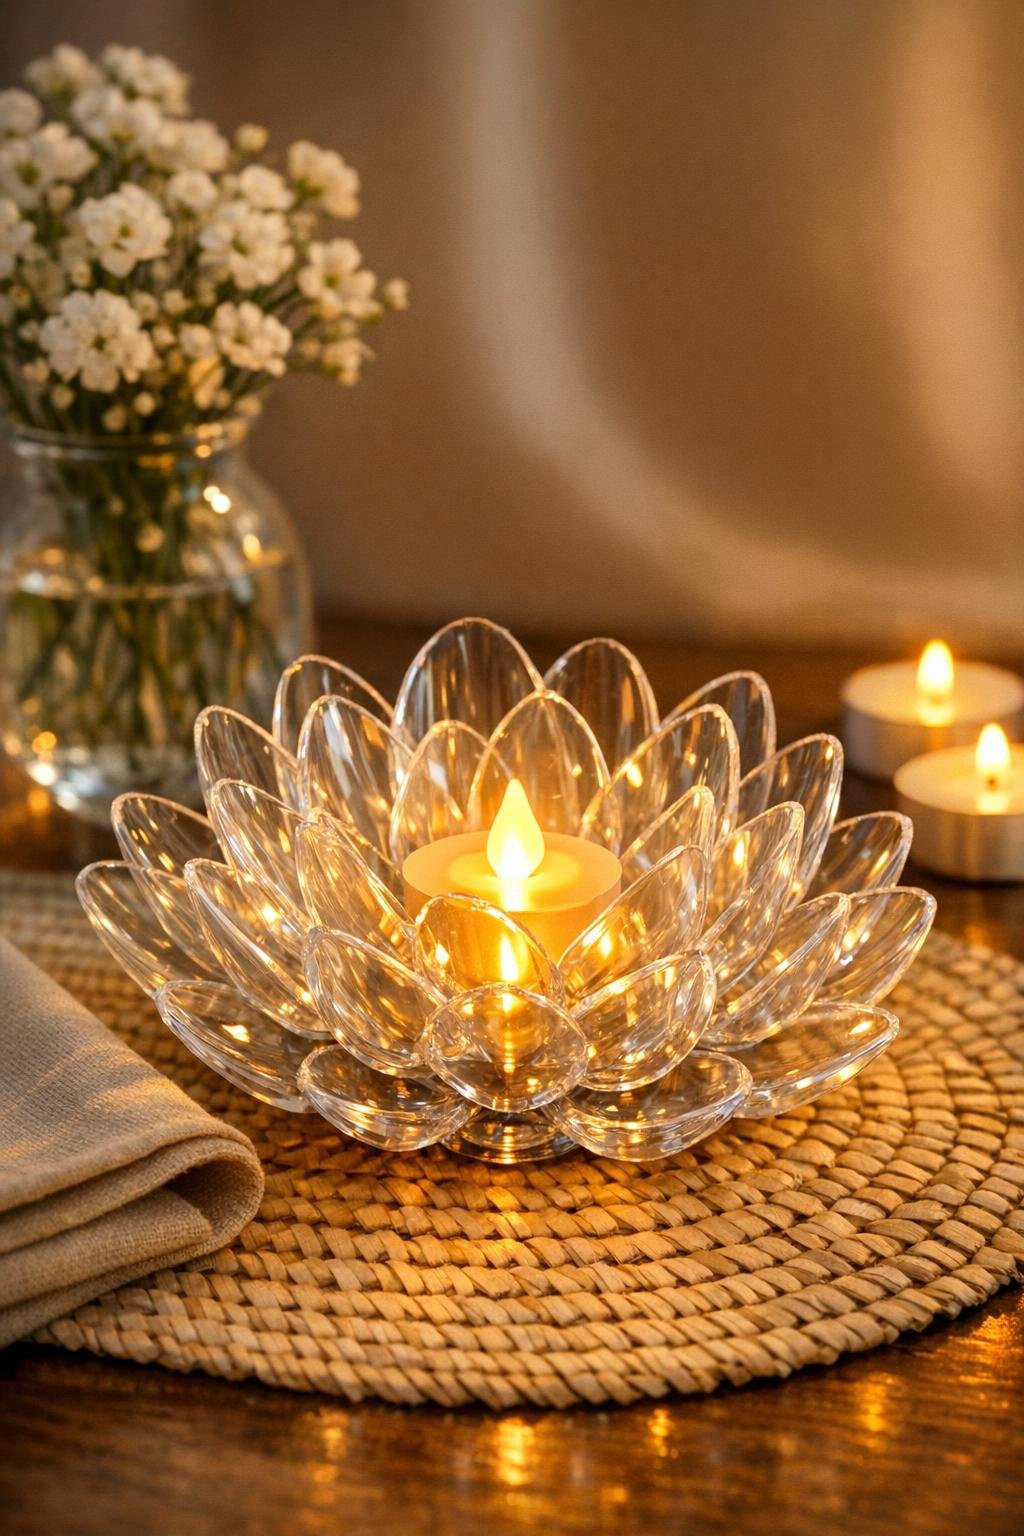
10. Place the LED tea light in the center and switch it on to check the glow through the clear glue-filled petals. If you want extra sparkle, rotate the inner petals slightly while the glue is still workable so the layers look more natural and full.
Variations & Tips
Make a matching set: This project is especially pretty in a group of two or three. I like placing them down the center of a table because the layered clear petals catch the light better when repeated.
Use only LED lights: Stick with battery LED tea lights, not real flames. The spoons and hot glue are both plastic, so this is firmly a flameless-candle project.
Adjust the bloom shape: For a flatter water-lily look, angle the outer petals farther down; for a taller lotus look, stand the inner petals more upright. That little shift changes the whole style without changing the supplies.
Work in batches: When I make repetitive projects after a long workday, I break it into stages: fill all the spoons first, then trim, then assemble. It keeps the process from feeling tedious and actually makes the final flower look more even.
Hide rough cut points: If a trimmed spoon edge looks cloudy or slightly jagged, tuck that end deeper into the next glue seam. The layered design is forgiving, which is one reason I love this craft.
Try a frosted effect: If you want a softer icy glow, use a slightly swirled glue pattern instead of smoothing it perfectly flat. The texture diffuses the LED light and makes the petals look a little like crystal.